Chevy C/K series 1973-1987 (popularly called the Square Body) is now experiencing a revival that has won the hearts of car enthusiasts in the global community. This truck may not be a newcomer on your list in case you are a fan of vintage vehicles. It has changed its status from a workhorse that can be discarded in American farms to a platform that is in high demand in the classic truck market. The thrill may be blindfolded, whether you have just hauled a barn find home, been given a family heirloom, or acquired a running project on Craigslist, but regardless of what kind square body Chevy truck you begin with, the thrill is undeniable.
However, the overwhelm is a fact, too, but it is honest.
Even the most experienced mechanics will be hesitant to stare at a 40-year-old Chevy truck with its rusty cab corners, its spaghetti bowl of wiring under the dash, and its creaking suspension that seems to be a haunted house. It is not merely a financial aspect of budget, but having a strategic plan, of how to provide the appropriate custom touches as you build, that is the difference between a stalled project that is left to rot in the driveway and a finished show-stopper.
We will step by step in this detailed manual, where you begin to restore your Square Body Chevy. We are going to skip these shiny posts and get down to the dirty side of the restoration process, where you will save time, money, and sanity on your labor of love.
The Appeal of the 1973-1987 C/K Series
Why then is everybody so crazy about the Square Body? The main reason is that it is the era of American trucks, which are considered the so-called Goldilocks. It is in a golden mean between the 1960s, rounded style, and the 1990s, computer-intensive, plastic-heavy style. The boxy, rugged design of its aerodynamically tested in wind tunnels (a first in the truck industry), used ironically to name its design the Rounded Line by GM, has been the hallmark of a generation.
Its quality is its flexibility. The engine bays themselves are cavernous with endless possibilities for modifications that may be done to it, which can include the original Small Block 350 all the way up to a modern-day LS swap to provide increased power. Its parts interchangeability is also 14 years old, which implies that it is available more than any other classic vehicle. Availability does not necessarily mean quality, though. These K series trucks were constructed to work and not to last long. They were pushed, stored when wet, and subjected to harsh winters and harsh chemicals. Restoring it to some of its former glory involves a methodical process of removing decades of abuse and thinning it out, and then polishing the look of your truck in the process.
Step 1: Evaluating the Project Scope and Budget
You need to establish the endgame before you purchase one bolt or one wrench. The top killer of bank accounts and marriages in the car world is known as mission creep, i. e. a simple repair turns into a frame-off restoration project. The condition of your square body Chevy truck is going to have a massive impact on the direction that your build will follow.
To define the degree of restoration that will be necessary, as well as the various customization options that can be made and which can fit your objectives and the appearance you would like to get, you need to determine the level of restoration into one of three different lanes:
- The Daily Driver: It aims towards reliability, safety, and weather sealing. It is fine when patina; it is not fine when structural rust. You desire a truck that can undergo long drives without overheating.
- The Restomod: Traditional appearance and performance upgrades. This includes different suspension options, overdrive transmissions, a modern-day fuel injection system, and animal comforts such as air conditioning.
- The Show Truck: Restoration with a nut and a bolt, and the end result is perfection. This could be a completely original restoration or a highly customized build where the targeted appearance is the first thing that people see, whenever at an occasion.
The Financial Reality
Be realistic with your budget. Regardless of it being your first restoration project or your 10th, one generally agreed-upon principle is the “Rule of Thirds.” You ought to estimate your budget, and then include 30% of the unseen variables. This is particularly so when you do not know the status of your square body Chevy truck or when you want to venture into more advanced customization processes.
To assist you in forming an idea of where to spend your money according to industry averages, the following allocation model will help you:
| Cost Category | Daily Driver Budget (%) | Restomod Budget (%) | Show Truck Budget (%) |
|---|---|---|---|
| Initial Vehicle Purchase | 40% | 25% | 15% |
| Metal Work & Paint | 15% | 20% | 40% |
| Drivetrain (Engine/Trans) | 15% | 30% (LS Swap/Upgrades) | 15% (Detailing/Rebuild) |
| Suspension/Brakes/Tires | 15% | 15% | 10% |
| Interior & Electronics | 10% | 10% | 15% |
| Contingency Fund | 5% | 10% | 5% |
Step 2: The Rust Inspection Checklist (Do This First)
You do not need to begin to order grille inserts, lift kits, or custom wheels until you are sure you have a solid foundation. The C/K platform is infamous due to the corrosion issues in particular pockets where the dirt is trapped with moisture. Power output does not matter in case the structure is damaged.
Take a screwdriver, a magnet, and a flashlight. It is time to get dirty and seek signs of rust–the first thing people tend to ignore when restoring a building.
Critical Spots: Cab Corners and Rocker Panels
The Cab corners (the curved section behind the doors), as well as the rocker panels (the beam of the structure just beneath the doors), are the “Achilles Heel” of the Square Body.
- The Design Flaw: GM intended such with drain holes, which were not big enough. The leaves and road grime found their way into the cab in the cowl vents over the decades and settled in the corners of the cab and blocking the drains. The result? The truck decays inwardly.
- The Poke Test: Never believe your eyes; Bondo can be covered with paint. Press the handle of your screwdriver on the lower 3 inches of the corner of the cab. When you can hear a crunch or a magnet will not stick, there is plastic filler. All this will require these entire panels to be cut and welded.
Checking the Floor Pans and Bed Supports
Raise the carpet or rubber mat. The floor pans are famous for rusting around the transmission tunnel and the kick panels.
- Bed Supports: Go under the truck and check the cross sills, which suspend the truck to the frame. The bed floor of the trucks in extreme weather conditions may appear fine on the surface, but the C-channels used to fasten the structure may have fallen apart beneath the surface. In case the bed is observed to be bouncy, the supports are missing.
Step 3: Mechanical Rehabilitation Priorities
Once you have determined the body is savable (or you have a plan to patch it), shift focus to making the truck a self-propelled machine. Safety and reliability must take precedence over cosmetic enhancements.
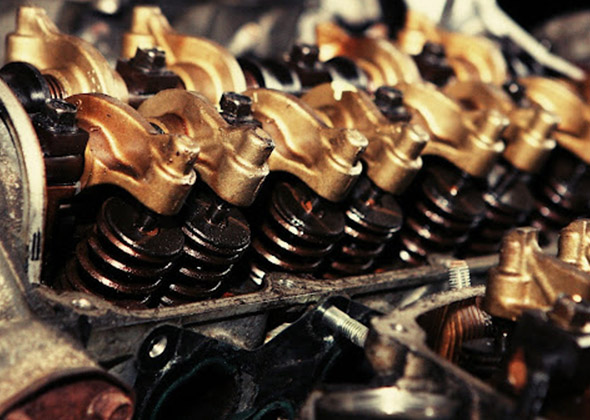
Engine and Drivetrain Assessment
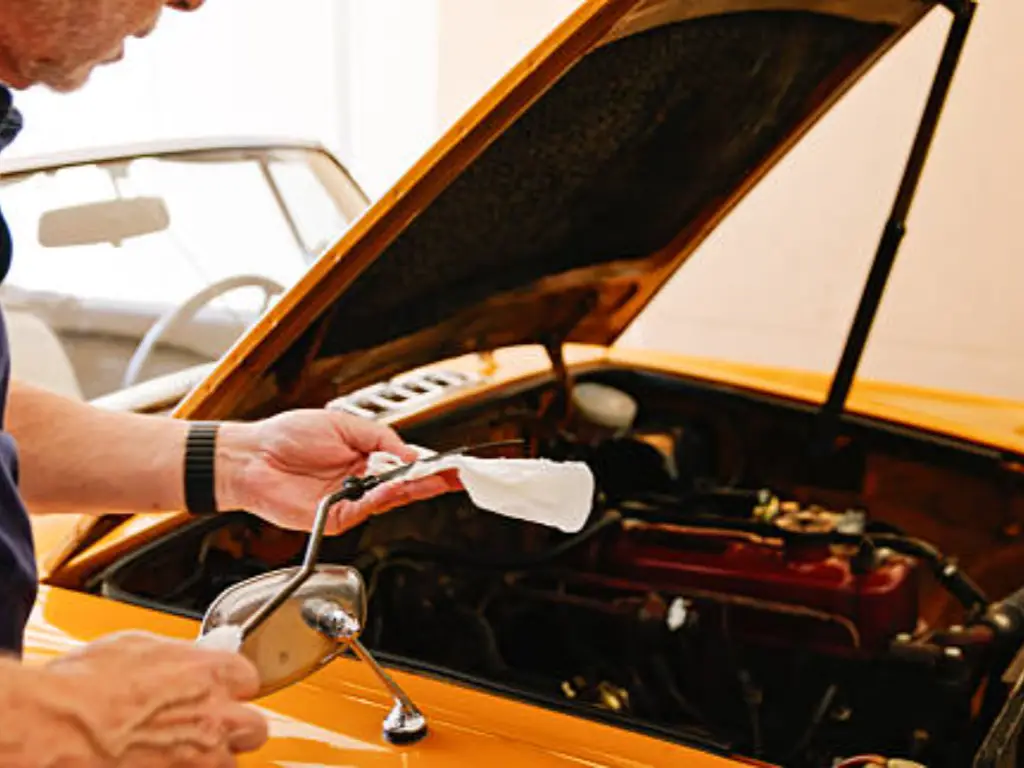
Checking the engine’s performance would start with a compression test in case you have the original Small Block Chevy (SBC 350 or 305) or the Inline-6.
- The baseline: A healthy SBC must present 150 or more PSI per cylinder with a variance of less than 10 percent between the cylinders.
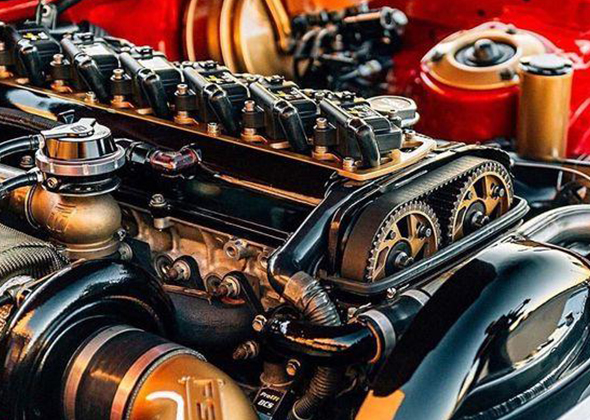
- Dilemma: When the engine is worn out, there is always the old question: Rebuild vs. Swap. The cost of a typical rebuild is affordable. Nonetheless, a crate engine or an LS conversion can be installed to provide a modern source of reliability and improved fuel economy. You will only have to remember that an LS swap is not merely an engine swap, and you have to get a new cooling system, new motor mounts, a new harness, and reprogram an ECU.
Brakes, Suspension, and Steering Safety
These trucks are also heavy, and most of them have a weight that exceeds 4,500 lbs. It is optional to get them moving and obligatory to get them to stop.
- Brake Lines: Check all the inches of the hard lines. In case of rust flaking, use NiCopp lines instead of the whole system. Do not patch brake lines.
- Suspension: Original rubber control arm bushings used in 1980 probably have deteriorated to dust. Substituting these makes the drivetrain components and the geometry of the suspension in harmony.
- The Square Body Wander: Does the truck run over the road? Examine the frame in the rear of the steering box. The frame on 4×4 models (K10/K20) will also tend to stress-crack in the location immediately above the steering box mount.
Step 4: Electrical Systems and Wiring Nightmares
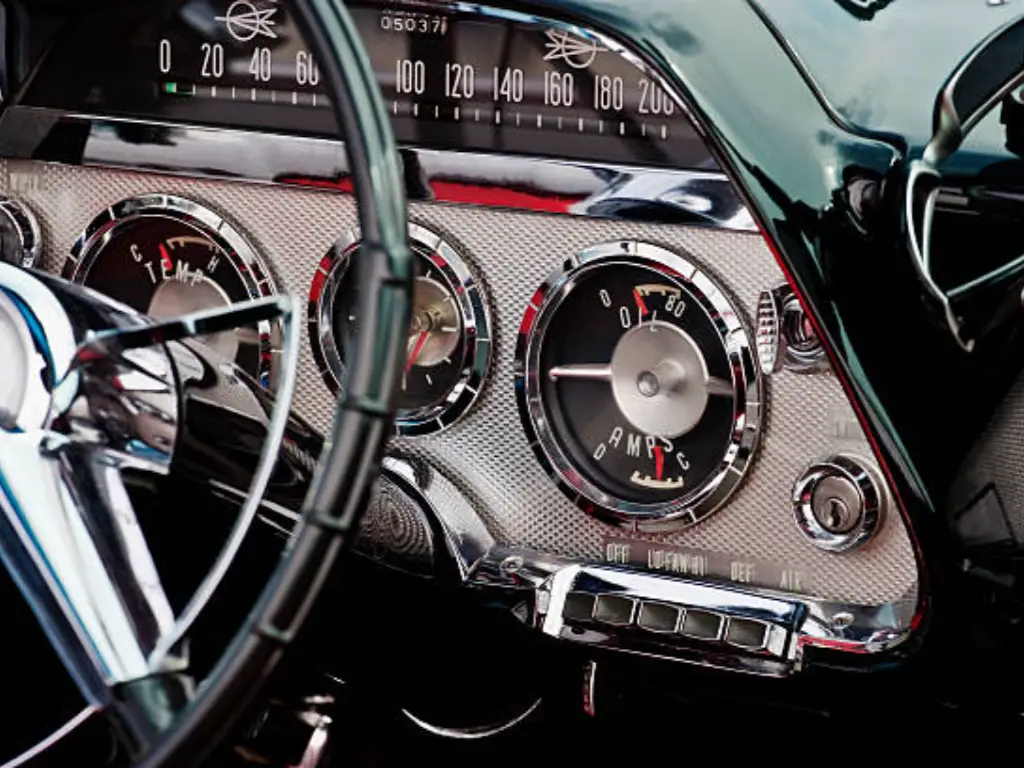
When your headlights flash at you when you hit a bump, or the instrument cluster goes black, you have a common problem like your fellow car enthusiasts. The period between 1973 and 1987 employed glass fuses and insulation on wiring, which is brittle and breaks with time.
- Bad grounds are Everything: 90 percent of the electrical system ghosts are caused by bad grounds. The ground straps of the factory floor usually rust at the contacts. Before replacing components, all these connections to the bare metal must be cleansed.
- The Bulkhead Connector: This is the primary plug that wires the engine bay to the fuse block and is frequently corroded. With green oxidation, there is a high probability that you will have a problem with voltage drop that will impact all systems on the vehicle, including the ignition system to the power windows.
- Repair vs. Replace: In case the wiring has been hacked by earlier owners, then you have nothing to lose by spending time pursuing breaks. A full replacement of the chassis harness is often the way to go in a dependable Square Body Chevy.
Step 5: Sourcing Quality Parts for Your Build
There you are: new cab corners, a floor pan, weather stripping, and a grill. The next biggest problem in the modern market is finding the right parts.
The vintage automobiles market is overwhelmed with components that may appear flawless on a low-resolution thumbnail, but fail to meet exact specifications. The problems with white box generic parts of different brands would include:
- Thin-gauge metal: The sheet metal that is more than factory thin.
- Bad Tooling: Lines on the body that do not correspondingly fit, and it might take hours.
- Brittle Plastics: Interior features that break as they are not provided with UV stabilizers.
Why Choosing a Manufacturer Matters: The Sunway Autoparts Advantage
The origin of your parts is every bit as important when you are putting together a restoration as the name of the mechanic doing the job. It is at this point that Sunway Autoparts comes in with a clear edge, particularly when your desired look is clear or when you are planning the customization of your square body Chevy truck.
We are not a mere reseller of warehouses but a high-profile manufacturer deeply entrenched in the traditional auto parts store since 2007.
1. Precision Engineering Meets Modern Materials
Interior plastic is one of the greatest headaches for the owners of Square Body. The old dashboard pad and dash bezel become dusty as a result of old age. We do not imitate the old parts at Sunway, but we upgrade them.
- Injection Molding Expertise: The company is a manufacturer that has its own tooling. Our plastic injection square body restoration parts are of high quality, but they are of OEM standard as far as their requirements are concerned in fitting. They are made with the current materials, which are UV-stable.
- The Solution: The Dash bezel or door handle by Sunway will fix the aging issue. It is compatible with the factory component except that it is more durable and has a durable finish in comparison to the original.
2. A Supply Chain You Can Trust
Whether you are a fan of classic vehicles looking for a single trim piece or a restoration shop needing bulk orders, our capacity as a manufacturer sets us apart.
- Integration: We manage a supply chain of nearly 200 specialized providers, covering models from the mid-1920s to the late 1990s. We provide complete solutions—from exterior body panels to interior surfaces—so you don’t have to piece your build together from ten different sources.
- Consistency: For our B2B partners, we offer what auction sites cannot: consistent production quality and stable inventory. We are your controllable upstream source.
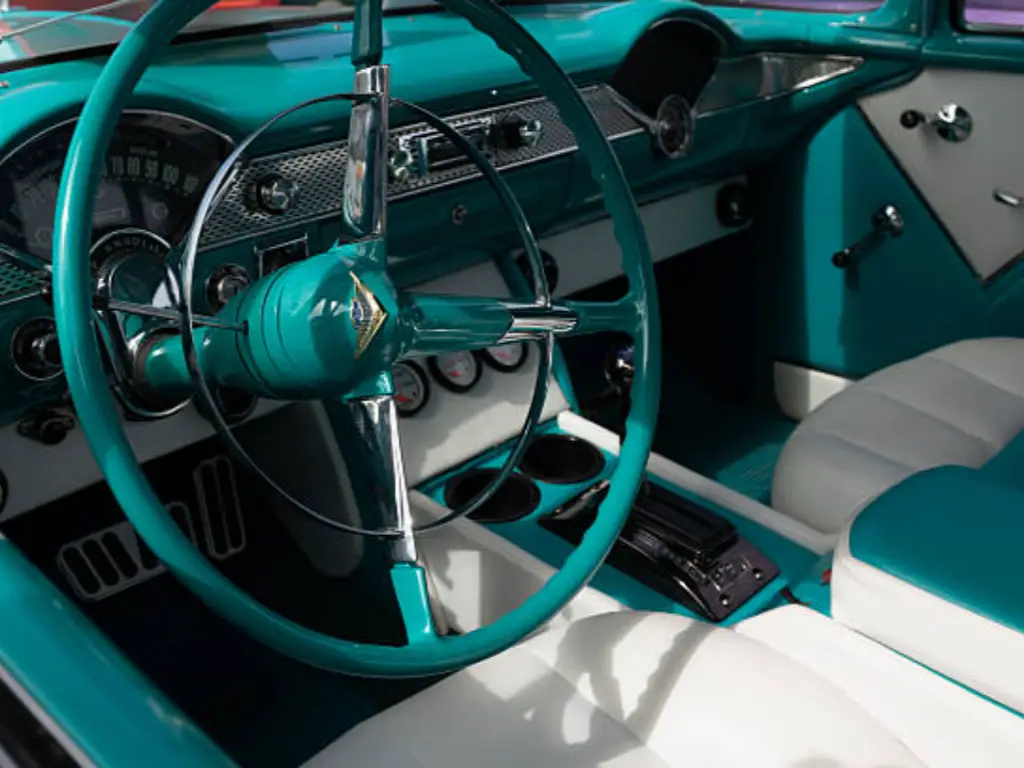
Step 6: Planning the Interior Restoration
The interior of your square body Chevy truck is where you will spend all your driving time, so do not ignore it. When the dirty work (welding, painting, wiring) has been done, go indoors.
- Sound Deadening: A sound deadener made of butyl should be applied before the carpet is installed. Square Bodies are infamously loud; the contemporary insulation renders the cabin high-quality.
- Dash Pad and Bezel: As discussed, these are the highlights. The entire truck is made to seem cheap with a cracked dashboard. A Sunway reproduction dash pad will re-create the individual style of the cabin.
- Seat Upholstery: You can use an original frame and re-foam it, or use custom upholstery, which often seems the best way to do it.
Project Timeline Strategy
To keep you on track, here is a detailed checklist of the necessary repairs broken down into manageable steps.
| Phase | Focus Area | Estimated Time (DIY) | Key Parts to Order Early |
|---|---|---|---|
| Phase 1 | Teardown & Evaluation | 1-2 Weeks | Penetrating oil, Ziploc bags, Labels |
| Phase 2 | Rust Repair & Body | 3-8 Weeks | Sunway Cab Corners, Rockers, Floor Pans |
| Phase 3 | Mechanical Rehabilitation | 4-6 Weeks | Suspension kit, Brake lines, Engine gaskets |
| Phase 4 | Paint & Body Prep | 4-10 Weeks | Primer, Custom Color Paint, Body filler |
| Phase 5 | Assembly & Weatherproofing | 3-5 Weeks | Weatherstripping, Lights, Grille Inserts |
| Phase 6 | Interior Finish | 2-3 Weeks | Dash pad, Instrument Bezel, Carpet, Seat cover |
Conclusion
The project of square body restoration is rather a restoration process that makes you associate with the history of the truck. Some days, the bolts will break, and you will wonder why you began. But there will come that day also when you can see the last coats of paint glistening in the sun.
When being thorough in the initial inspection, developing a correct maintenance schedule, and selecting the best quality of parts, you can be sure that with a customized build, you will have a truck that performs as well as it purrs.
Your journey of restoration should not be the obstacle. Begin with the analysis, discover the countless options of the upgrades, and handle it one bolt at a time.
Recent Blog
- Ford Mustang History Decoded: 60 Years of Chassis, Engine Swaps & Market Value
- How to Adjust Car Mirrors Properly: Eliminate Blind Spots for Modern & Classic Cars
- What Does GMC Stand For? The Full Story of GM’s "Professional Grade" Brand
- Antique Car VIN Lookup: The Forensic Guide to Decoding & Verification