
Restoring a 1955-1957 Chevy Bel Air (the legendary Tri-Five) is the pinnacle of American automotive culture. But without a clinical, strategy-first blueprint, that dream quickly devolves into a garage-bound financial nightmare. The most common mistake enthusiasts and professional shops make is treating a 70-year-old vehicle like a modern bolt-on project. Underestimating hidden structural rot, tearing down a car without a strict inventory protocol, and miscalculating the true cost of modern drivetrain integration are the primary reasons over 60% of restoration projects are abandoned halfway.
Whether you are a DIY builder aiming for a reliable weekend cruiser, or a high-end restoration shop building a six-figure Pro-Touring Restomod, success demands a rigid engineering mindset. We must separate emotional attachment from mechanical reality.
1. Decoding the Starting Point: Identity and Rust Assessment
Before ordering a single part, you must verify the vehicle’s true DNA. Cloned V8 Bel Airs (base models dressed up with aftermarket trim) can cost you thousands in overpayment if you don’t cross-verify factory tags.
Verifying Vehicle Identity and Trim DNA
Do not rely solely on the VIN (located on the driver’s side A-pillar; check for tampered rivets and cross-reference with the title). The Cowl Tag on the firewall is the true birth certificate, dictating the original Body Style, Trim level, and Paint codes. A “VC” prefix confirms a factory V8 Bel Air, while a “C” indicates an inline-six. Note: “Numbers Matching” (where engine, trans, and axle dates align with the chassis) confirms high collector value, but is distinct from basic identity verification.
| Feature | 1955 Chevy | 1956 Chevy | 1957 Chevy |
|---|---|---|---|
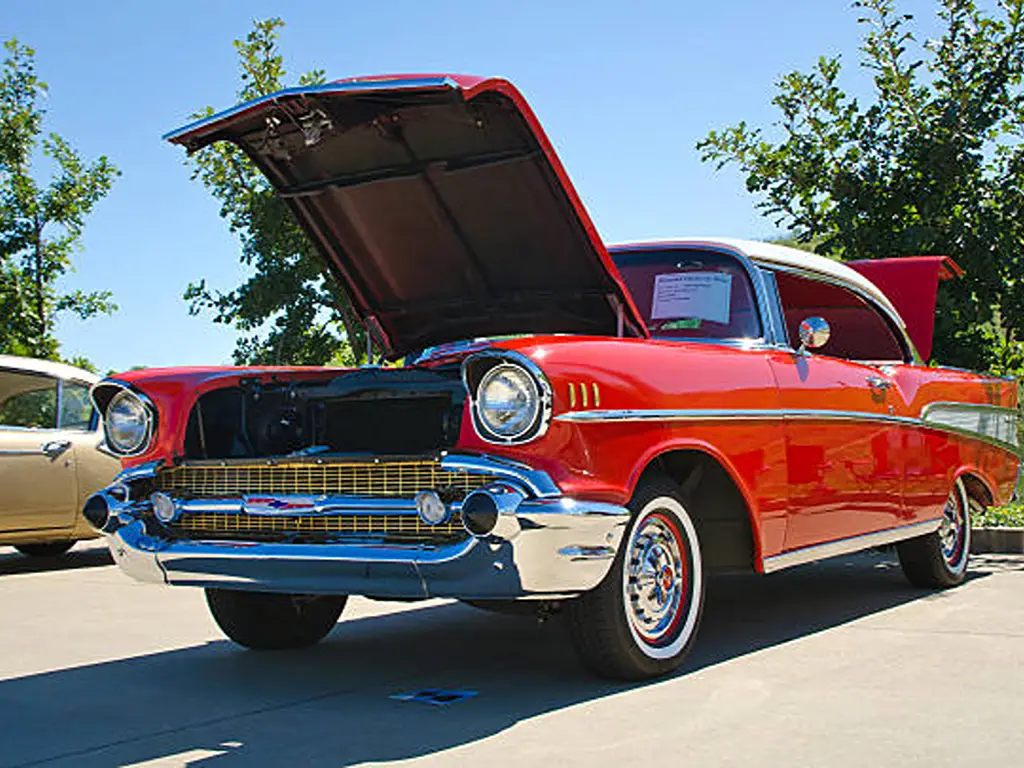
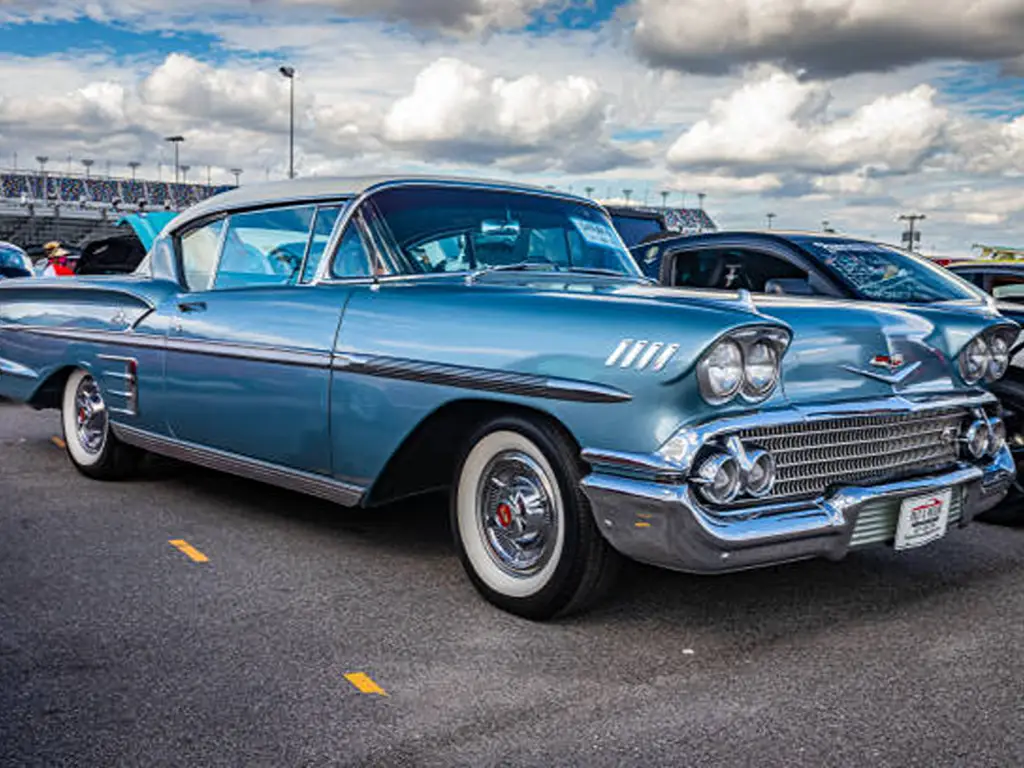
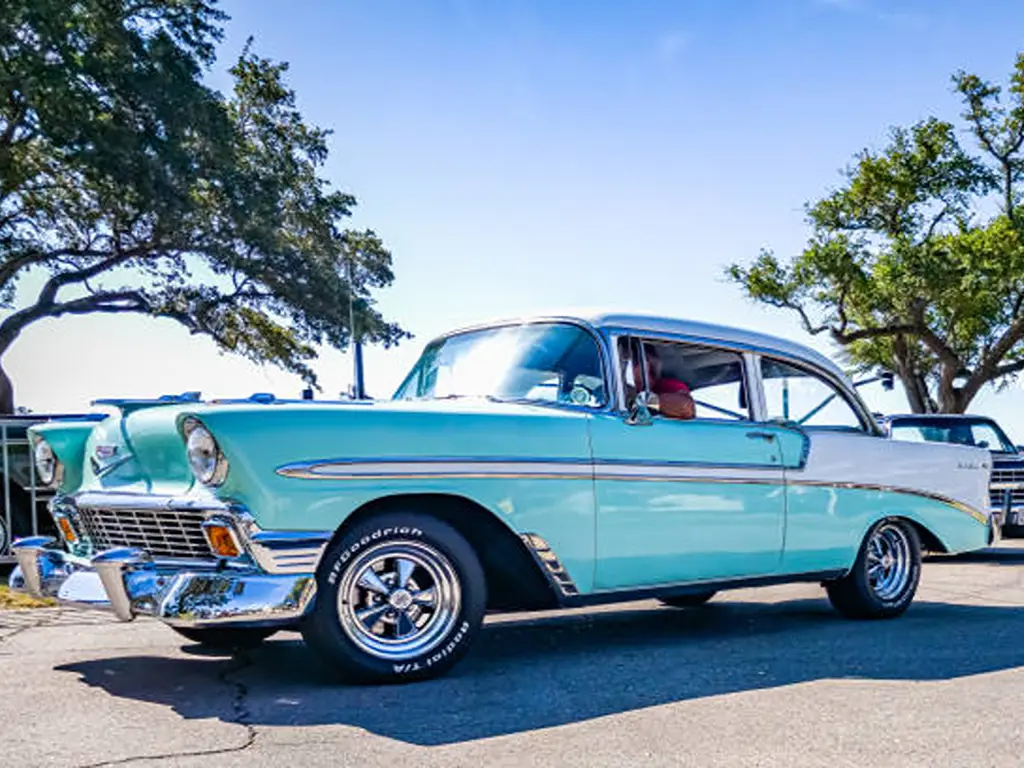
| Grille & Front | Egg-crate, Ferrari-inspired | Full-width, rectangular pattern | Large oval with bullet bumper guards |
| Side Trim | Single spear breaking into a V at rear | Full-length sweeping spear, painted insert | Iconic aluminum wedge panel at the rear |
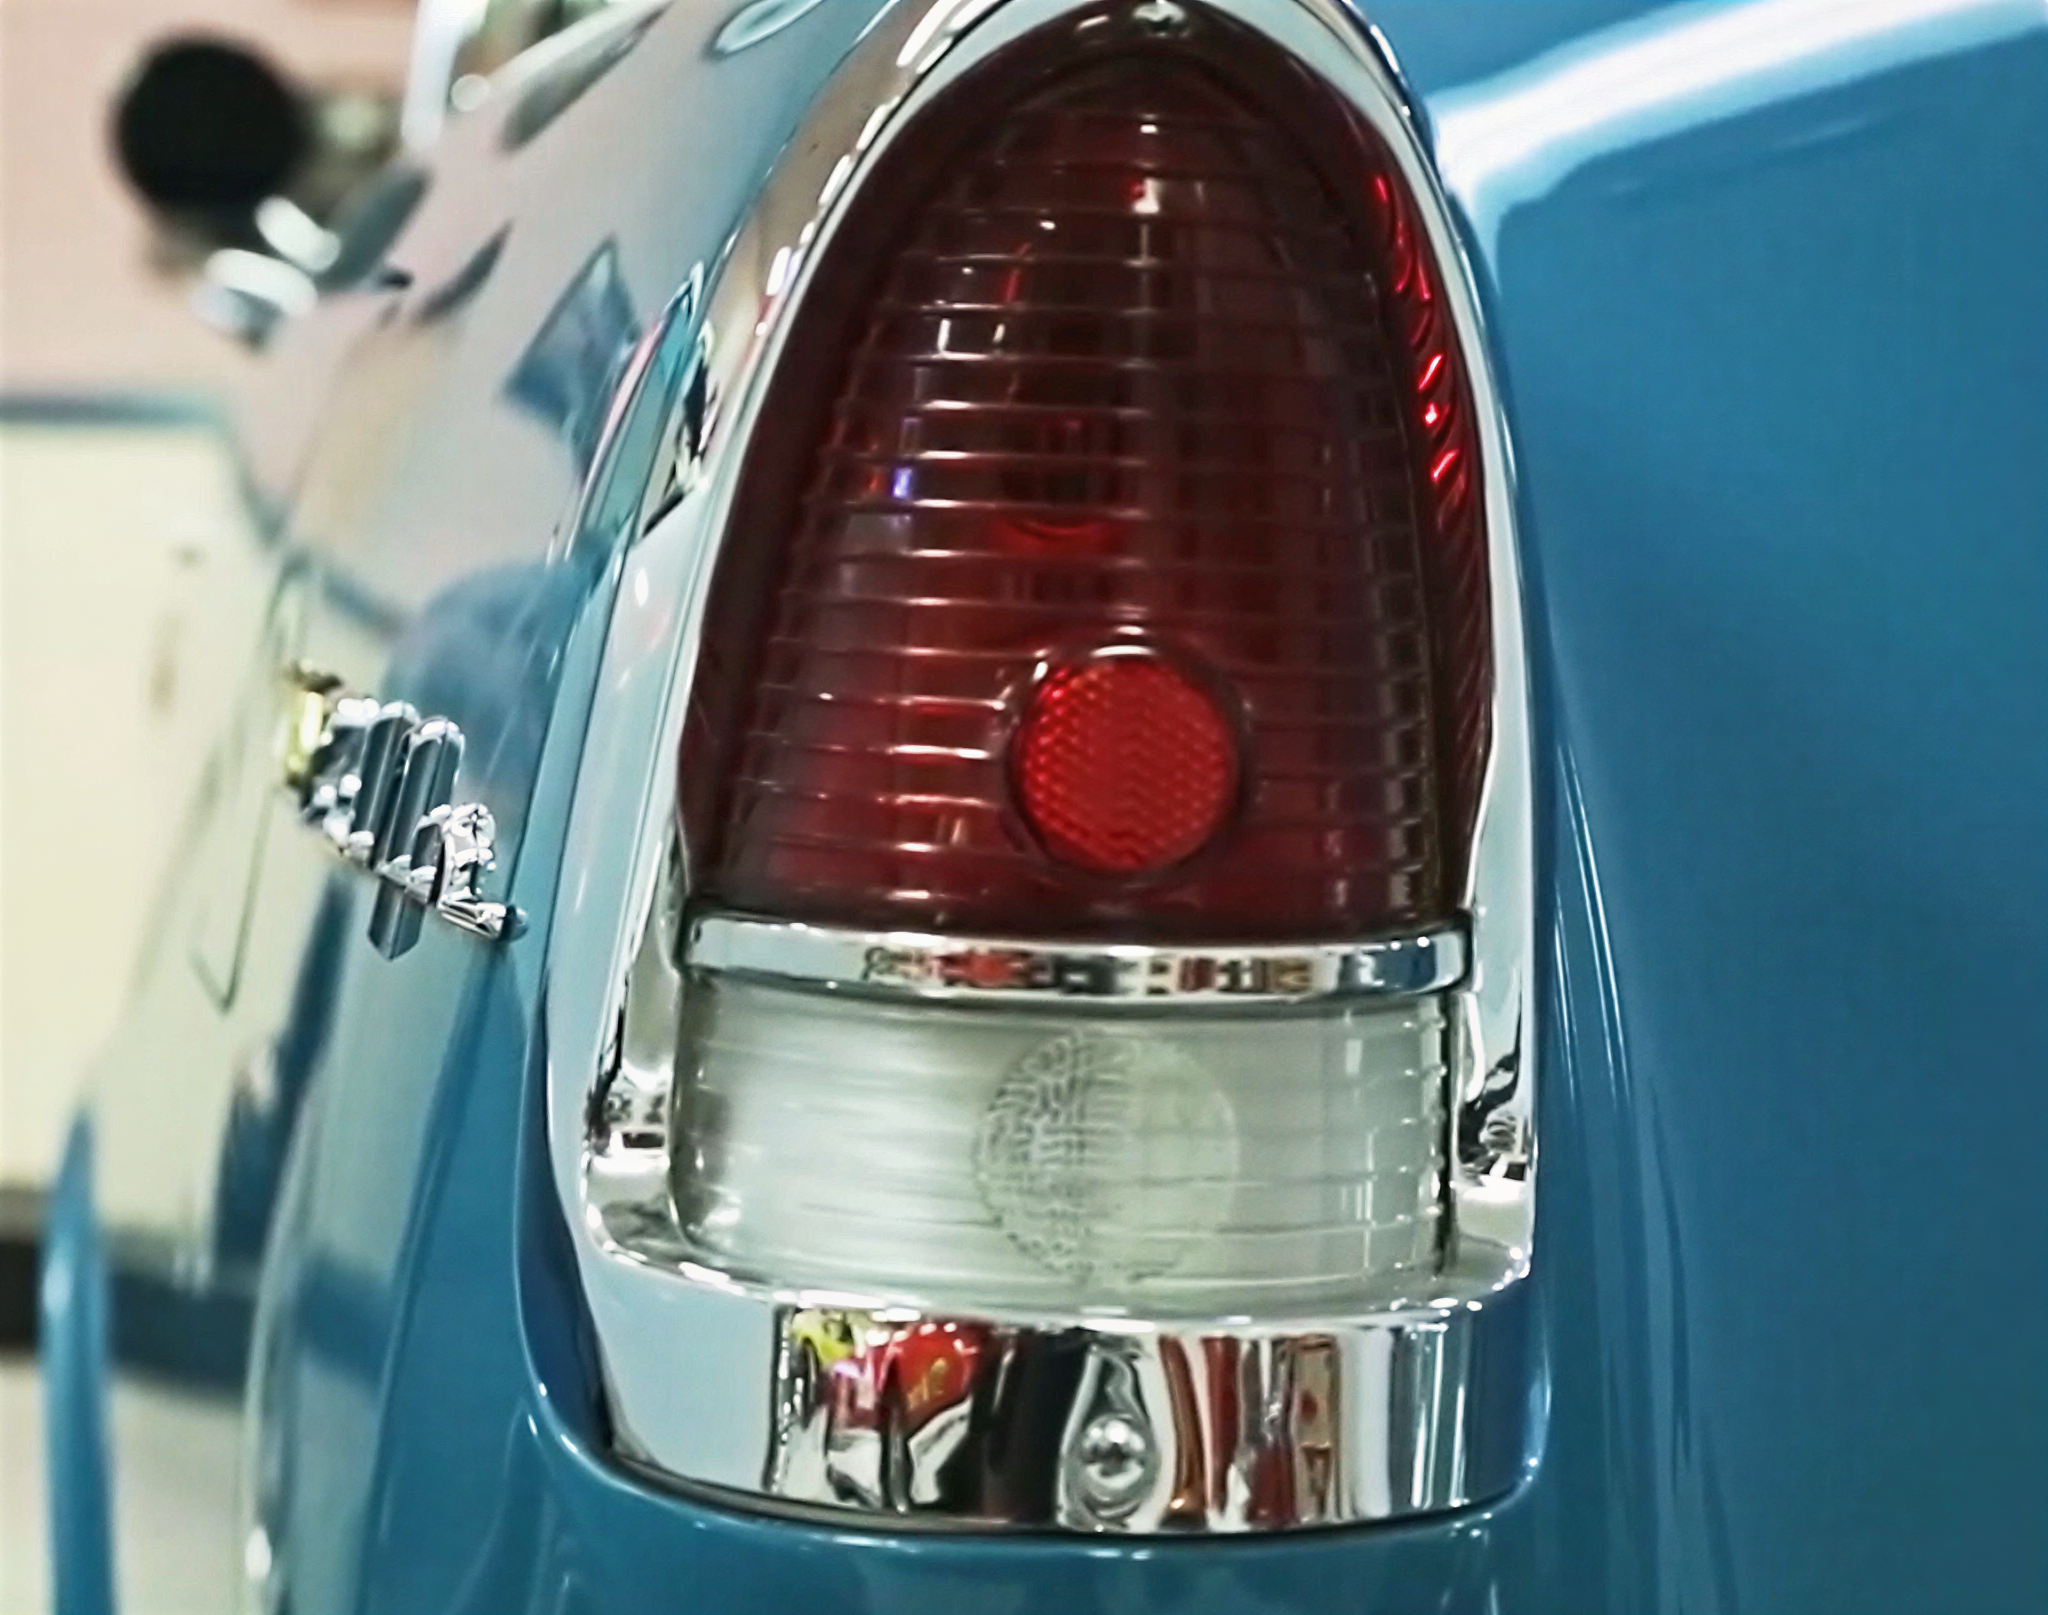
| Rear Styling | Small, separate taillights | Hidden gas cap behind left taillight | Massive vertical tail fins |
Critical Rust Inspection Protocol
Use a small awl or screwdriver to perform “blind probing.” Do not use destructive force. You are hunting for structural rot where metal flakes away, not surface oxidation.
Tail Pan
Inspect from inside the trunk edge and beneath the chassis. This is the most common Tri-Five structural disease point.
Floor Braces
Crawl underneath and probe where the floor braces spot-weld to the inner rocker panels.
Lower Cowl
Check the mud-trap behind the lower front fenders. Rust here pushes outward from the inside.
Frame Mounts
Examine the steel brackets welded to the main frame where the rubber body isolation pads sit.
Assessing the Restoration Base
Classify the vehicle: Driver Project (solid bones, minor patches), Restoration Project (needs floor pans), or Major Structural (rotted frame/cowl). Decision Logic: A $25,000 rust-free shell is mathematically cheaper than a $5,000 rusted shell once you factor in $150/hour custom fabrication labor. Know when to Buy, Negotiate, or Walk Away.
2. Feasibility Study: The True Cost, Timeline, and Outsourcing
Ironclad Rule: Before removing a single bolt, confirm you have the budget, time, and supply chain secured. Let’s use a 1955 Bel Air, Frame-off, Driver-Quality, mild Restomod as our baseline.
Purchase Price + Restoration Cost + Hidden Damage + Rework + Parts Sourcing
A reliable Driver-Quality baseline requires $60,000+. A Show-Quality build ($100,000+) is not necessarily using more expensive parts; the premium pays for hundreds of hours of block sanding, flawless panel gapping, and extreme surface finishing.
Where Does the Money Go? (The 4 Cost Centers)
- Bodywork & Paint: The deepest black hole. Costs include Media Blasting, Rust Repair (Floor/Quarter/Tail pans), Panel Alignment, Primer, Block Sanding, Paint, and Color Sanding.
- Powertrain: Buying an LS engine does NOT mean you’ve finished an LS Swap. You must budget for the Transmission, EFI/ECU, Custom Mounts, Oil Pan, Cooling, High-Pressure Fuel System, Headers, and Driveshaft.
- Chrome & Trim: Grilles, bumpers, side trim, emblems, and the rare brackets that hold them. Small discontinued clips can cause major delays and high sourcing costs.
- Chassis & Brakes: Tubular control arms, coil-overs, dual-bowl master cylinders, and disc brake conversions.
Hidden Traps and The Triage Matrix
Hidden costs ruin budgets: Hidden Rust (found only after teardown), Missing Parts (rare brackets), Shipping (freight for floor pans), and Rework (engine hitting the steering rack). Triage your parts immediately:
- Keep/Rebuild: Original stainless trim, rare brackets, and gauges (OE thickness beats cheap reproductions).
- Replace: Rotted structural metal, old wiring, single-bowl master cylinders. Part Price ≠ Restoration Cost. A cheap reproduction fender that requires 5 hours of cutting and welding is more expensive than a premium OE-spec panel.
- Reproduce: For completely discontinued parts, reverse engineering becomes the final, necessary path.
The 1,500-Hour Reality and DIY Economics
A frame-off restoration takes 1,500–2,000 labor hours. However, due to machine shop queues, paint jail, and parts backorders, the Calendar Time often spans 2 to 3 years.
Recommended DIY
Do the teardown, bagging, cleaning, sound deadening, basic interior, and simple assembly.
Mandatory Outsourcing
Outsource structural frame welding, media blasting, engine machine work, professional paint, and alignments. DIY mistakes here cause catastrophic rework costs.
3. Strategic Teardown and Structural Metalwork
Teardown is not just disassembly; it is a second inspection. The goal is to confirm hidden damage, establish a parts archive, restore structural integrity, and set the baseline for final assembly.
Bag-and-Tag: The Systemized Teardown
Execute this sequence: Photograph → Label → Bag → Inventory → Inspect. Document overall connections, shims, and wire routing before removal. Bag every item with its location, L/R side, quantity, and replacement need. Sort into Keep / Rebuild / Replace / Missing.
Crucial Warning: Do not throw away rusty original hardware! Even heavily rusted clips, fasteners, and brackets serve as your only physical reference for size, thread pitch, and clip structure when verifying reproduction fitment.
Stripping and Bare-Metal Processing
Compare your methods: Chemical Stripping is safe for thin metal and aluminum; Mechanical Sanding is labor-intensive; Media Blasting is fast but risky. Never use coarse sand on body panels. Use 40/70 crushed glass, adjusting the PSI based on your equipment and panel thickness to prevent heat/pressure warping.
The Bare Metal Workflow: Strip → Blow Off → Clean → Inspect → Repair → Epoxy Prime. Flash Rust occurs when bare steel meets humidity. You must seal the metal with 2K Epoxy Primer (a corrosion barrier, not a final build primer) as quickly as your specific shop climate dictates.
Structural vs. Cosmetic Rust: The Replacement Strategy
Categorize damage into Surface Rust, Perforation, and Structural Corrosion. Structural rot on Floor Braces, Body Mounts, and Rockers must be addressed with fresh metal—never fiberglass or Bondo.
When choosing between a Patch, Partial Panel, or Full Panel Replacement, calculate the formula above. A cheap $60 patch panel might require 15 hours of delicate butt-welding and heat management. An $800 full stamped floor pan might drop in with 6 hours of spot welding, making the expensive part cheaper to install and structurally superior.
Before any fine sheet metal work begins, check frame straightness and body mounts. A tweaked frame ruins all panel gaps. Next, perform a full Mock-Up of the Doors, Hood, Fenders, Trunk, and Bumpers. Check gaps, flushness, hinge movement, and latch engagement.
The Golden Rule: Metal first, filler second, paint last. Fix gaps by cutting, welding edges, or adjusting shims. Never use thick filler to correct structural misalignment. Note: Achieving a modern 3/16-inch uniform gap is a custom Restomod goal, not a 1955 factory spec.
Structural Completion Checklist
Do not proceed to chassis/paint until: Frame is straight; body mounts corrected; rust replaced; braces repaired; major panels mock-fitted; doors/hood aligned; structural welding complete; bare metal protected. If the structure isn’t locked, don’t paint it.
4. Drivetrain and Chassis Modernization Architecture
Bolting a modern 400-horsepower engine into a 1950s chassis without upgrading the geometry, brakes, and spacing is a recipe for an undrivable, dangerous vehicle. This phase requires balancing historical authenticity against the demands of modern highways.
Original V8 vs. LS Swap: The Complete TCO Profile
The choice between retaining a factory 265/283 V8 and executing a modern LS engine swap dictates the trajectory of your entire build. You must evaluate this based on your core owner profile:
- The Preservationist (Original V8): Focused on NCRS points, weekend car shows, and retaining the “Numbers Matching” collector premium.
- The Pro-Touring Driver (LS Swap): Demands cross-country reliability, 75mph overdrive cruising, modern air conditioning, and turn-key cold starts without vapor lock.
| Dimension | Original Factory V8 | Modern LS Engine Swap |
|---|---|---|
| Reliability & Cold Start | Carburetor requires cold-start pumping; highly prone to vapor lock in summer traffic. | EFI provides instant turn-key starts in extreme hot or cold environments. Zero vapor lock. |
| Driving Experience | Period-correct sound and feel. Usually paired with a 2-speed Powerglide (high RPM at highway speeds). | Massive, linear power delivery. Paired with 4L60E/6L80E overdrive transmissions for low-RPM, quiet highway cruising. |
| Collector Value | Maximum authenticity; protects the “Numbers Matching” premium valuation at auction. | High Pro-Touring resale value, but permanently destroys original historical accuracy. |
| Total Installed Cost | Moderate: $4,000 – $8,000 for a thorough mechanical rebuild using existing mounts and original fuel systems. | High: $10,000 – $18,000+. You must purchase the engine, custom harness, EFI fuel tank, headers, mounts, and cooling. |
LS Swap Packaging: The Space & Accessory Puzzle
A $2,000 junkyard LS engine does not mean a $2,000 swap. An LS swap is a complex game of spatial packaging. You are not just “dropping it in”; you must resolve multiple clearance conflicts:
- The Steering & Oil Pan Conflict: Factory LS truck oil pans are far too deep and will violently strike the Tri-Five’s center steering drag link. You must install a specialized retro-fit pan, such as the Holley 302-2, which features a recessed front profile specifically designed to clear the steering linkage.
- Firewall Clearance: The passenger side cylinder head of an LS engine sits very far back. Depending on your transmission choice, the engine often needs to be shifted 3/4-inch forward using custom adapter plates to prevent crushing the original wiper motor.
- Radiator Relocation: Due to the front accessory drive (water pump, alternator, AC compressor) of the LS, you will likely need to mount the new aluminum radiator in the “6-cylinder position” (in front of the core support) to gain crucial clearance for dual electric fans.
Curing the “Boat Ride”: Suspension & Rear Axle Matching
Driving a stock 1955 Bel Air at 75mph feels like steering a pontoon boat. If you double the horsepower, you must double the chassis rigidity and geometry.
Tubular Control Arms & Positive Caster
Factory Tri-Fives suffer from terrifying high-speed wander due to negative caster. Upgrading to Tubular Control Arms inherently dials in +4 to +5 degrees of Positive Caster. This simple mechanical shift forces the steering wheel to self-center and provides modern, straight-line tracking on the highway.
Sway Bars, Shocks, & Axle Ratios
Install heavy-duty hollow sway bars front and rear to eliminate cornering body roll, paired with adjustable coil-over shocks. Furthermore, if you upgraded to a modern overdrive transmission, you must change your Rear Axle Ratio (e.g., swapping to a 3.73 gear) to ensure the engine doesn’t lug at low RPMs during 5th-gear cruising.
Braking & Modern Drivability: The Hydroboost Solution
The standard progression of Tri-Five braking is: Original 4-Wheel Drum → Front Vented Disc Conversion → Dual-Bowl Master Cylinder. Upgrading to a dual-bowl system is a non-negotiable safety mandate; if a single line ruptures on the original single-bowl system, you lose 100% of your braking capacity.
Traditional power brakes rely on a Vacuum Booster, which requires a steady 16 to 18 inches of vacuum (Hg) from the engine manifold.
The Problem: If you install a high-performance LS engine or an aggressive, “lumpy” camshaft, engine vacuum at idle plummets to 10-12 Hg. A traditional vacuum booster will fail to operate, leaving you with a rock-hard brake pedal.
The Solution: You must upgrade to a Hydroboost system. Hydroboost completely ignores engine vacuum, instead plumbing directly into the hydraulic pressure of your power steering pump. It delivers up to three times the clamping force of a vacuum booster.
The Driving Reality: Imagine cruising at 75mph on the highway when a modern Tesla slams on its brakes in front of you. 400 horsepower is useless if your chassis floats and your brakes fade. Modern suspension geometry and Hydroboost disc brakes are what separate a dangerous garage queen from a true, reliable Restomod.
5. Final Assembly, Electrical, and Aesthetics
Modern Electrical System & The Grounding Trap
A Restomod electrical system should use a modern wiring harness, blade-style fuse panel, relays, and a properly sized 100A+ alternator. EFI, fans, HVAC, lights, and audio should have dedicated, protected circuits. Grounding is equally critical because fresh paint and powder coating can interrupt bare-metal connections. Add heavy-gauge grounds between the battery, chassis, engine, frame, and body to prevent charging issues, sensor faults, dim lights, and intermittent electrical problems.
Block Sanding & Paint Quality
Paint quality is dictated by the metal beneath it. The sequence—Primer, Block Sanding, Long-block Sanding, Paint, Color Sanding, and Polishing—is labor-intensive. Driver Quality allows for minor orange peel and limits sanding hours. Show Quality costs tens of thousands more because it requires extreme manual labor to achieve a flawless, distortion-free reflection.
Interior, HVAC & NVH
Restomods blend vintage visuals with modern comfort. Install butyl sound deadener across the Floor, Firewall, Doors, and Trunk. This “invisible construction” isolates heat, eliminates tinny resonance, and makes doors close with a solid thud. Complete the cabin with Vintage Air (HVAC) and Dakota Digital gauges. The installation sequence matters: electrical and HVAC first, sound deadening and insulation next, then carpet and interior trim. Installing the visible interior too early can turn a simple wiring or HVAC correction into a major disassembly job.
Checklist: Before the first start, verify engine oil level, coolant level, fuel pressure, battery voltage, electrical connections, ignition timing, transmission fluid, brake fluid, and visible leaks. After the engine starts, immediately monitor oil pressure, coolant temperature, charging voltage, fuel pressure, and abnormal noises.
Cam Break-in Exception: A common procedure calls for elevated engine speed during the initial break-in period rather than prolonged low-speed idling. Modern LS engines using roller camshafts do not require this traditional flat-tappet break-in procedure.
Staged Shakedown: First Start (leaks) – Short Test (temps/brakes) – City Test (alignment/trans) – Highway Shakedown.
6. The Ultimate Parts Sourcing Guide
For Individual Owners: 5 Steps to Avoid the “Universal Fit” Trap
A $50 savings on a cheap part can cause hours of frustrating, paint-damaging rework.
- Verify Exact DNA: Never buy parts labeled just “Tri-Five.” Confirm Year + Model + Body Style + Exact Application + OE Reference.
- Reject “Universal” Rubber: Buy exact-durometer molded sponge rubber for weatherstripping. Cheap extruded rubber requires slamming doors, breaking original latches.
- Cross-Reference Dimensions: Use your bagged original rusted clips to measure against the specs of reproduction parts.
- Calculate the Rework Penalty: A poorly fitting reproduction bracket might require you to grind, weld, and repaint, costing hundreds in hidden labor.
- Source Scarce Parts Early: Build your procurement list for rare clips, trim, and brackets on day one. Do not wait until the car is painted.
For Restoration Shops & Dealers: 5 Steps to Protect Profit Margins
In a commercial shop, profitability relies on Throughput. The ultimate bottleneck is the discontinued, hard-to-find part (e.g., a 1957 specific trim clip) that stalls assembly.
- Audit Total Installed Cost: Do not just compare Unit Price. If a cheap reproduction fender requires 4 hours of cutting and re-welding to align, its true cost destroys your labor margins.
- Secure Supply Chain Stability: Partner with manufacturers that guarantee repeatable tolerances and stable lead times across production batches.
- Leverage Reverse Engineering for Discontinued Parts: Follow the sourcing hierarchy: Original/NOS → Quality Reproduction → Used/Salvage → Reverse Engineering. When NOS dries up, you need a supplier capable of 3D scanning and recreating obsolete components.
- Demand OE-Spec Dimensional Accuracy: Ensure all sourced hardware matches factory thread pitches, shoulder lengths, and geometries to eliminate ad-hoc modifications on the shop floor.
- Standardize Procurement: Consolidate sourcing for high-turnover classic components with vendors who possess in-house tooling capabilities.
The Sunway Solution: OE-Specification Manufacturing
At Sunway Autoparts, we know that “able to be bolted on” is completely different from “matched to original specifications.” We bridge the classic car supply chain gap through advanced reverse engineering.
Utilizing 3D laser scanning, in-house tooling, and precise material matching, we resurrect discontinued parts.
Stop letting missing or poorly manufactured parts delay your Tri-Five restoration.
Secure OE-Spec Restoration Parts with Sunway Today



 English
  Spanish
  French
  German