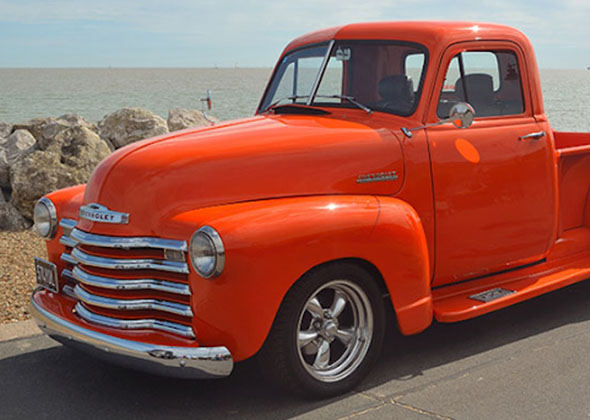
The Legend Reborn: Why Restore an Early Ford Bronco?
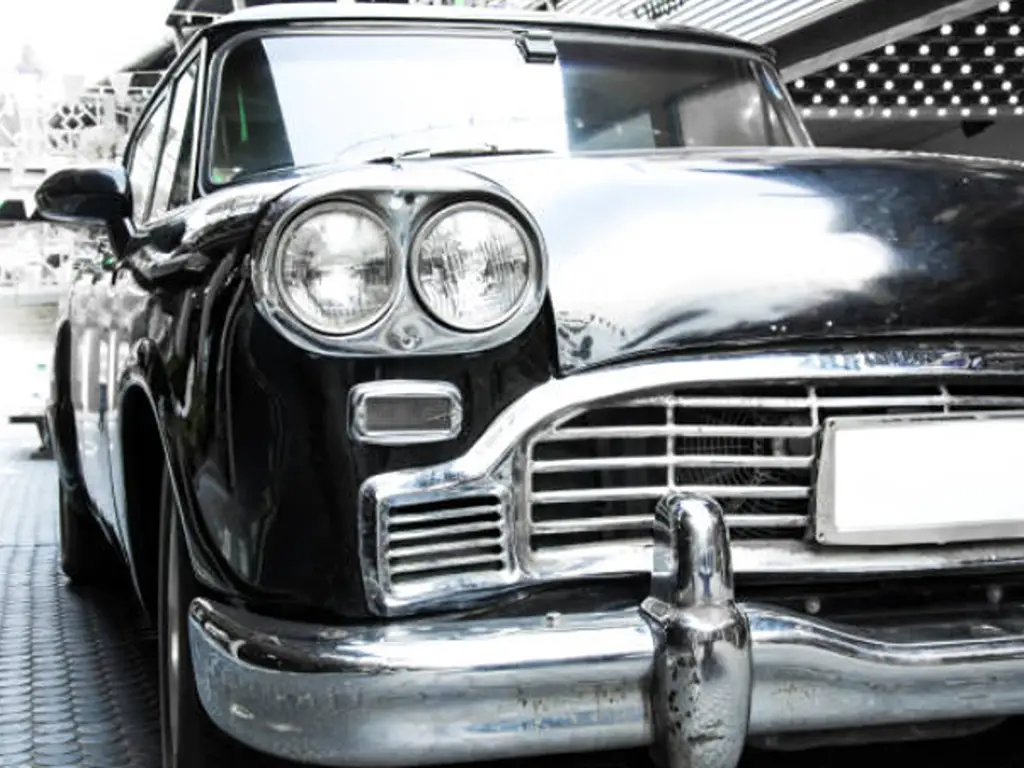
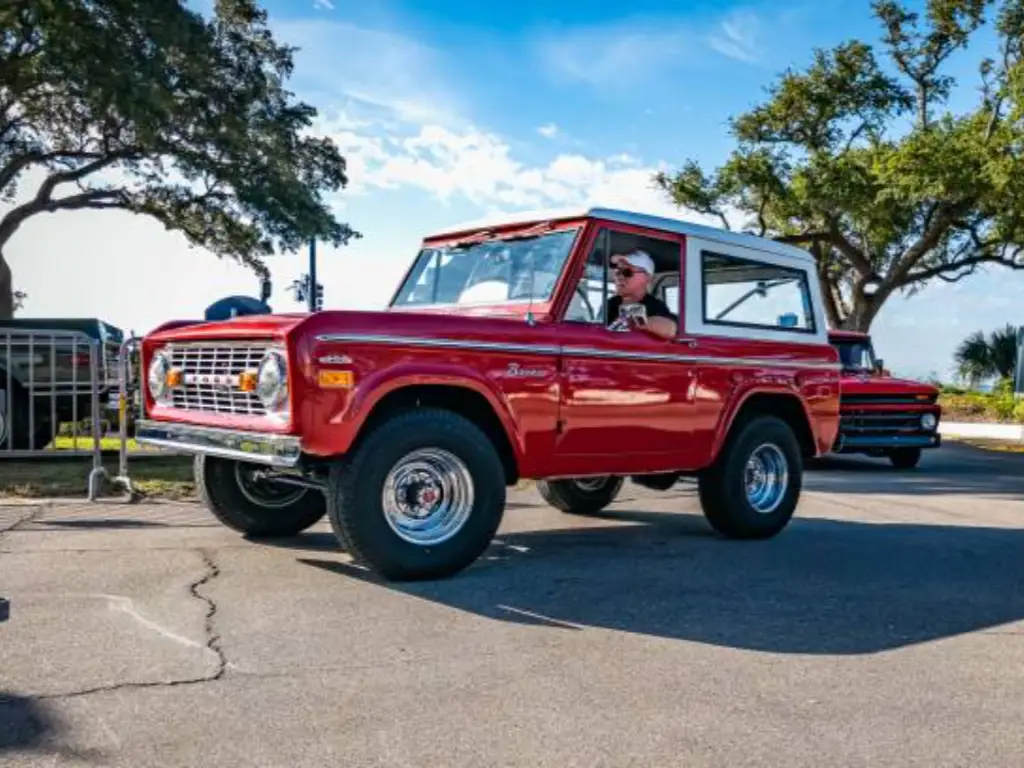
The original Ford Bronco (1966-1977) is a classic American adventure icon and a classic in design. To a large number of fans, it is the dream truck that they have always had, a rugged and, at the same time, extremely stylish truck. The process of restoring one is not just a mechanical project; it is a preservation of the history of automobiles. It is an arduous process, whether you are on a quest to get that nostalgia of the old Broncos or the beauty of a dream Bronco resurrected. However, the payoff, the bang of a fresh V8, and the ego of bringing back a legend are priceless. It is your roadmap to that vintage Ford Bronco revival, and it provides you with the knowledge and real-world wisdom to make it a success.
Before You Begin: The Critical Planning Phase
A restoration may be driven by passion, but it is planning that is the chassis. An effective project is designed on a platform of well-defined objectives, expectations that are realistic, and good knowledge of the involved costs. The worst offender of project stall and failure is rushing into a teardown without this important foresight. To most fans, this meticulous planning is the actual start of the restoration process.
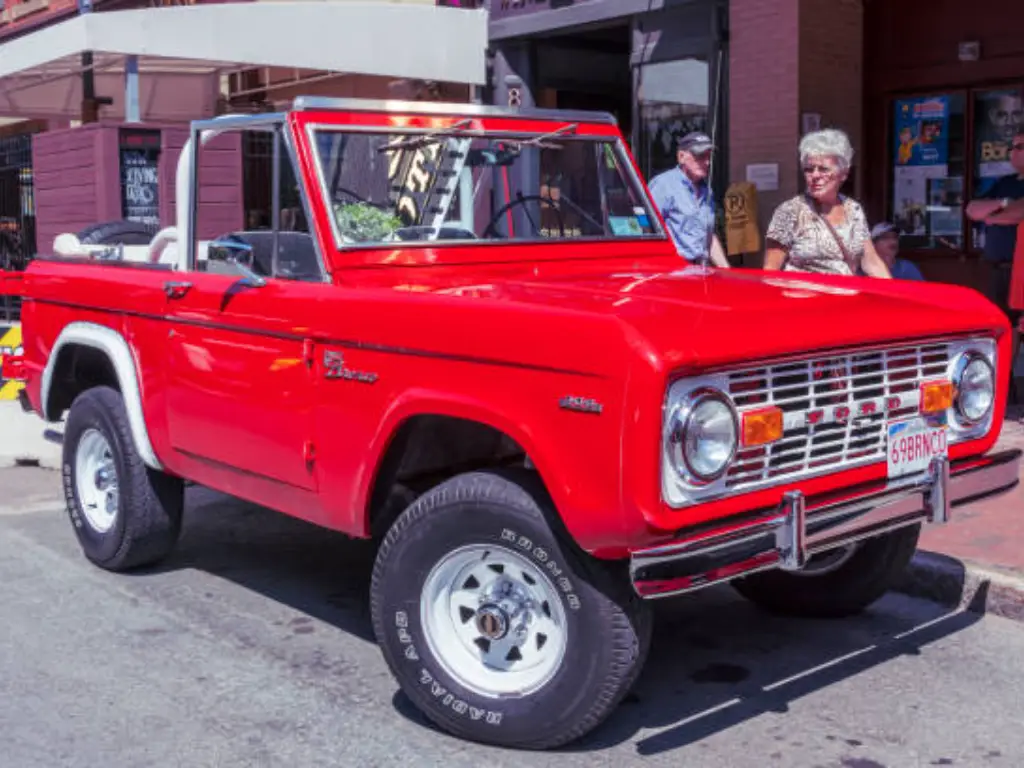
What to Look for in a Project Bronco
Your starting vehicle will determine the amount, price, and quality of your overall work on it. The search for the so-called right truck: Bronco is not about seeking a flawless truck, but rather one that has the right amount of flaws that fit your budget and ability. Certain collectors like the originality, whereas others take it as an honor to build a personalized Bronco that suits their imagination.
- Frame Excellence: The Bronco has a ladder frame as a support. Examine it carefully to note cases of serious rust, cracks (particularly in the areas of the steering box and suspension mounts), and traces of a poor repair job. Light rust is easy to handle; deeper, flaking rust or frame holes are serious indicators that may demand a frame-off restoration and professional fabrication abilities.
- Test the “Tetanus Tub”: This is the steel body that is popularly referred to as the tub; it is a well-known rusty material. The main parts that should be examined are floor pans (lift up the mats), inner fenders, rocker panels, tailgate, and the joints between the rear quarter panels and the floor. Although almost all the original Broncos have some rust, the degree of corrosion will be one of the main factors in price and workforce. The same issues can be found in a variety of old Broncos, which is why it is important to inspect them properly.
- Originality and Completeness: It is always a better platform to start with a vehicle that is complete, even though the parts may be in a worn condition, than a basket case that has been disassembled. It can be so time-consuming and costly to locate dozens of small, model-specific, trim pieces, brackets, and switches. Check and verify VIN plate and frame stampings with each other and validate the original configuration of the vehicle (engine, transmission, axle).
- Mechanical Condition: There is no need to worry too much about a non-running engine except when you are trying to restore it to numbers-matching. The 289/302 V8s of the day are easy to reassemble, and new engine conversions (such as the Ford Coyote 5.0L) are widespread. Rather, emphasize the wholeness of the key parts of the vehicle, such as the transmission, transfer case (the Dana 20 is sturdy), and the axles.
Budgeting Your Build: A Realistic Look at Restoration Costs
A restoration budget is a living document, though you have to begin with a realistic base. Depending on how far you want to go and what level of service you want to start with, the price can range from very high or very high. Regardless of whether you are restoring a vintage Bronco or one of the many that are available, or creating a high-end custom Bronco, your budget should not only match your vision but also match your constraints.
| Restoration Level | Vehicle Purchase Cost | Parts & Materials Cost | Professional Labor (if any) | Estimated Total Cost |
| Driver Quality (DIY) | $15,000 – $25,000 | $15,000 – $25,000 | $0 – $5,000 | $30,000 – $55,000 |
| Driver Quality (Shop) | $15,000 – $25,000 | $20,000 – $30,000 | $30,000 – $50,000 | $65,000 – $105,000 |
| Show Quality (Restomod) | $20,000 – $40,000 | $40,000 – $70,000+ | $70,000 – $120,000+ | $130,000 – $230,000+ |
Note: These figures are estimates as of late 2025 and can fluctuate based on the market, location, and parts availability. Always add a 15-20% contingency fund to your budget for unexpected discoveries.
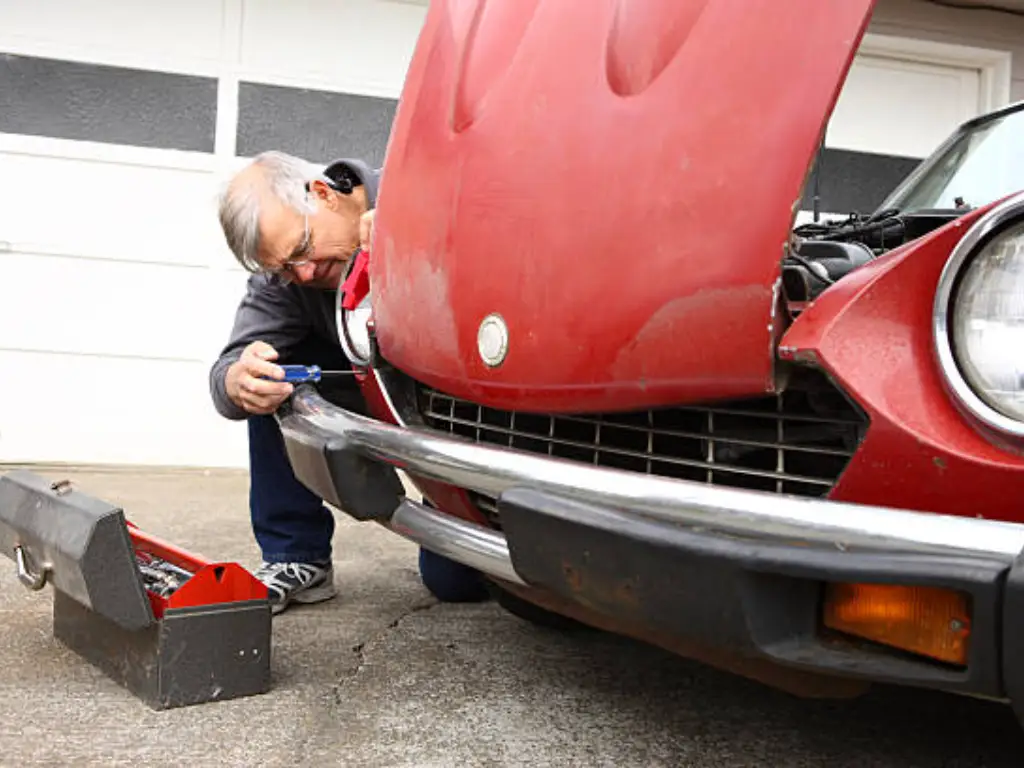
Two Paths, One Goal: DIY vs. Professional Restoration
- Do-It-Yourself: It is the most satisfying and less expensive in terms of cash investment. It requires a lot of time, a working area, equipment, and readiness to acquire new techniques such as welding and wiring. To most hobbyists, the experience of working on the restoration process is the most fulfilling facet.
- Professional Path: Takes advantage of professional experience and professional gear to achieve a timeline that is faster and a higher-quality finish. It is an expensive financial venture, and the cost of skilled labor ranges between 75 and 150 an hour. You should always find a store that deals in vintage Broncos.
Step-by-Step Guide to Restoring an Early Ford Bronco
Step 1: Strategic Teardown and Parts Cataloging
It is not mere disassembly; it is a forensic investigation. The aim is to tear down the car in phases.
- Photo-Document Everything: When you remove a part, be sure to take photographs of it, in various positions, prior to, during, and after removal. You will have these photos, so to speak, as your bible when reassembling.
- Bag, Tag, and Organize: All hardware should be used in zip-top bags and labeled. Note down what the hardware is and its source. With bigger parts, boxes, and inventory sheets are used. When properly dismantled, a teardown can save you more than 50 hours of lost time when it comes to reassembling.
- Assess As You Go: Check the state of the parts that you are taking off. Is it salvageable? Does it need to be rebuilt? Or does it need to be replaced? Prepare a running order parts sheet.
Step 2: Bodywork, Rust Repair, and Paint Preparation
It is the place where a Bronco is actually reborn. In case of steel-bodied classics, bodywork is 90th percent of the battle.
- Media Blasting: The best place to begin would be to have the body and frame and media blasted or sandblasted. This leaves it bare metal with all the rust and past mends being exposed.
- Metal replacement: Do not skim-coat rust with body filler. The only lasting remedy is to remove the corroded metal and ensure replacement with new quality and high-quality panels that are welded. This is an art, but the basis for a permanent restoration.
- Preparation of Paint: The top paint finish could not be any better than the underlying surface. This stage includes careful panel fitting, skim coating, block sanding, priming, and sealing. It is an artistic process that is very demanding in terms of time.
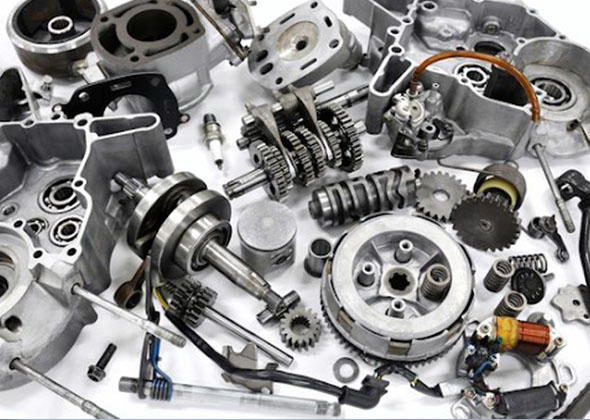
Step 3: The Mechanical Heartbeat – Drivetrain & Suspension
As the bodywork is in progress, the chassis and the powertrain become the focus.
- Frame and Axles: Since the frame is bare, this is the ideal moment to box it up to make it strong, weld new suspension mounts, and use hardy chassis paint or a powder coating. Install new bearings, seals, brakes, etc., on the axles.
- Engine and Transmission: Determine which option to use, to rebuild the original engine or to do a modern swap. Rebuilding consists of a complete dismantling, machining, and reassembling with new gaskets, bearings, and rings. A swap would need new motor mounts, wiring harnesses, and even a different transmission.
- Suspension: It was a primitive suspension on the original Bronco. The on-road performance and off-road capability of a vehicle can be significantly enhanced by modern lift kits that incorporate progressive-rate coil springs, new radius arms, etc. Install new steering components, shocks, and bushings.
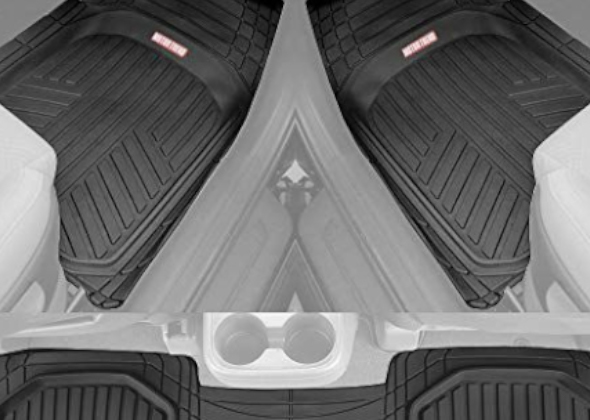
Step 4: Interior Restoration and Upholstery
The interior is what you deal with directly in the car. It must be comfortable, useful, and in keeping with the period (or tastefully modernized).
This will involve repairing the dashboard, gauges, and heater case, and installing new seat upholstery, flooring (rubber mat or carpet), and door panels. Detailing here can be used to bring the look and feel of an old bronco to the next level of combining comfort and authenticity.
Step 5: Electrical System Refurbishment
Old (more than 50) wiring is a work of exasperation and possible fire breakers. Corroded connections, brittle wires, and unfused circuits are still outdated and therefore hazardous. One of the biggest investments that can be made concerning reliability and safety is a completely new wiring harness. They are well-branded and have options for modernization, such as electronic fuel injection or brighter headlights.
Step 6: Final Assembly
It is the satisfying stage when your bags of hardware that you labelled and your thousands of photos are paid off. When you carry on with the mounting of the drivetrain, the body on the frame, the wiring, and the interior, the glass, and the trim, the vehicle begins to appear like a Bronco once again.
In your own time, there is no use hurrying to get up here; you just scratch the paint and make frustrating errors. This is the point at which all the work of the classic bronco restoration really pays off for many builders.
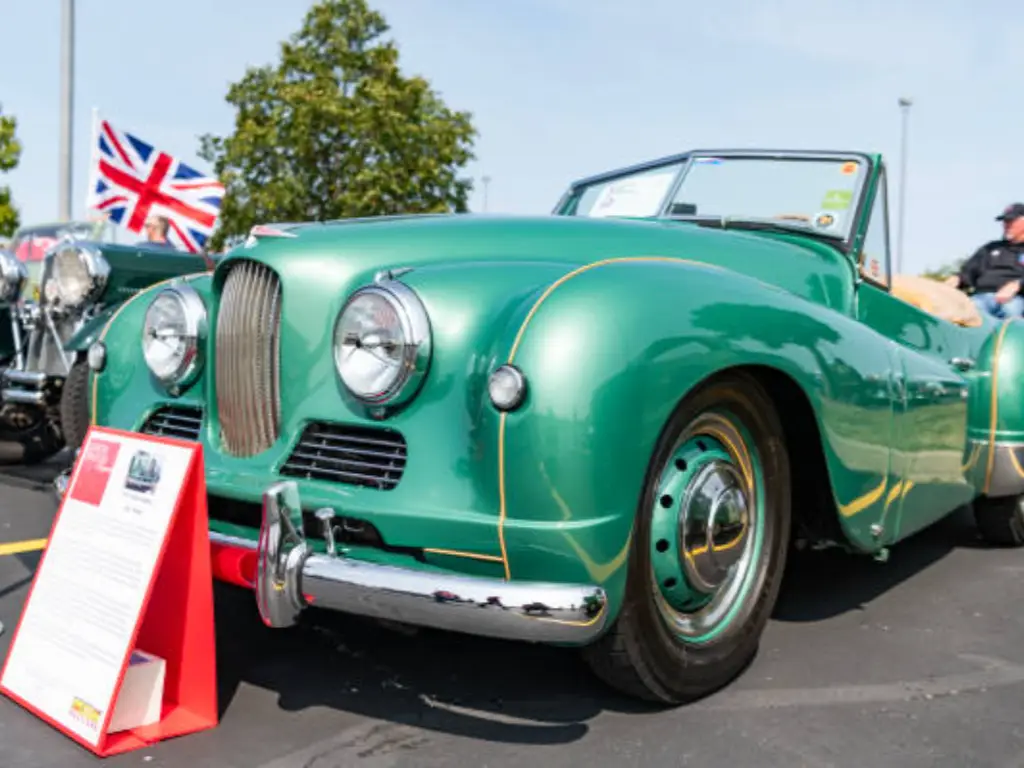
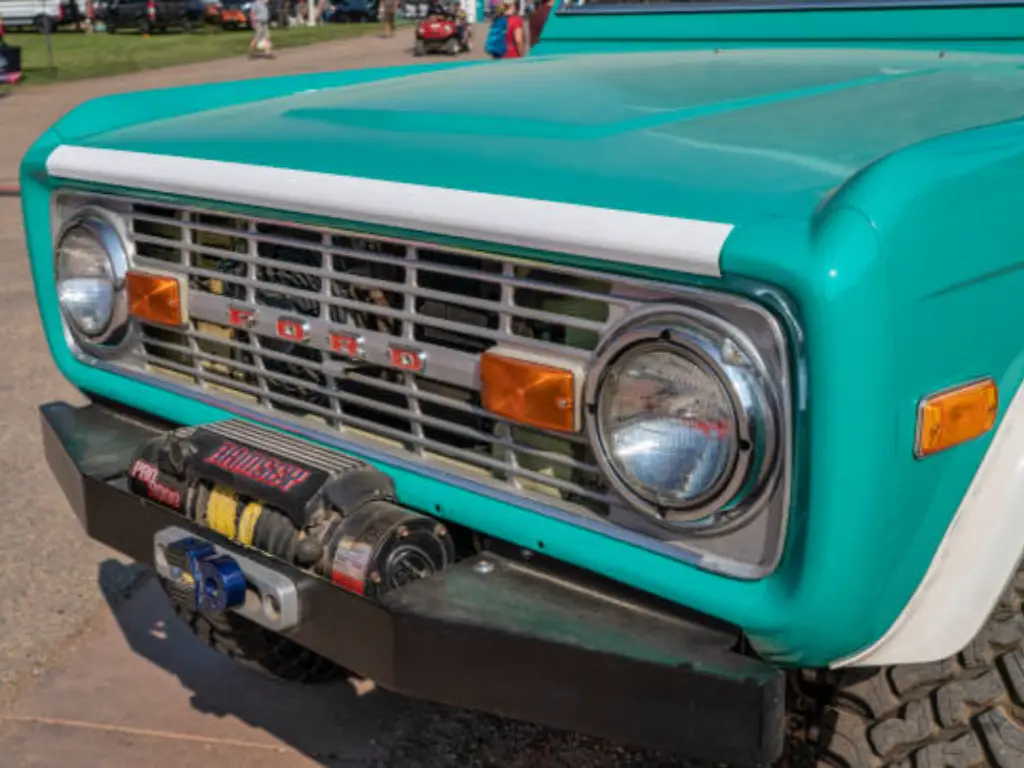
The Difference is in the Details: Achieving Factory-Level Fit and Finish
What is the difference between a good and great restoration? The details. In particular, the fit and finish of each individual component. At some kind of professional shop, it takes hours and hours of time to get the door openings balanced out, fender lines laid, and all the trim in place. It is this quest for accuracy that makes the visual outcome beautiful, but it is the area in which bad parts can shatter budgets and schedules.
Even a panel stamping error of a couple of millimeters can take hours of professional work to cut, bend, and weld, cancelling out the cost savings in the first place. Such is the dilemma of all restorers: to locate components to revere the original design at modern manufacturing accuracy.
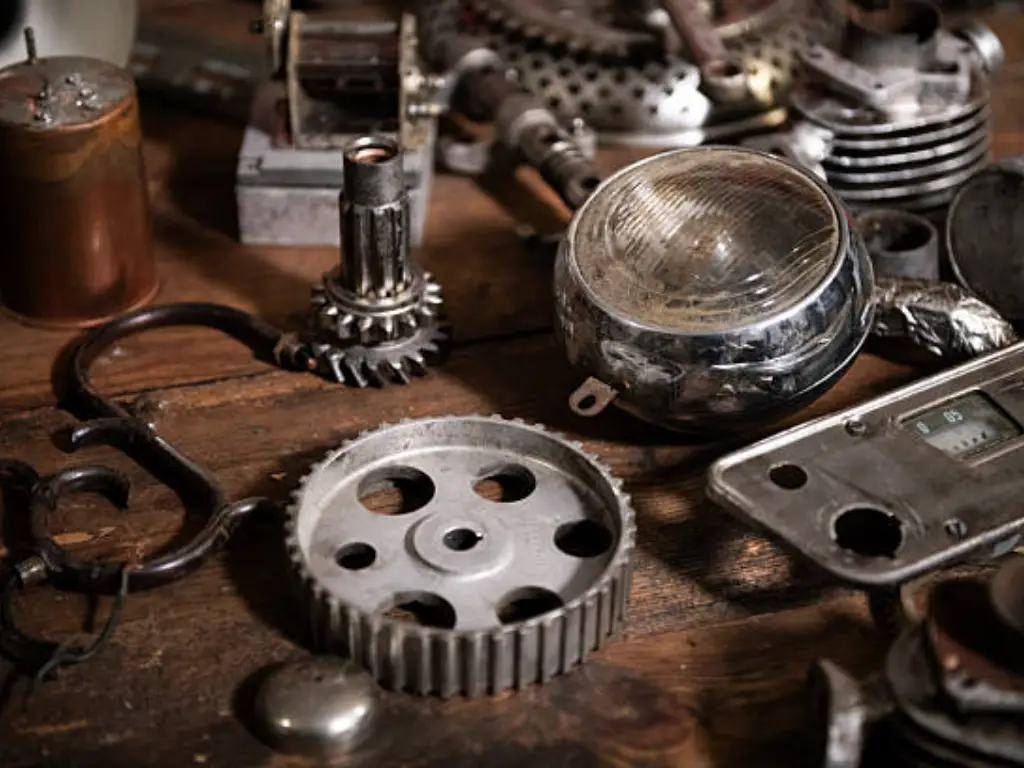
Your Partner in Revival: Sourcing Parts That Honor the Legend
The greatest challenge to any traditional restoration is the search for parts that have not been produced anymore. Your lifeline is the aftermarket, and it can be of absolutely different quality. Here is where it comes in: having a specialist manufacturer. At Sunway Autoparts, we have been specializing in classic auto parts since 2007, knowing that in the case of a car such as the Ford Bronco, it does not matter whether we are dealing with luxury or not, but accuracy is a must.
It is all based on a simple promise, and that is to deliver excellent, OEM-level products, which will save you time and money. Precision manufacturing is an example of the way we use modern manufacturing to make sure that our components fit first. This is revolutionary in the case of a restoration shop. Our ideal fender or rocker panel will be a stamped part that will save your technicians a billable hour in changing an ill-fitting part. This reduces the project timelines directly, and it will enhance the throughput of your shop.
To the distributors and wholesalers, we present to you our consistent, constant upstream manufacturer. We are also dedicated to a regular quality, consistent inventory, and flexible quantity ordering, which means that you have a partner who is dedicated to your success and who has a product that you could stand by.
Common Pitfalls in an Early Bronco Restoration (And How to Avoid Them)
- Underestimating Rust: The rust that you can observe is usually only 25% of the visualized issue. Make sure to discover additional corrosion after de-vehiculation.
- Losing Momentum: It is a marathon, not a sprint. To prevent burnout, make sure that you set small, achievable goals. Brag about accomplishments, such as completion of the teardown or engine start.
- Scope Creep: It is too easy to keep on tempting to add one more upgrade. Your first plan should be followed as much as possible, so as not to exceed the budget and schedule.
- Disregarding the Wiring: In this instance, it is very important to note that reusing the old electrical harness is a mistake. It is a sham that will certainly result in a lack of reliability.
- Making Concessions on Boring Parts: It is easy to overspend on wheels and paint and underspend on bushings, seals, and bearings. These are invisible elements that play a significant role in the safety, vehicle handling, and life cycle.
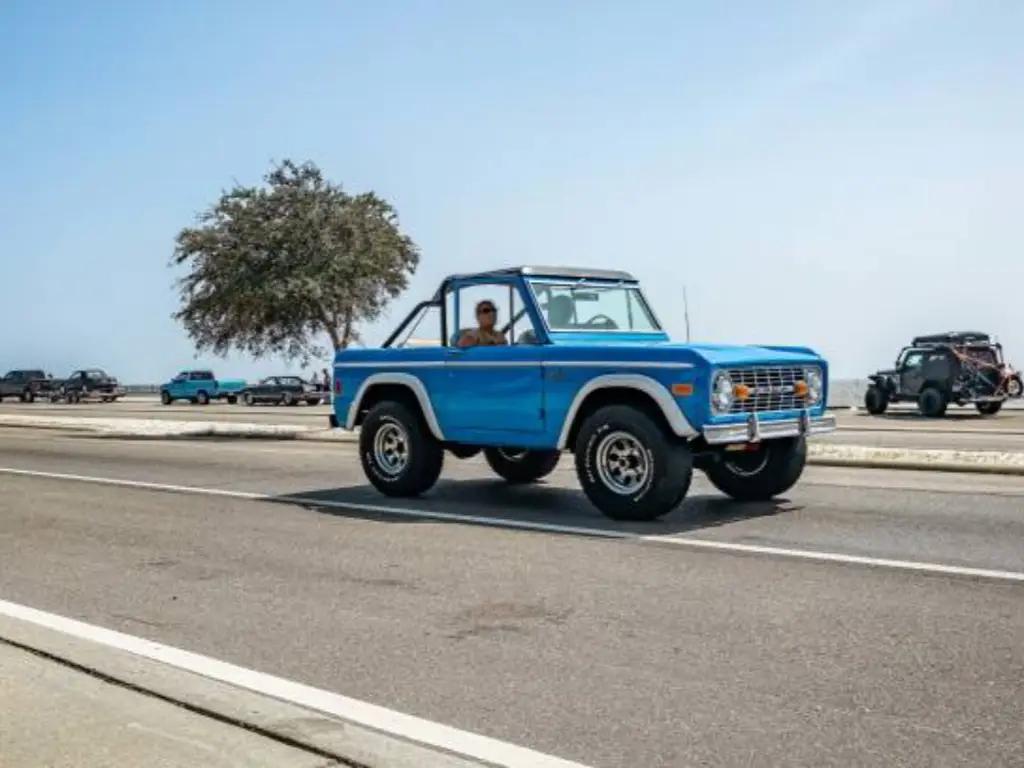
Conclusion
Rebuilding an early Ford Bronco is a process that will challenge your abilities but will make you a legendary Ford Bronco reborn. It is not merely an act of reimbursement of a car–but it is a resurrection of a classic Ford Bronco that can tell tales and soul into the new age. With proper planning, selection of the appropriate partners in high-quality parts, and acceptance of the process, you will be assured that your project is not accomplished at the frustrating point but at the point where you have a dream Bronco and are ready to take its next great adventure.