Introduction: The Dream of Bringing History Back to Life
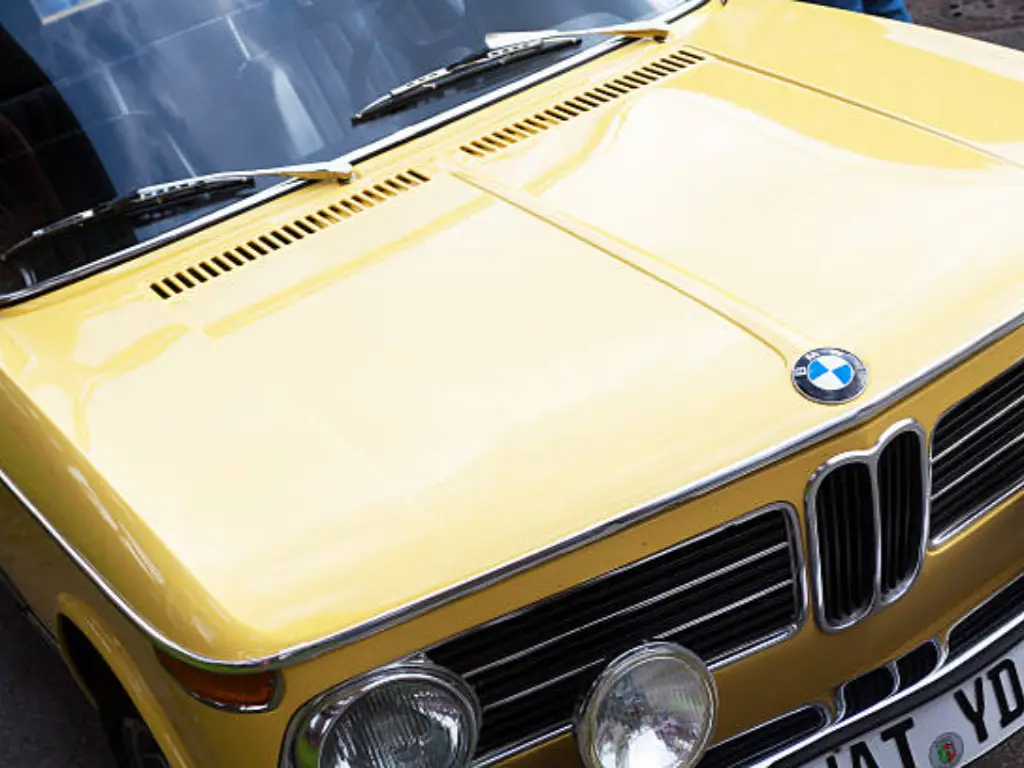
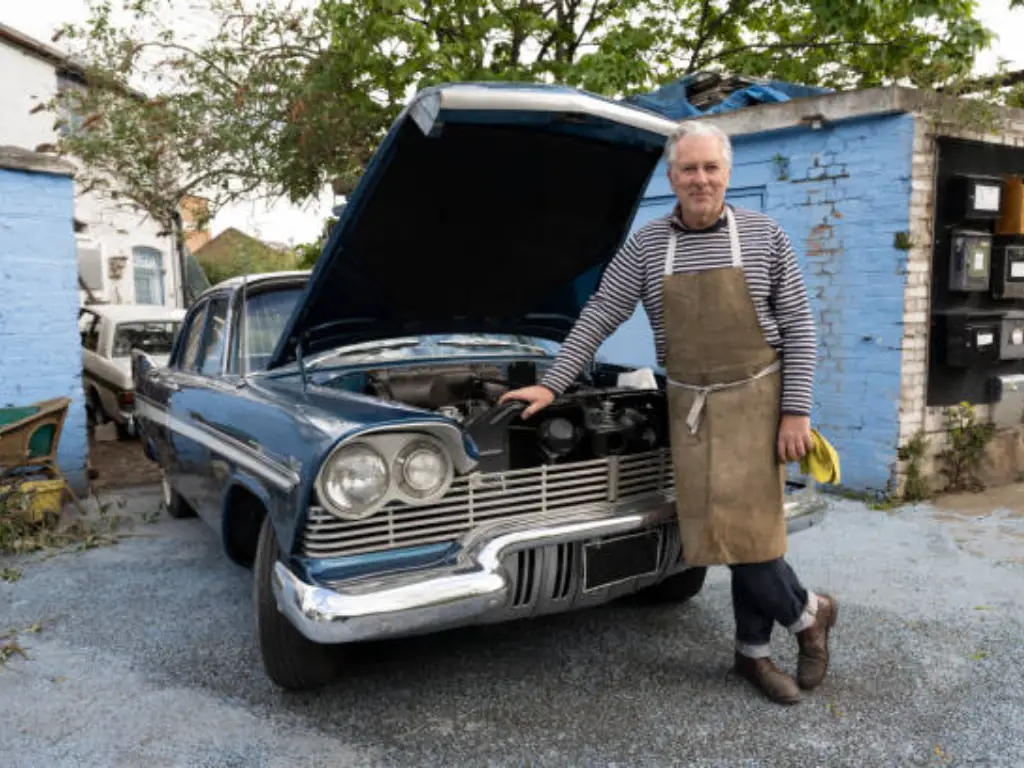
Vintage car restoration has something special about it. It is the fantasy of having discovered in a barnhouse some lost object of chrome and steel cumbering in ten years of dusty slumber, and returning it to its former glory, reminiscent of the birth of muscle cars. It is the dream of driving around in a vehicle that is both partly history and partly vintage beauty, and a soul.
On the road between that dream and the reality of the first drive is a long, tough, and most rewarding one. It is not just a weekend project. The process of a full frame-off car restoration is a work of art in the automotive, work, and financial engineering fields. A specialty insurer’s study discovered that most of the projects are started and abandoned halfway, yet they were not abandoned due to a lack of passion but due to a lack of a detailed plan.
This guide is that plan. It is a 10-step guideline that would make you a dreamer into a winning historian of automotive history, including a brief history of classic cars. This is the guide in order to make your restoration project a moving masterpiece rather than a garage fixture. Go further into each stage, and what comes to mind can be seen in aspects of restoration that actually make the entire process, such as knowing classic car design, and seeing a classic car’s value in every corner that you turn.
Step 1: Research, Budgeting, and Finding Your Car
You even have to arm yourself with knowledge before you can ever get your hands on a wrench. This is the first step in the phase of the plan, and it will determine whether this project will be successful or not.
Defining Your Goal: Restomod, Concours, or Daily Driver?
You have to recognize what is perfect. A perfect restoration is relative, and your decision will control all the decisions, such as the budget or parts.
- Concours: Factory-flawless, numbers-matching restoration. This is done with the aim of making the car up to its accurate original specifications, including the right hose clamps. It is the costliest way, and it requires the true car’s historical accuracy.
- Restomod: An “Remodeled” and “Modified” model. This design maintains the vintage soul and body and modernizes the powertrain, brakes, suspension, and electronics. It promises the current dependability and functionality.
- Driver: Practical repair that will not break a sweat over an air scratch. The target is to have a trustworthy, secure, and pleasant vintage vehicle that could be driven on a regular basis. The original, aged paint and trim (patina) could even be retained.
This choice is critical. A restomod assembler will be thrilled to put in a fresh crate engine, and a concours restorer will have his thousands invested in reassembling the original numbers-matching block.
| Restoration Goal | Primary Focus | Budget (Relative) | Difficulty |
| Concours | 100% factory originality, “numbers-matching” | $$$$$ | Extremely High |
| Restomod | Classic look, modern performance & reliability | $$$$ | High (Complex) |
| Driver / Survivor | Reliability, safety, and drivability | $$ | Moderate |
The 150% Budget Rule: Planning for the Unexpected
The most realistic piece of advice you will ever get is to put up your detailed, itemized budget. Then, double it.
The pitfall that is usually made is the underestimation of the hidden costs. Paint and bodywork work alone would take up 40-50 percent of a total restoration cost, usually ranging between 10,000 and over 30,000 dollars to complete a good job. It is the while you are in there syndrome, when you are changing the fender, you learn that the inner part is also rusted and has to be replaced, and then you find out, then you find out, etc. To prevent a cash-flow crisis in the middle of the project, there has to be a minimum 150% buffer.
How to Choose the Right Project Car (and What to Avoid)
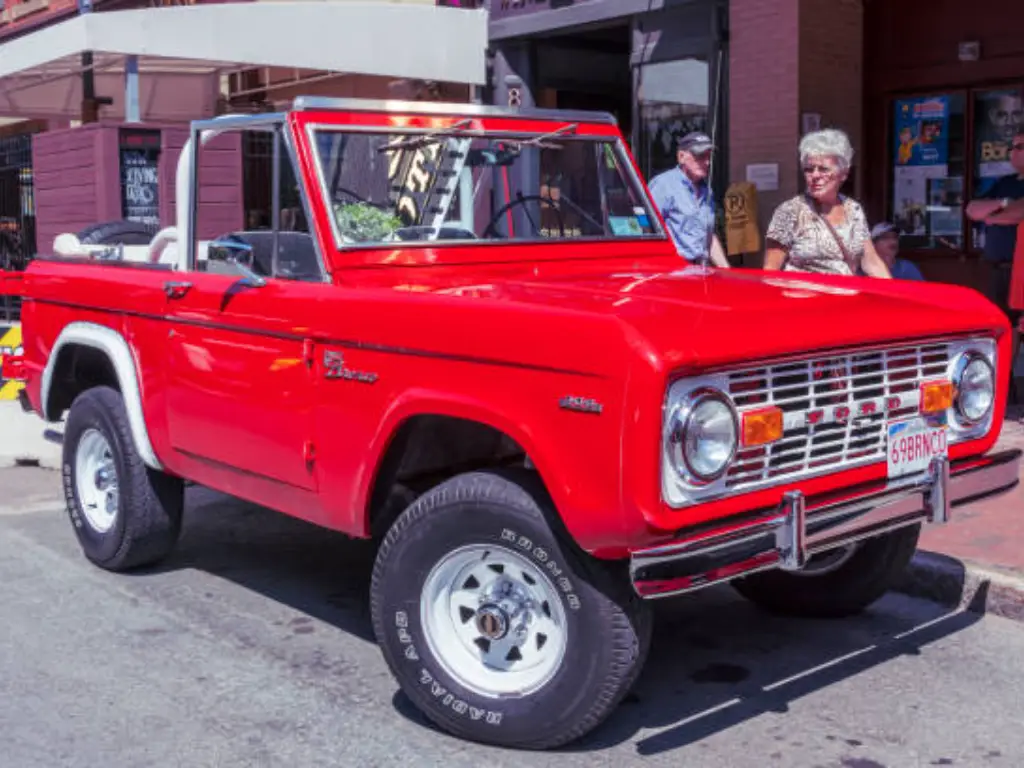
The golden rule is: Buy the most complete and rust-free car you can afford.
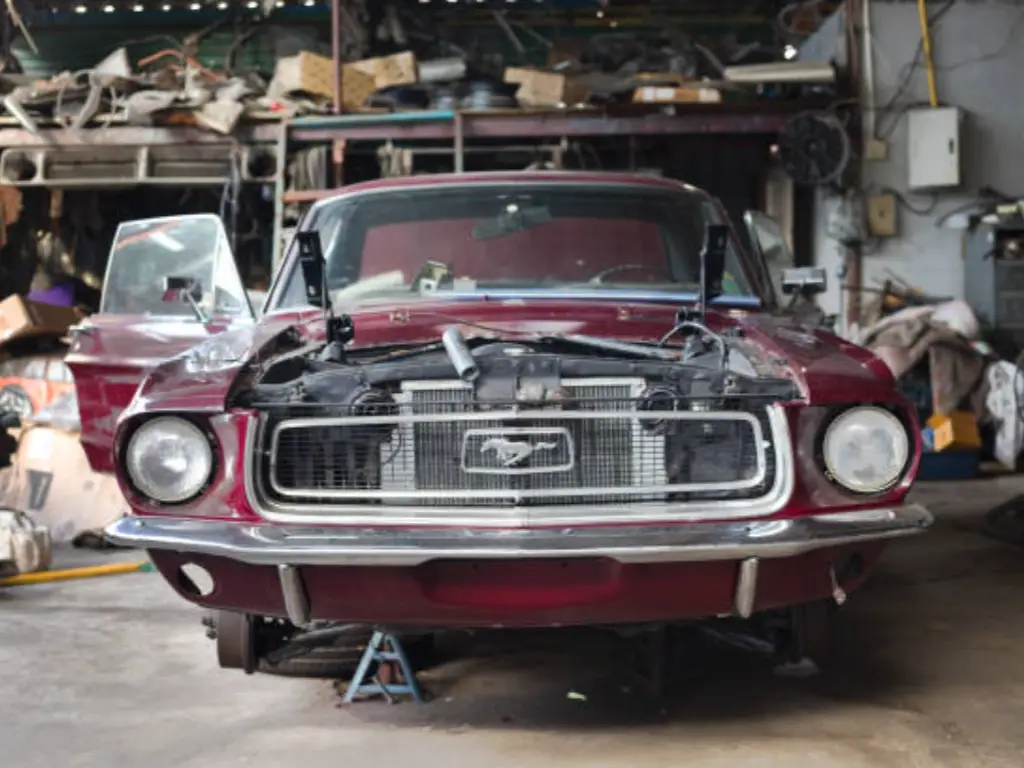
New restorers do not always make the right choice and buy a cheap vintage car without its trim, glass, and inside. They presume that it is the engine that is the tough bit. The opposite is true. A new engine can be purchased for a 1967 Ford Mustang. The one-year-only stainless steel trim of a 1958 Pontiac is not readily available for sale. It will cost more and be more irritating than repairing large-scale mechanical issues to source dozens of small, missing parts.
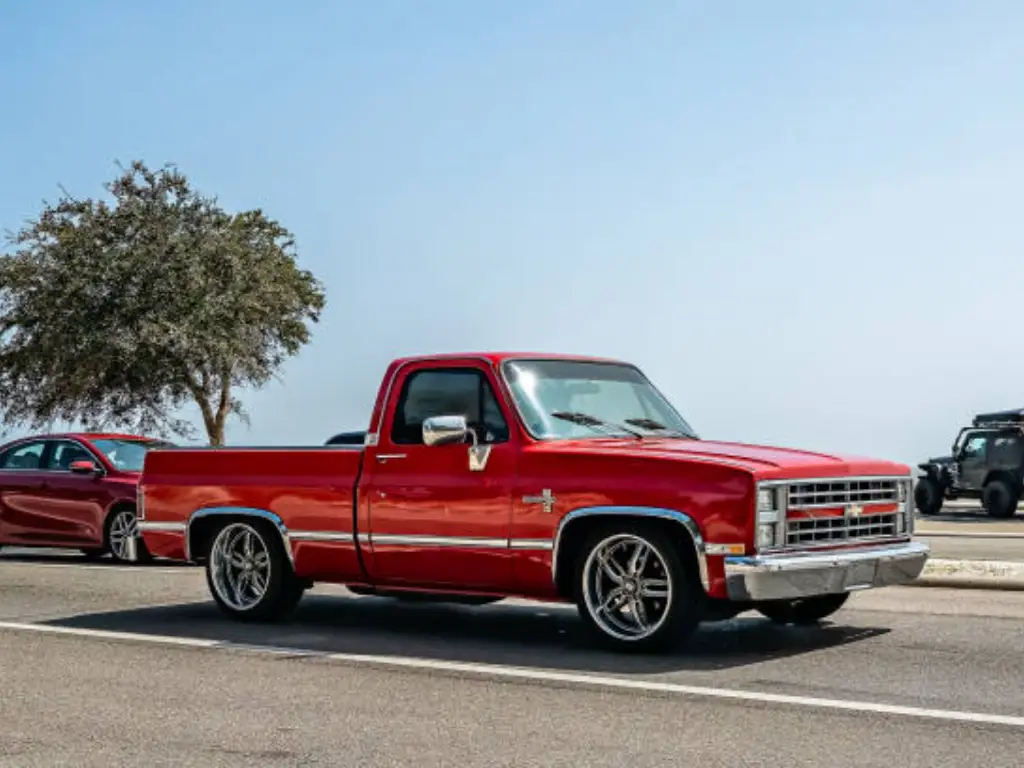
Ask owner clubs, forums, and online marketplaces before you make purchases. Study the classic car’s history and the availability of parts of the classic car. A model such as the Chevrolet’s Bel Air may have numerous resources and aftermarket parts, whereas cars such as the Cadillac’s Eldorado may need additional effort to find particular parts, hence research becomes even more important. This study will save you the years of searching for the unobtanium.
Step 2: Setting Up Your Workspace and Acquiring Tools
Your operating room is now your garage. It requires an area that goes beyond the car’s size. You need an organized space for:
- The Car: With 360-degree access.
- Parts Storage: Shelf is not negotiable. Thousands of parts will be stored by you.
- Workbenches: To assemble parts.
Safety is first, and there is no optionality of the adherence to all safety guidelines. This will imply adequate illumination (you cannot remedy what you cannot see), adequate chemical ventilation, and numerous Class B/C fire extinguishers.
Start by using good basic hand tools and a comprehensive set of sockets as tools. However, it is only possible to restore the fully with specialized equipment. Arrange to purchase or hire such essential items as:
- Engine Hoist (Cherry Picker): This is necessary to take away the powertrain.
- Air Compressor: To supply air tools, a media blaster, and a paint gun.
- Welder: This is a 110 V or 220 V MIG welder that is the best friend of a restorer for rust repair.
- Engine Stand: To rebuild the engine.
It is important to remember that full coverage of tools and equipment will make you ready for all aspects of the restoration. It involves the availability of the right tools to ensure that all the processes involved in the restoration, including the dismantling and the final assembly, are done with accuracy and attention to detail.
Step 3: The Careful Disassembly and Cataloging
This procedure in the restoration process distinguishes the amateurs and the professionals. Passion causes you to desire to dismantle the car over a single weekend. Discipline will have you doing it in a month.
Older automobiles may have more than 30,000 classic car components, all the nuts and bolts. You will forget where they all disappear. The approach taken on this will make your end product an exulting jumble, or the nightmare that will never be solved.

The “Bag and Tag” Method: Your Future Self Will Thank You
Each and every section that is removed from the car is photographed and marked, and stored.
- Take hundreds of Ziplock bags (all types of Ziplock bags) and Sharpies.
- Remove the fender bolts? They come in a bag that is marked “Driver’s Side Fender Bolts – Top.”
- Remove the door panel? In a bag, it puts all its clips and screws, which it labels Pass. Side Door Panel – All fasteners. This is critical for the genuineness of the vehicle’s assembly later. These bags should be kept in labeled plastic totes. It will be remembered that the car’s condition will determine how detailed your disassembly will be. A worn-out and battered car might need even greater attention in terms of monitoring the parts so that it can remain on the original design and functionality.
| Disassembly “Survival Kit” |
| Ziplock Bags (various sizes) |
| Masking Tape |
| Sharpie Markers |
| Labeled Plastic Totes |
| Digital Camera / Smartphone |
| Penetrating Oil (e.g., PB Blaster) |
| Bolt Extractor Set |
Photographic Documentation: Your Assembly Guide
The most significant tool you have is your camera. Do not have a single photo; have twenty.
- Get a panoramic view of the engine bay.
- Make medium shots of the alternator, wiring harness, and brake lines.
- Shoot close-ups of the way the alternator musical instrument is installed to the bolt, the way the wiring harness is installed, and the way the brake circuit is clipped to the firewall.
- Record videos prior to the removal of such complicated parts as the dashboard harness.
You are preparing a personalized assembly manual for your own car. This will be invaluable in your classic car restoration project, not only in the course of the rebuild but also as a reference book for guidance on retaining car ownership and to keep every action done in a written document.
Step 4: Chassis and Body: The Foundation (Addressing Rust)
At this point, the bodywork restoration commences. You have to strip the body till you see what you are actually dealing with.
Stripping to Bare Metal
You cannot trust old paint. It conceals body filler, bad repairs, and, worst of all, rust. The main methods are:
- Media Blasting: (Sand, Soda, or Walnut shells) This is quick and efficient; however, when operated by a layman can bend thin body panels.
- Chemical Stripping: It is very effective and very messy, and has to be done with very dangerous chemicals.
- Sanding/Grinding: This is a manual DIY approach that provides the best level of control.
Rust Repair, Welding, and Panel Replacement
Rust is a cancer. One cannot kill it with a converter or paint it over. It is the most important step of rust repair: it has to be cut off.
- Hack off the rusted metal until you are left with clean and bright steel.
- Make up or (better still) purchase a new patch panel.
- The new panel is welded in place, with a series of small, tack welds to prevent the warping of the metal.
- Grind the welds smooth.
This is one of the specific tasks that requires a genuine skill. In case you are new to welding, spend hours on scrap metal before you touch the car. It is only when the metal is 100 percent structurally sound that you can get to the business of skim-coating and block sanding the metal to produce the perfect surface to which you apply the paint.
Here, the car’s exterior is exposed. Removing the layers, you are revealing the actual core of the car, which can be traced to the golden age of classic cars, where they were produced with such care and attention to detail and perfection. It is this renovation that enables a classic car to shine once again, giving it a new life and maintaining its timeless value in car ownership in the future.
Step 5: Paint Preparation and Application
This is 90% preparation and 10% application. The gloss of the final appearance is achieved with the help of hundreds of hours of sanding.
The process involves:
- Bodywork: (Based on Step 4) Making sure that the panels are straight and aligned.
- Primer: The high-build primer is sprayed and block-sanded several times. The guide coat (coat of a contrasting color) is applied to expose the low spots and flaws in the exterior of the car.
- Sealer: The car is sealed in order to form a homogeneous, non-porous foundation.
- Paint: There is a color coating and a transparent coating.
This is arguably the step that should be left to professionals. A professional paint booth creates a dust-free, climate-controlled setting, which cannot be created in a home garage. It is not the paint itself that makes the paint job costing $15,000, but rather the 200+ hours of careful human labor in ensuring that the body is laser straight to provide it with that classic beauty.
Step 6: Powertrain Rebuild: Engine and Transmission
While the body is at the paint shop, you work on the heart of the beast. Proper engine care starts here. This is where you execute the decision you made in Step 1.
Engine: Rebuild Original, Crate Motor, or Modern Swap?
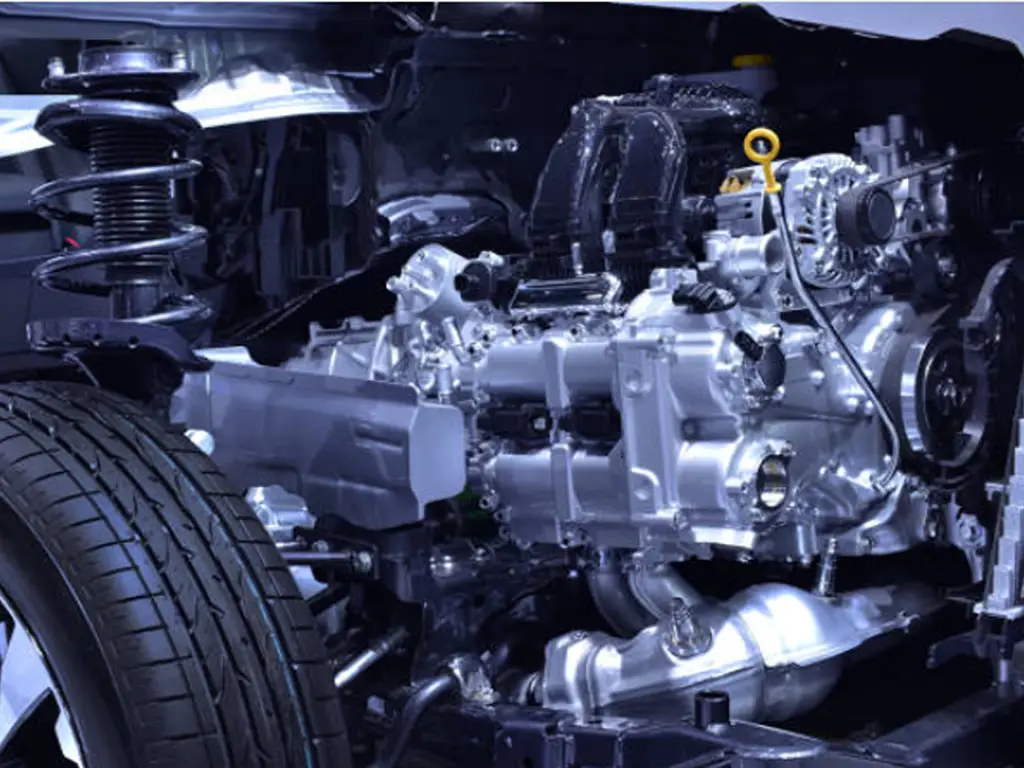
- Rebuild Original: This is of the numbers-matching Concours build. It entails taking the engine block to a machine shop where it is cleaned, magnafluxed (crack checked), and bored. Then you reassemble with new pistons, bearings, and seals, and maybe even special classic car engine oils are obtained to make the first start.
- Crate Motor: The crate motor is a new, warranty engine supplied by such manufacturers as GM Performance or Ford Racing. It is the quickest, surest method of acquiring an effective motor for a motorist or restomod.
- Contemporary Swap: The heart of a restomod. It consists of intricate fabrication, wiring, and computer adjustment of a modern (e.g., LS or Coyote) engine into the frame of a classic, such as a muscle car, such as a Chevrolet Camaro.
Rebuilding the Transmission, Drivetrain, and Rear Axle
Don’t put a 500-horsepower engine in front of a 60-year-old transmission. The whole drivetrain, such as the use of an automatic transmission or manual gearboxes, driveshaft, and rear axle, should be refurbished and (where a power-adder is used) reinforced to withstand the new load.
Step 7: Mechanical Systems: Brakes, Fuel, and Suspension
These are the critical components that ensure that the car is safe and pleasant to drive. This is not where one can afford to take shortcuts. You set out to replace or re-construct every moving part.
- Brakes: Do not reuse the old brake components at all. It is the most essential safety system and must satisfy all the contemporary safety standards. The greatest upgrade that you can make in a classic car is a drum-to-disc brake conversion. Change all hard lines, rubber hoses, and the master cylinder.
- Suspension: The like-new ride is the result of replacing each and every single rubber bushing, ball joint, tie rod, and shock absorber.
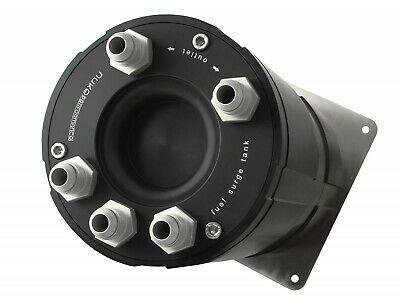
- Fuel: Recent gasoline mixed with ethanol (E10/E15) is infamous for destroying old rubber fuel lines and secondly corroding fuel tanks. To have a perfect project, a new, uncracked fuel system is required between the tank and the carburetor/ injectors.
Why Quality Parts Define the Perfect Project
You would not use old Comfort 60-year brake shoes that were not in good condition. The same reasoning should apply to all the car parts. This leads to the fundamental philosophy of an ideal project and the largest dilemma of the restorer: The Parts Dilemma. Here, a good number of car enthusiasts surrender.
You need a part. You have two choices: a “New Old Stock (NOS) part that has been housed in a shelf storage for 50 years (and its rubber/seals might be in a worse condition than the part you are replacing), or an inexpensive, ill-fitting after-market part, usually a generic imitation that does not fit. It is here that projects get stalled, budgets get out of control, and quality gets killed.
It is in this that a specialist partner will be your greatest asset. In the case of restoration shops, wholesalers, and serious builders, your reputation (and business) is based on a dependable, quality supply chain.
This is what Sunway Autoparts has been closing since 2007. We are not only a supplier, but we are also a procurement partner in the classic auto industry.
- The Solution: We use the same materials and manufacturing processes, but with modern materials and processes to manufacture quality parts that are up to or higher than the original OEM standards. This is a solution to the “old and brittle” dilemma.
- The Specialization: Our specialization is the classic period, between the mid-1920s and the late 1990s, and we are very knowledgeable in brands of iconic models of Ford, Pontiac, Chevrolet, and more than 30 others.
- The Capability: With almost 200 suppliers, we can run an industrial chain, which will be able to source or custom-develop hundreds of various parts- replacing usual components, and custom-machined parts to your unique assembly.
To distributors and restoration shops, to do business with us is to have a reliable inventory, quality, and the ability to place a bulk order at any time. It implies that no longer is the definition of a perfect project what you can find, but what you can create.
Step 8: The Critical Electrical System & Wiring
Speaking of quality, we shall discuss the number one cause of frustration and fire in older cars. Old wiring is a hazard, period. The 60-year-old cloth or plastic insulation turns brittle and cracks, and shorts up, and the notorious smoke release takes place.
Do not “patch” an old harness. It is a fool’s errand. This forms the next step towards reliability. The one upgrading that reliability and safety are the most, is to purchase a complete brand new wiring harness. The godsend is the modern harness of the reliable suppliers. They are fitted with modern and high-quality wire, an upgraded fuse box (not glass tube), and they offer pre-wired circuits where modern upgrades such as electric fans, fuel pumps, and stereo systems are required. Certain car enthusiasts go to the extent of providing diagnostic tool connectivity.
This is your car’s central nervous system. Treat it as such.
Step 9: Interior, Upholstery, and Trim
Here, the car returns to its personality, and this is what makes it have that authentic look that car lovers appreciate. It is also the field where a lot of patience and a new array of skills are needed.
- Sound Deadening: Have all the carpeting laid down, sound-deadening and heat-shielding material to cover the whole cabin floor, firewall, and doors. This will serve to convert the experience of driving into a rattletrap to a nice, strong, and comfortable ride.
- Upholstery: It is possible to frequently purchase ready-stitched quality seat cover sets. The process of stretching, fitting, and “hog-ringing” them to the seat frames is, however, an art form.
- Trim: The chrome and stainless steel jewelry. Replenishing this is also very costly, and it has to be done with special polishing and re-chroming. This is the reason you went through Step 1 and purchased as complete a right car as you could find.
Step 10: Final Assembly, Tuning, and the First Drive
This is the glorious final chapter of the car restoration process. When you carefully did Step 3 (Bag and Tag), then this is a rational, happy manifestation. Otherwise, you lose the purpose of your work, which will devour years in the commitments of the boxes of bolts.
This is not a one-day event. It will take weeks or months. Installing the powertrain, the new wiring harness, and the suspension, the interior, and all the trim, is part of your work.
Then comes the “first start.” You will make the oil system prime, you will look for oil leaks, and (with a fire extinguisher near you) you will turn the key.
The engine will fire to life. You will adjust the timing, the carburetor, and bleed the brakes. You will locate and repair the 10 little holes that you will surely have. And then you will come on a shakedown drive. Not 100 miles. One mile. You will go back to the garage, re-torque all the nuts and bolts that you have under the car. This is a crucial aspect of a complete vehicle restoration.
Conclusion
When restoring a vintage car, it will never be finished. It is a living relationship, which breathes. However, the transformation of a non-running relic to an ideal project is one of the most rewarding things that a person can go through.
You have not only rescued a car, but a part of automotive history. Your position is no longer that of an owner, but that of a steward. Ownership of a car is not the only experience you get when you restore your car, but rather an affiliation with the vintage beauty and the artisanship of the past. You have acquired a dozen new talents, cleared a hundred new obstacles, and created something with your own two hands, which will survive you. All that grease, sweat, and frustration of that 10-step journey has brought you to the finish line. And prize–sliding that key and seeing your plodding come back to life–is better than any other thing in the world.
Recent Blog
- Porsche Parts Explained — Genuine vs. OEM vs. Aftermarket, A Buyer's Guide for Modern and Classic Owners
- Porsche 911 vs 718 — Two Philosophies, One Choice
- Best Porsche Parts Online: Where to Buy Genuine, OEM, and Hard-to-Find Classic Components
- The Best Porsche 911: Every Generation Compared — Which One is Really Right for You?