Introduction
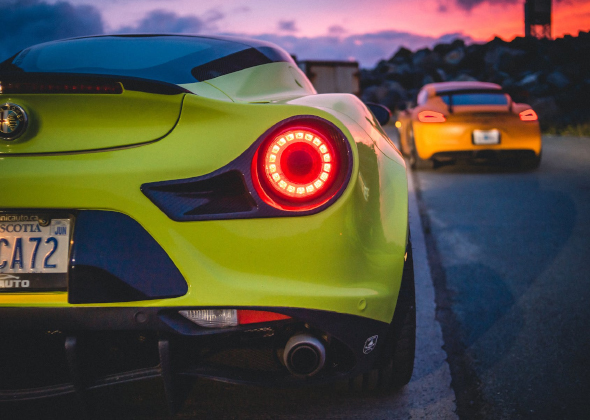
A vintage vehicle has a special charm. It is not only metal, glass, and rubber, but it is a time road on wheels, a moving historical object that reminds us of the time of uniqueness and pure, mechanical contact. Reviving a forgotten and dust-laden old masterpiece, to give it a Second Renaissance that is both difficult and most gratifying, is one of the most difficult, yet most extremely worthwhile tasks which may be attempted by a lover of libraries and learning. This is a process of hard work, passion, patience, and precision, of sourcing the initial parts to the time when the tires initially touch the pavement.
There is no easy way up, though. It is an intricate process, which is full of traps, including unexpected expenses, that may simply hang a project in place without it ever coming into existence, transforming a dream into a nightmare in the garage. This is your roadmap, your very complete guide to the essential steps of restoration. We will take you through every decisive step, from the original blueprint to the last, victorious drive. We will give you a system that is based on decades of professional experience that will guide you through the complexities, prevent the most frequent errors, and turn your vision into something that can be seen on stage. Whether you are a first-time enthusiast with high hopes or a seasoned car enthusiast who needs a structured way to have a successful restoration, this is your ultimate guide to a successful restoration.
Phase 1: The Blueprint – Planning Your Restoration Journey
You should have a pen before you ever take a wrench. A restoration is not based on how fast it is taken down, but on how good the original plan is. This thorough assessment and blueprint step is the most important initial step, which will save you billions of dollars and time in the future. Hagerty, a classic car insurance giant, found in a survey that more than half of projects that fail do so due to poor planning and overruns. Don’t become a statistic.
Setting a Realistic Budget and Your Final Goal
First, define your “why.” What is the ultimate purpose of this car? A concours show car, 100 points, and in perfect condition? A trustworthy everyday driver with vintage design? A performance-modded resto? Your budget, especially if you’re on a tight budget, is determined by your objective. A concours-level restoration can be as much as $100,000, and a good working driver project could be a go at 20,000 to 40,000, with the state of the car that a person owns.
Be direct when it comes to money. One golden rule is the 100 /50 Rule: locate the project car at $10 000? You can count on at least an additional spend of 5,000 on unexpected complications. You also should always maintain some sort of contingency fund (at least 20-30 percent of your entire projected budget) to cover the restoration costs.
Here’s a sample budget allocation for a typical driver-quality restoration project:
| Expense Category | Percentage of Total Budget | Notes |
| Initial Car Purchase | 25% – 35% | The better the starting condition, the lower the other costs. |
| Bodywork & Paint | 20% – 30% | The most significant post-purchase expense. Quality work is costly. |
| Mechanical Parts (Engine, Drivetrain) | 15% – 20% | Includes engine rebuild kits, transmission parts, etc. |
| Interior | 10% – 15% | Upholstery, carpet, headliner, and dash restoration. |
| Chrome & Trim | 5% – 10% | Re-chroming is expensive; high-quality reproduction parts are key. |
| Electrical, Tires, Glass | 5% – 10% | Wiring harnesses, new tires, and replacing cracked glass. |
| Contingency Fund | 15% – 25% | For broken bolts, hidden rust, and unexpected tool needs. Non-negotiable. |
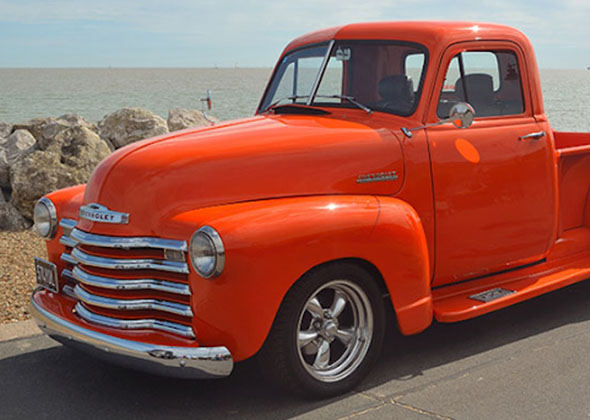
Choosing the Right Vehicle: Passion vs. Practicality
There is no problem falling in love with something exotic and rare. It is a nightmare in terms of finances and logistics to restore one. In the case of an initial project, practicality is the most important. Consider three key factors:
- Availability of Parts: There is a huge aftermarket for old car restoration projects, such as a 1966 Ford Mustang or a 1969 Chevrolet Camaro. Almost any of them can be constructed entirely out of a catalog. A classic such as a 1972 Jensen Interceptor, though lovely, will incur months of international forum searching on your part to get one bit of trim.
- Community Support: Active online forums and local clubs are invaluable resources for troubleshooting, sourcing parts, and getting encouragement. Plus, being part of the automotive industry community can help you stay on track and gain insights.
- The Good Bones Rule: Buy the best and solid body and frame that you can afford. In your garage, you can do mechanical repairs, but there is a high level of rust and frame repair that needs special skills and equipment, increasing costs exponentially.
Assembling Your Essential Tools and Workspace
Your abode is your refuge. It must be clean, dry, bright, and roomy to walk around the car with the doors open. In addition to a quality socket set, wrenches, and screwdrivers, spend money on a good floor jack and strong jack stands; your life will depend on them. A serious mechanical job demands an engine crane and a stand, and a decent air compressor will drive a host of irreplaceable tools, including impact wrenches, paint sprayers, and so on.
Where can I find a reliable source for a classic car restoration project? Sunway Pave Your Road to Success
When plotting your project, the question that arises is very critical: where do you get reliable parts? Acquisition of materials is usually the most significant bottleneck, and the solution can make or break your whole experience.
It is at this point that Sunway Autoparts will become our ground-level partner. We only do high-quality aftermarket parts for classic cars and trucks, 1920s-1990s, before they become the biggest headache in the restoration. We believe in precision manufacturing. This implies that our parts fit once, and you save hundreds of hours of frustrating work and adjustment expenses.
All the parts, including a chrome bumper to a tiny emblem, are subjected to strict quality control so that they match or even surpass the specifications of the factory to provide the safety and durability of your investment. The search for rare parts finishes at this point. Our supply chain has been developed over time and consists of approximately 200 suppliers to create the strong supply chain you require. This uniformity and dependability are what have earned us a reliable manufacturing ally among professional restoration stores and distributors of all sizes, all over the globe. When you start with Sunway, you are basing your dream on the quality of professionalism.
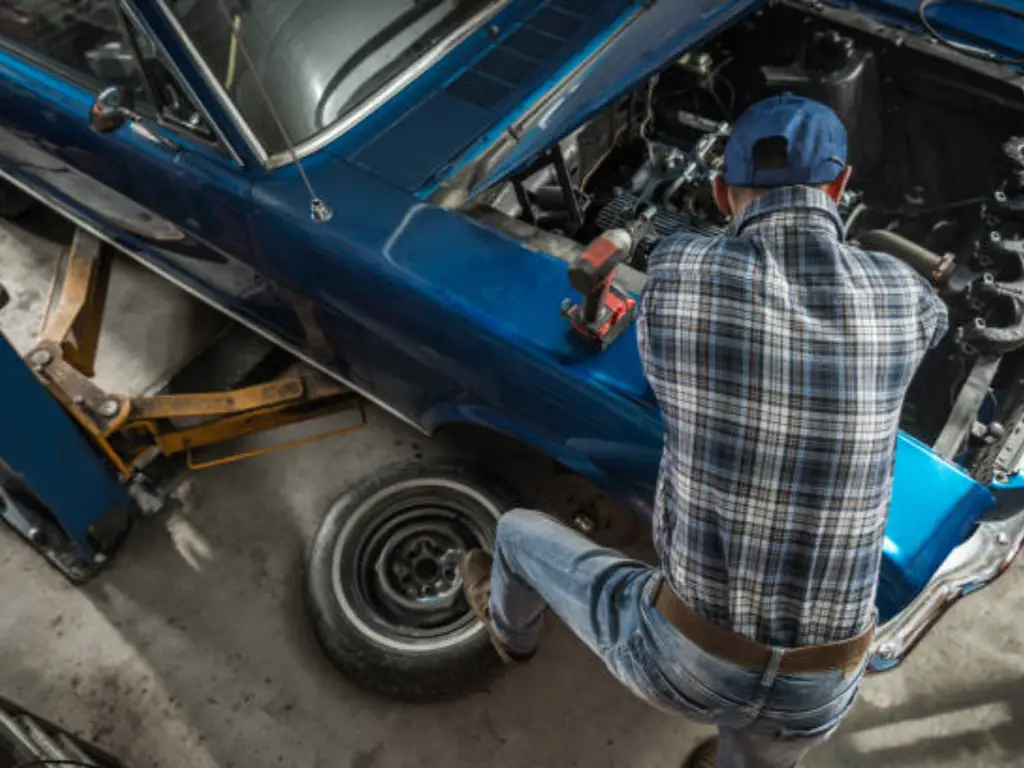
Phase 2: The Art of Deconstruction – Disassembly with Discipline
The anticipation of initiating a project is usually an unorganized dismantling. Resist this urge. Methical deconstruction is your lifesaver when reassembling. The golden rule goes by the name Bag, Tag, and Photograph Everything.
- Bag and tag: Ziploc bags should be used to store all the nuts, bolts, and brackets. Insert a scrap of paper in the bag (without writing anything on the outside, which will rub off) specifying precisely the location of origin (e.g, Driver Side Upper Fender Bolts – ’68 Mustang).
- Photograph: You have to capture dozens of photos of each angle before you start to remove a single part. Record photographs of wiring paths, bracket positions, and connections. There are no such things as excess photos. This computerized manual will serve as your bible and will make sure that you will be able to make the necessary changes during reassembly, even without remembering where a part goes.

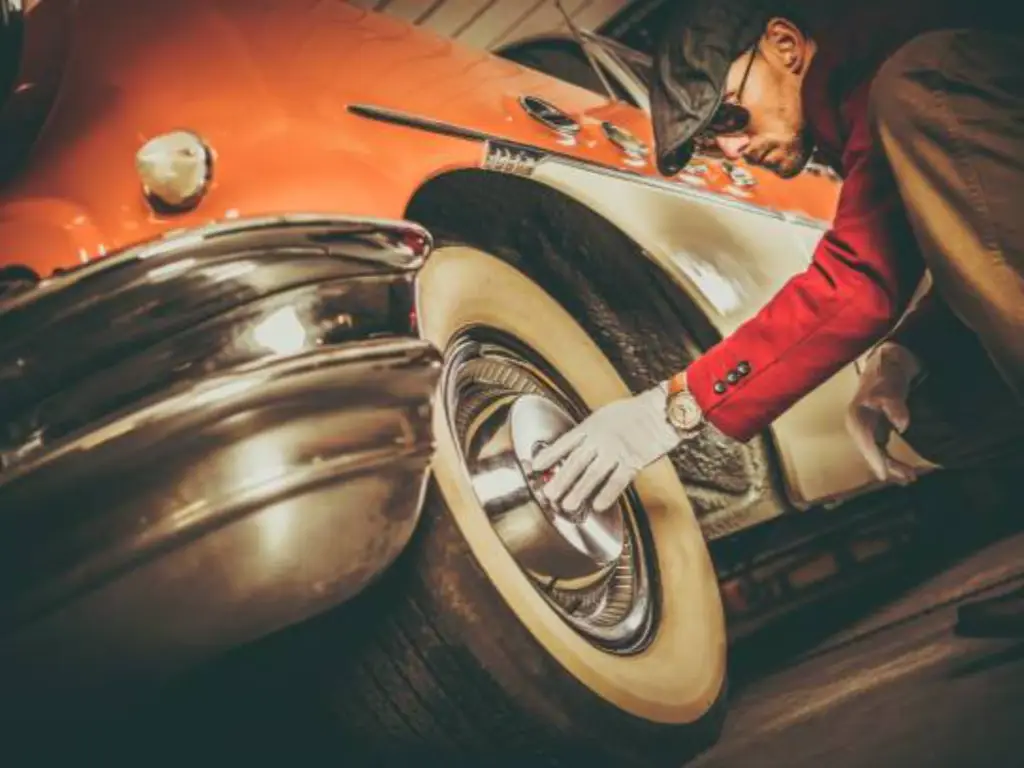
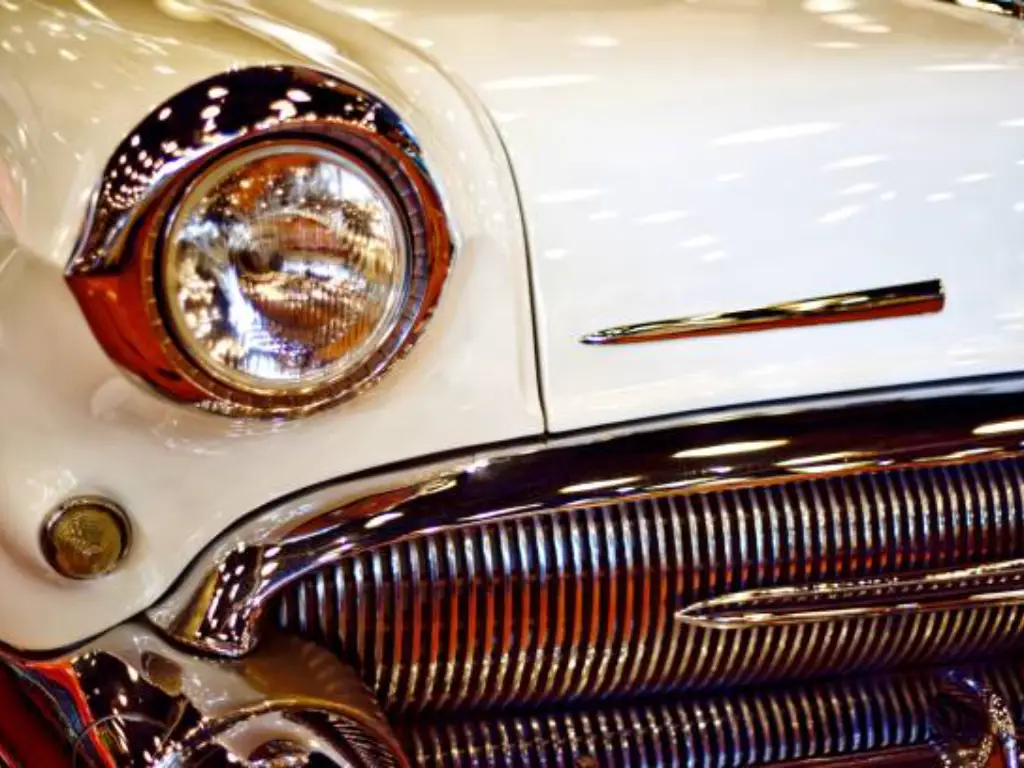
Phase 3: Down to the Bare Metal – Mastering Bodywork and Rust Repair
This is where the actual transformation takes place. There is no shining paint in the world that can conceal bad body work. The rust is your main enemy here- the cancer of classic cars.
Safe and Effective Rust Removal Techniques
The process of take-off off old paint, body filler, and rust is a dirty and laborious task, yet it must be done. The only thing that you can do to ascertain what exactly you are working with is by letting the bare metal shine through, and this can assist in determining the condition of the vehicle. In case the bodywork is not in good condition, then you will immediately know and can make the necessary adjustments.
| Rust Removal Method | Cost | Effectiveness | Skill Level | Notes |
| Media Blasting | High | Excellent | Professional | Best for entire cars/frames, but can warp thin panels if done incorrectly. |
| Chemical Stripping | Medium | Very Good | Intermediate | Great for smaller parts, but requires serious safety precautions (ventilation, gloves, eyewear). |
| Manual/DA Sanding | Low | Good | Beginner | Most accessible method, but very time-consuming and physically demanding. |
| Wire Wheeling | Low | Fair | Beginner | Use with caution. Can generate extreme heat, warping metal and smearing rust rather than removing it. |
An Introduction to Metal Patching and Welding
In case you find holes due to rust, they have to be patched with fresh metal. The use of body filler (such as Bondo) is not a structural answer; it should be used to correct small flaws (less than 1/8 inch deep). One of the most enabling skills that a restorer can have is to learn some basic MIG welding.
Begin practicing on scrap metal until you are able to lay a consistent bead. Simple steps are followed: cut the rusted metal carefully till you get clear, solid edges. Make a patch panel of the same gauge steel, cut it to fit, and weld it in place, being careful not to overheat and bend the nearby panel. This is important work towards making the restoration process a success and restoring the vehicle to its original specifications.
Phase 4: The Perfect Shine – A Guide to Paint Preparation and Application
A show paint job is 90 percent preparation and 10 percent application. Once you have worked on your metalwork, it should be smoothed out completely. This is done by filling the dents using a thin layer of body filler and then applying several layers of high-build primer. The coats of the primer should all be block-sanded, or sanded with a long, flat sanding block, in order to discover and remove any high or low places. You are only ready to proceed with a new paint when the panel is laser-straight. On your first project, you can paint the car in parts (fenders, doors, hood) to make the paint job easier. At this stage, you may also want to look into sourcing replacement parts if any body panels are beyond repair or need upgrading.
Phase 5: The Heartbeat – Overhauling Your Engine and Drivetrain
Your classic is all about the engine. Suppose that even if it were running when parked, all the gaskets, seals, and rubber parts are destroyed. At least, it needs a complete re-seal. This entails the replacement of the oil pan gasket, valve cover gaskets, timing cover seal, and rear main seal.
It is also the moment to refit the carburetor and the fuel pump, and put in place a new water pump and hoses as well. Your budget might support a full engine rebuild, with the result of restoring the original engine performance, guaranteeing many decades of reliable operation in the future, and reinstating the engine to its full power.
Phase 6: The Nervous System – Tackling the Electrical Gremlins
It is a time bomb of original 1960s or 1970s wiring. The insulation gets brittle and breaks, and decades of amateur repair work have left a mess. In the majority of the projects, the most effective and safest way to go is to purchase the entire, vehicle-specific replacement wiring harness. These packets are equipped with the current blade type of fuses, well-labeled wires, and specifications. Though this may sound overwhelming, the process is a plug-and-play operation that eliminates one of the most frustrating elements of classic car ownership on the whole, so that your project can remain safe as you advance through the restoration process.
Phase 8: The Final Mile – Reassembly and the First Magical Drive
Here is where all your careful planning and organization come in. You have the photos and labels on the parts, a nd thus putting them back together is a fulfilling task of making your vision a reality. Go slowly and methodically. Install and test each system separately- begin with the suspension and brakes, then the drivetrain, then the electrical system, then the interior and trim. Prior to the initial start, test the oil system and ensure all levels of fluids and connections are checked.
The fact that the original engine is fired up for the first time is a milestone. The initial block test drive, even without any interior and unfinished cabin, is pure magic. It is your payoff, the actual outcome of your efforts, a product of hundreds of hours of work. It is when your project becomes a collection of parts once again and is made alive and breathing again as the automobile. And once you see your muscle car finally roll down the road, it’s the end result of your hard work- a great way to celebrate that you have done well.
Conclusion
The process of restoring a forgotten relic into a road-ready classic is a marathon and not a sprint. It will frustrate you, will tax your abilities, and will put a strain on your finances. It will also educate you, make you stronger, and compensate you in a way that few other hobbies can. Each perfectly fitting panel, each polished segment of chrome, each twist of the key is one of the triumphs. You should also keep in mind that, to get the optimal performance, you sometimes need to commit time and resources. To make sure that your journey is successful, you can begin with a good plan of action, find a good source of parts, such as Sunway Autoparts, and approach each step with discipline. The process of restoration can at times be troublesome, but glimpsing your restored vehicle will be a reward worth all the effort. It is time to clear the garage, now, write your blueprint, and begin paving your own road to restoration glory.