Introduction: A Broken Mirror Isn’t Just a Cosmetic Problem
The sound of crushing a side mirror is a dreadful sound. Other than the obvious frustration and the unsightly appearance of your car, a broken mirror is a serious malfunction in safety malfunction. Mirrors attached to your vehicle will be your initial defense against blind spots since they ensure safe maneuvers involving lane change, merging, and parking.
It is also against the law in most parts of the world to drive without a working driver-side mirror, as this will attract a fine. This complete manual will show you all the steps to follow in the replacement process. We will take care of the physical expenses, find you the correct components, and give you a straightforward DIY manual. We would address any car, whether it is a brand-new and technology-packed SUV or a beloved oldie.
How Much Does Side Mirror Replacement Cost?
It is among the most asked questions, and the answer to it is so different. Some spare glass can cost as little as twenty dollars, and a full-fledged, hi-tech assembly of a luxury vehicle can cost more than two thousand dollars. This gap is determined by two things: the complexity of what you are installing on the mirror and the person installing it.
Labor vs. Parts: What Are You Paying For?
When you get to a professional, you are paying them not only for the part but also for their time.
- Labor: Independent shop has a range of $90-$170 per hour, or dealership has a range of $150-$250 per hour. The work usually requires 0.5 to 1.5 hours; therefore, labor expenses will range between $75 and $250.
- Parts: This is the actual variable. The cost of an aftermarket simple power mirror assembly can be $100. A luxury car with high features, OEM (Original Equipment Manufacturer) components can cost $1,500 or above.
Why Modern Mirrors Are So Expensive (Heated, Blind Spot & More)
The unit on your door is no longer a mere mirror, and it is an advanced electronic module. Every new feature that was introduced over the past twenty years makes it more expensive:
- Power Modification: Electric motors to push the glass.
- Heated Glass: An ice-clearing and fog-clearing heating device.
- Incident Turn Signals: LEDs in the housing or glass.
- Auto-Dimming: ECG, which becomes darker to reduce glare.
- Blind Spot Monitoring (BSM): This is an indicator and a sensor. This is a major cost driver.
- Cameras: This is used in 360-degree parking systems that are bird’s-eye.
- Power-Folding: A motor that folds the whole housing.
Even when using the BSM and heating to crack the mirror glass only, the replacement glass (and not the entire assembly) would cost you $300-$500. Assembling all these features and making it a non-collision repair can be amongst the most costly repairs on the modern car.
Estimated Cost Table: DIY vs. Professional Repair
This disaggregates the average expenditures. DIY Cost usually presupposes that you are fitting a cheaper aftermarket component.
| Mirror Type | DIY Parts Cost (Aftermarket) | Est. Professional Repair (Total) | Key Features & Difficulty |
| Mirror Glass Only | $20 – $70 | $100 – $200 | Just the glass; often snaps in. (Easy) |
| Manual Mirror Assembly | $50 – $120 | $150 – $300 | No electronics. (Easy) |
| Power Mirror (Basic) | $80 – $200 | $250 – $450 | Standard power adjustment. (Moderate) |
| Power + Heated + Signal | $120 – $350 | $350 – $650 | More complex wiring. (Moderate) |
| Power + BSM + Camera | $400 – $1,000+ | $800 – $2,500+ | High-tech. May need calibration. (Hard) |
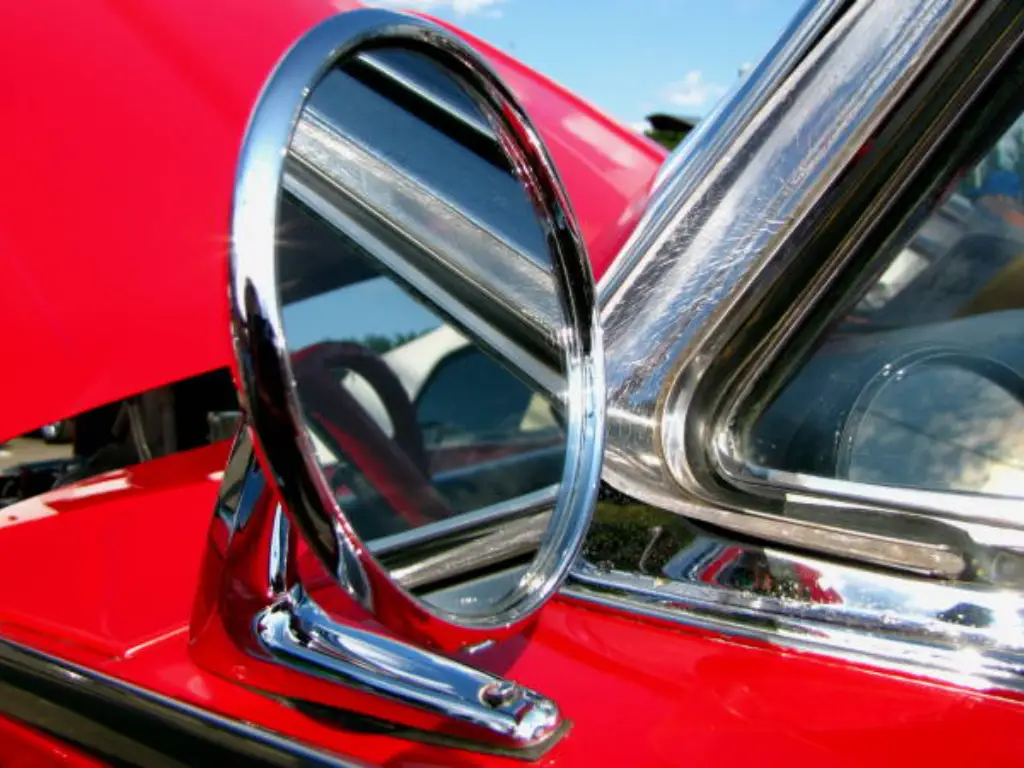
Types of Replacement Side Mirrors Available
The most important step is to find the right part. The word correct is used to mean that it does not merely appear right, but must fit perfectly with the specifications of your car.
Manual vs. Power Side Mirrors
This is the most basic split. Manual mirrors have a lever, or they can be moved by pushing the glass. Mirrors of power are based on an electronic switch. And you have to substitute similar. A car with a manual mirror can only have a power mirror installed with a lot of rewiring, which is expensive.
Matching Side Mirrors to Your Car Model and Year
Three types of parts will be available when purchasing:
- OEM (Original Equipment Manufacturer): This is the same component that you would acquire in a dealership. It ensures the best fit and functionality, but at the maximum price.
- Aftermarket: These are the ones manufactured by third parties. There are many choices in quality; however, the best brands (OES, or Original Equipment Supplier) offer parts that are equal to or better than OEM specifications at a significantly reduced price. Most DIYers and independent shops go to this.
- Used (Salvage): This is an OEM component of a junkyard. It is the least expensive and the riskiest one. The component is obsolete, might contain undisclosed defects, and in most cases also lacks a warranty.
Pro-Tip: It is all about matching the wiring connector. Count the pins. A power and heat mirror could have an 8-pin connector. One having the turn signal can have 10. Although a mirror may be the same, when the connector is not the same, it will not work.
Step-by-Step Guide to DIY Side Mirror Replacement
Decided to save on labor? This is quite a feasible undertaking. A basic handheld mirror is rated as a 3/10, and a car power mirror with a door panel that is tricky is rated as a 6/10.
Disclaimer: This is a broad guideline. Your automobile will be a bit different. Before starting, we strongly advise you to search for a guide for your make, model, and year and bookmark it.
Essential Tools You Can’t Do Without
- Socket Set: A 1/4-inch drive set with a 10mm socket will handle 99% of mirror bolts.
- Screwdriver Set: You will require Phillips screwdrivers and flathead screwdrivers.
- Plastic Trim Removal Tool Kit: This is not an option. Prying with a metal screwdriver on your door panel will ensure that you crack the plastic clips and scratch the paint. This is the best investment you will make at a price of only $15.
How to Safely Remove the Interior Door Panel
That is the most frightening aspect anyway, yet it is simply a puzzle. Be patient.
- Find All Screws: The door panel is attached with screws and clips. Screws are always hidden:
- Inside the armrest pull-cup.
- To the rear of the interior door handle (search behind a little cap made of plastic to remove).
- On the sail panel (the little, triangular piece of plastic that is opposite the mirror).
- In some cases, about the grille of the speaker.
- Pry the Panel: When all the screws are removed, get your plastic trim tool. Begin at the bottom of the door, and work the tool between the panel and the metal door frame.
- Pop the Clips: Pry easily. You’ll hear loud “POP!” sounds as the clips release. This is normal. Move around the sides and the bottom.
- Lift Up, Don’t Pull Out: After all the clips are loose, the panel remains suspended on the sill of the window. Unhooking the whole panel, straight up.
- Rest the Panel: There is no need to take all the window/lock switches off. It is possible to simply lean the panel against the door, leaving you with plenty of space to work.
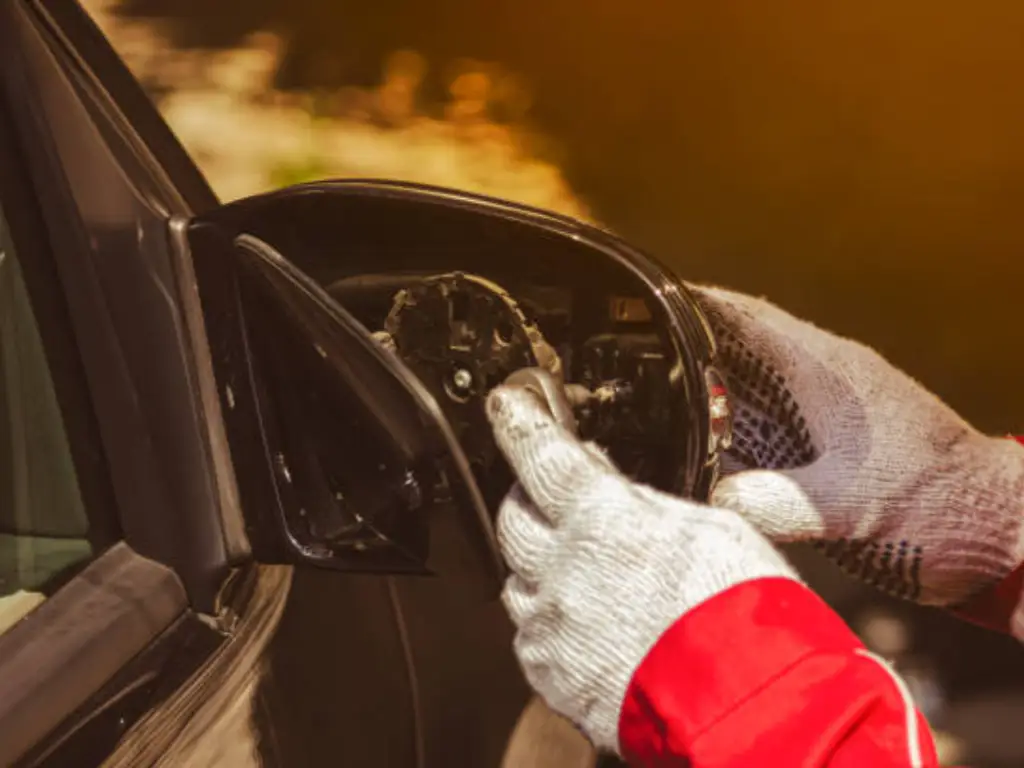
Disconnecting Wires and Installing the New Mirror
- Access the Connector: Look behind the sail panel section. The wiring harness of the mirror will be seen in the door.
- Disconnect: Slide the tiny release tab on the connector and press it open.
- Support the Old Mirror: Before unbolting the mirror, have an assistant hold the old mirror or apply painter’s tape on the outside to hold the mirror. It will scratch your paint up in case it falls.
- Remove Bolts: It has typically 3 (10mm) bolts. Scrape them off and get the old mirror off.
- Install New Mirror: Feed the new mirror’s wiring harness through the hole and hand-tighten the bolts.
- TEST! TEST! TEST! This is the most significant procedure. Connect the electric connector of the new mirror. Insert your key in the position of the accessory. And now test each function: left, right, up, down. Turn on the heated defrost. Use your turn signal.
- Reassemble: Once you are certain it is all nailed together, screw the bolts (not cranked) and replace the door panel. You pull the top end over the sill of the window, followed by aligning the clips and giving them a good thump with the heel of your hand to re-insert.
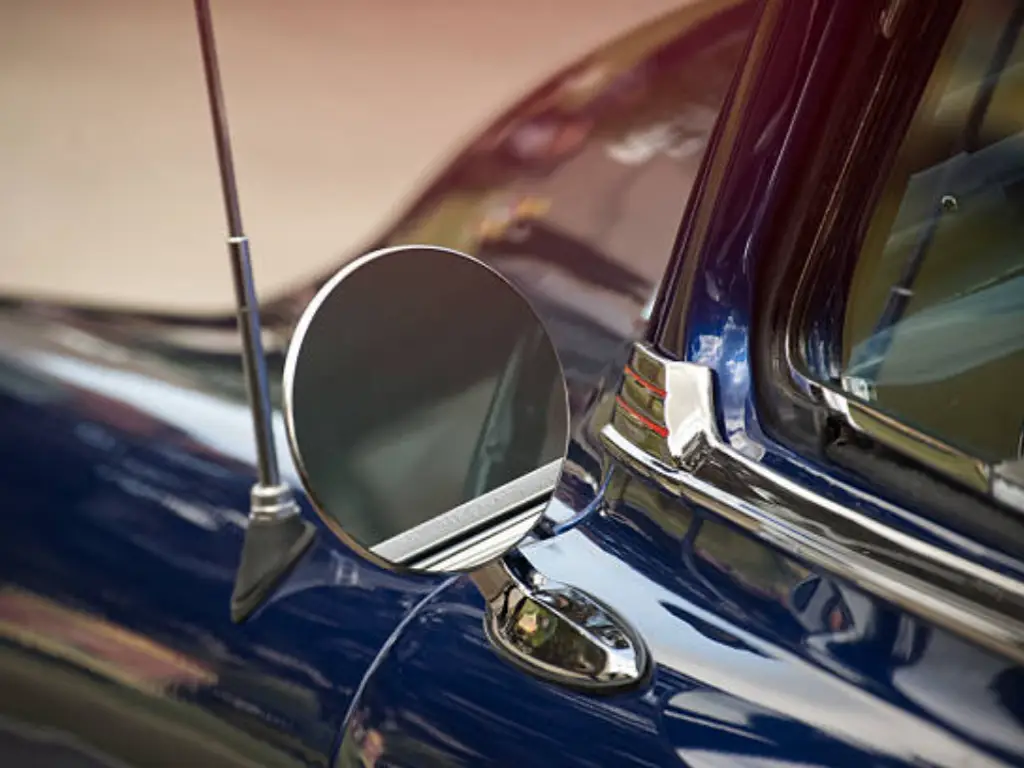
The Unique Challenge: Side Mirror Replacement for Classic Cars
The above guide is excellent with a 2010 Civic. But what about a 1967 Mustang? Or a 1972 Chevrolet C10?
To the owners of the classic cars, it is not the procedure but the component. A dealer can not sell you an OEM part; it went out of service 40 years ago.
Junkyard hunting is likely to get you something that is not any better, pitted, rusted, or damaged than the one you are replacing.
There are also widespread imitations of the products that are cheap, universal, and apparently similar but poorly fitting with the correct fit, made of poor quality materials, and ultimately devalue the vehicle.
Your Trusted Partner for Classic Car Parts: Sunway Autoparts
This is the thing that Sunway Autoparts was constructed to fix. We are not mere resellers, but manufacturers, with an obsession with the golden age of automotive design, the 1920s through the 1990s. We deal with components of classic Ford, Pontiac, Oldsmobile, and Chevrolet.
We address the following most important pain points of restoration shops and their devoted owners:
- We Make What You Can not Find: We make high-fidelity reproduction side mirrors, which substitute mirrors that are no longer available.
- Better Than Original: We produce our parts to OEM quality to fit perfectly and factory, however, we use better production materials and manufacturing technologies. This implies the Sunway Autoparts mirror has a superior finish and long-term durability than that of the original component, even in its original condition.
- The Source of Professionals: Our company is one of the primary manufacturers of OE (original equipment) and aftermarket products. We are the distributor of choice to the distributors of wholesalers and restoration shops. Our company provides stable production of buildings, reliable inventory, and adjustable bulk orders to your company.
In restoring a classic, it is all in the details. Do not fit a part that seems just to fit.
Common DIY Mistakes (And How to Avoid Them)
- Breaking Door Panel Clips: The most common mistake. Fix: Do not use a screwdriver; use a plastic trim removal tool. Be patient.
- Purchasing the Wrong Part: You are met with a mirror that has 8 8-pin connectors, and your car has a 10-pin connector. Fix: Be aware of all the features (heat, signal, etc.) before ordering. When in doubt, remove the panel and inspect the connector initially.
- Omission of Test: You completely put the door back together and discover that the power adjustment is not functioning. Fix: It is a good practice to plug in the new mirror and test all functions before bolting it in.
Is It Illegal to Drive With a Broken Side Mirror?
In almost all cases, yes.
The two-mirror or three-mirror laws are in place in most states within the U.S. The law specifies a clear sight of the rear in general, and one of these mirrors is to be the driver’s side exterior mirror. You may not get a ticket with a passenger-side mirror that is broken (unless your rearview and the one on the driver side are broken, too), but operating with a driver-side mirror that is missing or shattered is a leading violation. It is a simple act of attracting police attention and, more qualitatively, it is highly unsafe.
Conclusion
The case of a shattered side mirror is an issue that requires a quick resolution. To the car owner of the modern generation, it is just a simple choice between the time of the professional and the gratifying afternoon DIY project. To the owner of a classic car, it is a quest for genuineness and quality that a present-day car owner never needs to worry about.
Notwithstanding the newness or the vintage of your vehicle, you cannot afford to do without a working side mirror due to the factor of safety. The replacement and regaining of your composure, your vision field, and the uncontaminated, clear appearance of your car.