
A true classic Chevy truck restoration is not merely a cosmetic refresh—it is a systemic, highly managed engineering project. Whether you are reviving a family heirloom or building a six-figure show truck, success requires stripping the vehicle down to its fundamental geometry and rebuilding its structural, mechanical, and electrical integrity. Misunderstanding the scope of this commitment is the leading cause of abandoned projects and shattered budgets.
What Is Chevy Truck Restoration? Defining the Scope
Restoration vs. Repair vs. Refurbishment vs. Restomod
Before purchasing parts or tearing down an engine, you must define the project’s baseline. For enthusiasts, this prevents budget creep; for B2B restoration shops, defining these tiers in your contract prevents devastating customer disputes over part selections and labor hours.
| Project Type | Core Objective | Modification Level | Target Audience | Cost Profile |
|---|---|---|---|---|
| Repair | Restore basic functionality and safety | Extremely Low | Daily drivers / Utilitarian users | $ |
| Refurbishment | Improve overall aesthetics and reliability | Medium | General classic truck owners | $$ |
| Restoration | Return to exact factory-original state (often frame-off) | High (Teardown & Reassembly) | Collectors / Purists | $$$ |
| Restomod | Classic aesthetics paired with modern supercar performance | Extremely High (Custom fabrication) | High-performance drivers / SEMA builds | $$$$ |
Factory Original vs. Restomod: A Detailed Comparison
Choosing between a factory-correct build and a modernized Restomod dictates your entire supply chain strategy. Here is a deep dive into their differences, pros, cons, and who they are best suited for:
Factory Original (OEM Spec)
Differences: Retains the original powertrain (e.g., inline-6 or early V8), drum brakes, original suspension geometry, and factory interior. Focuses on matching Regular Production Option (RPO) codes and NOS parts.
Pros:
- Preserves automotive history and nostalgia.
- Highest potential resale value at elite classic car auctions.
- Easier to insure as an antique/classic vehicle.
Cons:
- Inferior driving dynamics, poor braking, and lack of modern safety features.
- Sourcing NOS parts is incredibly time-consuming and expensive.
- Requires frequent mechanical adjustments (e.g., carburetor tuning).
Target Audience: Purists, investors, and Concours d’Elegance competitors.
Why: This group values pedigree and historical accuracy over daily drivability. They view the truck as a tangible asset.
Restomod (Modern Performance)
Differences: Keeps the vintage shell but guts the internals. Features LS/LT engine swaps, Electronic Fuel Injection (EFI), independent front suspension (IFS), 4-wheel disc brakes, and modern HVAC systems.
Pros:
- Supercar-level acceleration, handling, and braking capability.
- Turn-key reliability suitable for daily driving or long road trips.
- Parts are easily sourced from modern auto parts stores.
Cons:
- Requires extensive, expensive custom fabrication (cutting/welding the frame).
- Complex modern wiring harnesses can be difficult to integrate.
- Does not qualify for strict “numbers-matching” classic car registries.
Target Audience: Pro-Touring enthusiasts, younger collectors, and SEMA builders.
Why: They want the head-turning aesthetic of a classic truck but refuse to compromise on modern comfort, speed, and safety.
How to Choose a Chevy Truck for Restoration
The purchase price of the donor truck is irrelevant; the only metric that matters is the Total Cost of Ownership (TCO) to bring it to your desired standard.
Evaluating the Advance Design (1947-1955) and Task Force (1955-1959)
These post-war icons offer unmatched vintage aesthetics but conceal significant mechanical limitations.
- Safety Compliance: 1950s braking and steering technology (solid axles, single-pot master cylinders) are fundamentally unsafe for modern highway speeds.
- Cost Mitigation: Knowing these flaws upfront prevents you from sinking $10,000 into an original driveline that you will eventually have to discard anyway.
- Project Feasibility: 6-volt electricals and closed drivelines often force a complete Restomod approach, changing the entire scope of your project.
How to Evaluate the 5 Structural Realities:
1. Frame Condition
How to evaluate: Put the truck on a lift. Use a hammer to tap the frame rails—a dull thud means internal rot. Check factory rivet points and suspension mounting brackets for stress fractures.
2. Cab Condition
How to evaluate: Lift the floor mats to inspect floor pans. Check cab corners and windshield channels with a magnet to detect thick Bondo filler hiding severe rot.
3. Drivetrain Limits
How to evaluate: Identify if it retains the factory enclosed torque-tube driveline. If yes, realize it cannot accept modern transmissions without a costly open-driveline rear axle conversion.
4. Electrical Obsolescence
How to evaluate: Check the battery and generator. Original 6-volt systems feature deteriorating cloth wiring. Assume a complete 12V conversion is mandatory for safety.
5. Parts Availability
How to evaluate: Cross-reference missing trim pieces with major supplier catalogs before buying. NLA (No Longer Available) parts will stall the project indefinitely.
The C10 and Squarebody Advantage
The 1967-1972 C10 and 1973-1987 Squarebody generations offer the highest ROI and aftermarket support. Here are 4 detailed reasons why they dominate the market:
- Unprecedented Component Interchangeability: GM’s platform-sharing strategy across these two decades means that engines, transmissions, and suspension parts can be easily swapped across years. This drastically lowers the cost of sourcing replacement parts.
- Modern Suspension Geometry: The 1967-1972 C10 introduced the coil-spring trailing arm rear suspension. This provided a car-like ride quality that requires far less fabrication to handle like a modern sports car compared to older leaf-sprung models.
- Massive Engine Bay Real Estate: The engine compartments were designed to house massive big-block V8s. Consequently, swapping in a modern LS, LT, or even a diesel requires minimal firewall cutting, saving thousands in fabrication labor.
- A Perfectly Mature Supply Chain: Every single piece of sheet metal, wiring harness, and interior trim is actively manufactured by OEM-spec aftermarket companies. This eliminates the “Unobtainium” risk.
How Much Does a Chevy Truck Restoration Cost?
Quoting a flat rate for a restoration is impossible. A professional budget is a dynamic model accounting for Purchase Price + Parts + Labor + Outsourcing + Tools + Shipping + Contingency.
The Parts & Labor Cost Matrix
Why is restoration labor so high? Because repairing 50-year-old metal involves hours of cutting, shrinking, TIG welding, and block sanding—processes that cannot be automated.
| Component / Phase | Estimated Cost Range | Is it Worth Repairing? (vs. Replacing) | Why is Labor So High? |
|---|---|---|---|
| Cab / Body Shell (Highest Cost) | $10,000 – $25,000+ | Usually Replace (Panels). If rust is extensive on floor pans and cab corners, buying new stamped panels saves money over repairing severe rot. | Block sanding, gap alignment, and metal finishing demand hundreds of highly skilled, manual hours. |
| Powertrain (Engine/Trans) | $5,000 – $15,000 | Replace/Swap. Swapping a modern 5.3L LS with a new harness offers 3x the reliability and power for similar money to rebuilding an old 350 V8. | Custom fabrication for motor mounts, wiring harness integration, and custom driveshaft fabrication. |
| Paint & Clear Coat | $8,000 – $20,000 | N/A. Must be done fresh. | 90% of a good paint job is prep work: removing old paint, applying epoxy primer, block sanding, and wet-sanding/buffing the clear coat. |
| Frame / Chassis | $3,000 – $12,000 | Repair (Usually). Unless bent beyond 5mm tolerance or heavily pitted. Severe cases warrant a modern aftermarket chassis. | Sandblasting, structural TIG welding, C-notching for lowered stances, and powder coating logistics. |
Strategic Budgeting:
For individual buyers: 5 Tips to Control Total Cost
- Determine the End Use First: Decide if you want a “daily driver” or a “show truck” on day one. Changing your mind mid-project guarantees massive rework and wasted money.
- Set a Hard Maximum Budget with Contingency: Take your absolute maximum budget and immediately deduct 20% for “Unexpected Surprises”. Only spend the remaining 80% on planned parts.
- Prioritize Structure and Safety Over Cosmetics: Spend your first dollars on a solid frame, modern disc brakes, and reliable wiring. A beautiful paint job is worthless if the truck cannot stop safely.
- Buy Complete Kits, Not Single Pieces: Buying pre-packaged complete kits saves heavily on shipping (LTL freight) and ensures all components are designed to work together.
- Do Not Buy Interior/Soft Goods Early: Buy seats, carpets, and gauges last. If you buy them on day one, they will sit in your garage collecting dust for two years while you finish the metalwork.
For Restoration Shops: 5 Tips to Protect Profit Margins
- Mandate a Pre-Teardown Diagnostic Fee: Never quote a flat rate off photos. Charge a non-refundable teardown and media-blasting fee to expose the true state of the metal before issuing a binding contract.
- Ban Customer-Supplied Parts: Clients buy cheap, out-of-spec aftermarket parts online to save money, which then require 10 extra hours of your technicians’ labor to make them fit. Insist on sourcing your own OE-spec parts.
- Implement Strict Change Order Protocols: Every requested addition (“While you’re in there…”) must trigger a formal, signed Change Order with adjusted parts and labor costs before work continues.
- Adopt a Phased Billing Structure: Break the restoration into phases (Teardown, Metalwork, Paint, Assembly). Bill the client at the completion of each phase to maintain healthy cash flow.
- Build a Reliable Supply Chain for NLA Parts: Partner directly with manufacturers capable of reverse-engineering. Scouring eBay for discontinued parts burns billable hours.
Chevy Truck Restoration: The Step-by-Step Process
Restoration is project management. Deviating from the correct engineering sequence leads to irreversible damage and budget exhaustion. Here is a detailed interpretation of every critical step:
Step 1: Inspection, Documentation, and Teardown
Detailed Interpretation: The biggest mistake is aggressively dismantling the truck with an impact wrench on day one. You must comprehensively photograph every wire routing, vacuum line, and shim placement. Create a digital spreadsheet. Every bolt goes into a Ziploc bag, labeled with a Sharpie, and mapped to the spreadsheet. Without this, reassembly two years later becomes an impossible puzzle. This phase also involves safely removing the body from the frame.
Step 2: Structural Support and Frame Restoration
Detailed Interpretation: Before lifting a heavily rusted cab off the frame, you must weld cross-bracing (steel tubing) inside the door openings. Without the chassis supporting it, an old, rusted cab will twist under its own weight, permanently ruining door gap alignment. Once separated, the frame is media-blasted to bare steel, measured for diagonal squareness (trammel gauge), and any stress cracks are TIG welded. Finally, it is sealed in epoxy or powder-coated.
Step 3: Sheet Metal and Rust Repair
Detailed Interpretation: Rust is never “patched” with Bondo filler. The compromised metal is cut completely out back to clean steel. New replacement panels (must be 18-gauge automotive steel) are butt-welded in carefully to manage heat distortion. The panels are then metal-finished (hammer and dolly work) to minimize the need for filler. New panels arriving in black EDP coating must be scuffed, and all bare metal must be sealed with 2K Epoxy Primer within 24 hours to prevent flash rust.
Step 4: Powertrain and Electrical Integration
Detailed Interpretation: If performing an LS Swap, this step involves marrying modern technology to vintage steel. You must install adjustable engine mounts to clear the factory crossmember. An aftermarket low-profile oil pan is usually required. Electrically, the original brittle 50-year-old harness is entirely discarded. A modern standalone wiring harness is installed, integrating the modern Engine Control Unit (ECU), electronic drive-by-wire throttle pedal, and high-pressure EFI fuel delivery system.
Step 5: Paint, Interior, and Final Assembly
Detailed Interpretation: After hundreds of hours of block sanding the primer to ensure perfectly flat panels, the multi-stage paint (base coat/clear coat) is applied, wet-sanded, and buffed to a mirror finish. Only then is the pristine body reunited with the chassis. Final assembly includes installing the glass with new weatherstripping, laying down sound deadener (Dynamat), and installing the carpets, seats, and dash gauges.
What Parts Do You Need? Supply Chain Mastery
Sourcing parts is not about finding the cheapest online listing; it is about establishing a reliable supply chain that minimizes labor penalties during installation.
OEM vs. NOS vs. Reproduction vs. Aftermarket
Original Equipment (OEM)
- Pros: Flawless fitment; factory-correct metallurgy; retains vehicle pedigree.
- Cons: Extremely rare; highly expensive; often requires refurbishing used parts.
Target Audience: Elite restoration shops and high-net-worth collectors.
Why: They build vehicles where authenticity is prioritized over cost, often for museum display.
New Old Stock (NOS)
- Pros: Authentic historical GM parts; perfect factory match.
- Cons: Inventory is nearly extinct; sellers charge extortionate premiums; rubber NOS parts may be degraded from age.
Target Audience: Purists and Concours d’Elegance competitors.
Why: Judges at top-tier car shows deduct points for modern reproduction parts; NOS is the only way to achieve a perfect score.
Reproduction (OE-Spec)
- Pros: Readily available; much cheaper than NOS; utilizes modern anti-corrosion coatings (EDP).
- Cons: Quality varies wildly by manufacturer; cheap reproductions use thin 20-gauge steel that warps easily.
Target Audience: The vast majority of consumers, DIYers, and standard restoration shops.
Why: It balances affordability with availability, allowing projects to progress without waiting months.
Aftermarket
- Pros: Vastly improves performance (e.g., big brake kits); modernizes aesthetics.
- Cons: Deviates from factory look; may require cutting the chassis; can negatively impact traditional resale value.
Target Audience: Restomod builders, Pro-Touring drivers, and performance enthusiasts.
Why: They want a truck that accelerates, corners, and stops like a modern sports car.
DIY vs. Professional Chevy Truck Restoration
Doing it yourself does not automatically mean it is cheaper. You must evaluate the true cost of DIY: Parts + Tool Investments + Your Time + The Learning Curve + The Cost of Rework.
5 Factors Influencing the DIY Decision (Ask Yourself These Questions)
- Skill Level: Do I have the technical ability to TIG weld structural frame components safely? If no, structural work must be outsourced to prevent catastrophic failure.
- Tooling Assets: Do I own a 60-gallon air compressor and an English wheel? Buying $15,000 worth of specialized tools to restore one truck yields a negative return on investment.
- Time Availability: Can I dedicate 20 hours a week for the next three years? Professional shops have teams working 40-hour weeks; a DIYer working weekends will extend the timeline exponentially.
- Workspace Constraints: Do I have a 3-car garage? A disassembled truck takes up three times the footprint of an assembled one.
- Rework Risk Tolerance: Can I afford to paint the truck twice? If your DIY paint job peels in 6 months due to poor prep work, the cost of redoing it will exceed hiring a pro initially.
Pros and Cons Comparison
DIY Restoration
Pros:
- Saves tens of thousands of dollars in shop labor rates.
- Immense personal satisfaction and intimate knowledge of your vehicle.
- Total control over the pace of the project and budget flow.
- Ability to learn new, valuable mechanical and fabrication skills.
- Ensures no corners are cut “behind the scenes” by unscrupulous mechanics.
Cons:
- Extremely high risk of project abandonment (burnout).
- Requires massive upfront investment in heavy tools and equipment.
- Projects typically take 3 to 5 times longer to complete.
- Lack of professional paint booths leads to dust and imperfections in the finish.
- Safety risks if structural welding or brake lines are executed improperly.
Professional Shop Restoration
Pros:
- Access to master fabricators, professional paint booths, and specialized machinery.
- Predictable, significantly faster project completion timelines.
- Warranties and guarantees on the mechanical work and paint finish.
- Higher resale value (buyers trust documented professional builds).
- Zero personal physical labor, workspace clutter, or tool investment required.
Cons:
- Astronomically higher total cost (labor often exceeds $100+/hour).
- Risk of being overcharged or hit with endless “Change Orders”.
- Loss of personal connection to the build process.
- Your truck may sit untouched for months if the shop takes on too many clients.
- Difficult to verify the quality of rust repair once it’s covered in fresh paint.
Common Restoration Problems and Mistakes to Avoid
Learn from the expensive failures of others. Avoid these catastrophic errors during your build:
5 Structural & Mechanical Errors
- Failing to inspect the frame prior to purchase.
- Ignoring hidden rust inside double-walled sections.
- Not measuring chassis diagonal geometry before welding.
- Mismatching cooling systems to modern, high-heat engine swaps.
- Neglecting to upgrade drum brakes to match newly added V8 horsepower.
5 Electrical & Procurement Errors
- Reusing 50-year-old brittle wiring harnesses.
- Inadequate chassis grounding (causing endless ghost electrical issues).
- Upgrading to high-output alternators without upgrading the main charge wire.
- Buying sheet metal based strictly on the lowest price, ignoring gauge thickness.
- Failing to verify RPO trim codes, resulting in mismatched exterior moldings.
How to Maintain a Restored Chevy Truck
A completed restoration requires a specialized maintenance protocol. Treating a 50-year-old classic like a modern commuter car will accelerate its degradation.
Detailed Maintenance Steps & Principles
- Anti-Corrosion Cavity Protection:
Steps: Inject cavity wax into blind frame rails, rocker panels, and the inner bottoms of doors annually.
Principle/Benefits: Moisture condenses inside hollow steel chambers. Wax displaces water and deprives the metal of oxygen, preventing inside-out rust.
Precautions: Ensure factory drain holes at the bottom of doors remain unclogged by debris or excess wax. - Classic Engine Oil Management (ZDDP):
Steps: If running an original flat-tappet camshaft V8, use specialized classic car motor oil or add a Zinc (ZDDP) additive with every oil change.
Principle/Benefits: Modern oils lack high zinc content. Zinc acts as a sacrificial barrier under extreme pressure, preventing catastrophic camshaft lobe wear.
Precautions: Do not use high-zinc oils in Restomods with modern engines equipped with catalytic converters, as it will destroy the converter. - Brake Fluid Flushing:
Steps: Completely bleed and flush the brake fluid every 24 months, regardless of mileage.
Principle/Benefits: DOT 3/4 brake fluids are highly hygroscopic. Flushing removes water, preventing internal rusting of original steel brake lines and ensuring firm stopping power.
Precautions: Do not spill brake fluid on your expensive new paint; it acts as a highly effective paint stripper. - Fuel System and Ethanol Defense:
Steps: Use ethanol-free fuel if available. If storing the truck, add a high-quality fuel stabilizer and run the engine to circulate it into the carburetor.
Principle/Benefits: Modern pump gas contains Ethanol, which degrades vintage rubber fuel lines and attracts moisture, leading to internal tank rust.
Precautions: For Restomods running high-pressure EFI systems, completely upgrade to PTFE (Teflon-lined) fuel hoses to handle modern fuels safely. - Paint Preservation and Storage:
Steps: Store in a climate-controlled garage. Use a breathable indoor car cover. Apply ceramic coating or high-quality carnauba wax semi-annually.
Principle/Benefits: Prevents UV degradation of the clear coat, protects against environmental fallout, and prevents rapid temperature swings from causing condensation on bare metal parts.
Precautions: Never cover a wet or dirty truck, as the cover will grind dirt into the clear coat and trap moisture against the steel.
How to Inspect and Evaluate a Completed Restoration
How do you know if a restoration was executed properly? Rely on the 5-Point Final Inspection Standard:
- Structural: Inspect panel gaps for uniform width (door to fender, hood to cowl). Check undercarriage welds for penetration and rust-proofing.
- Mechanical: Cold start the engine, check for immediate oil pressure, verify transmission shift firmness, and inspect for fluid weeping at seals.
- Electrical: Test all gauges, verify voltage output drops minimally under heavy load, and ensure modern blade-style fuse protection is integrated.
- Body & Paint: Sight down the side of the truck in natural light. The reflection should be glass-like, free of “orange peel,” sanding scratches, or wavy bodywork (indicating excessive filler).
- Road Test: The vehicle should track straight under hard braking, with no steering slop or driveline vibration at highway speeds.
Maximizing the Value of Your Chevy Truck Restoration
To secure top dollar at resale or auction, value is generated through provenance and uncompromising parts quality. Here is the ultimate decision guide for maximizing ROI from both perspectives:
For Owners & Investors
Goal: Build an Appreciating Asset.
- Method: Build a Master Documentation Binder.
Reason: A documented build commands a 20-30% premium. Keep the original VIN tags, build sheets, RPO stickers, and before/during/after photography. Proof of work equals trust for the next buyer. - Method: Invest in OE-Spec Parts over Cheap Aftermarket.
Reason: Enthusiast buyers will spot cheap, ill-fitting grilles and thin-gauge bumpers immediately. High-quality parts signal that the truck was built without cutting corners, anchoring a higher asking price. - Method: Match the Build to Market Demand.
Reason: If you are building for ROI, short-bed fleetside trucks with Restomod LS powertrains and A/C currently sell much faster and higher than long-bed original setups. - Method: Retain Uncut Dashboards.
Reason: If you add a modern stereo, use a retro-fit hidden unit. Cutting the original steel dashboard destroys the visual integrity of the cab and drastically lowers collector value. - Method: Choose Timeless Paint Colors.
Reason: While a neon green truck might suit your personal taste, factory-correct colors (like Hugger Orange or Ochre) appeal to a much broader pool of buyers when it is time to sell.
For Restoration Shops & Suppliers
Goal: Maximize Brand Reputation and Profit Margin.
- Method: Refuse Customer-Supplied Budget Parts.
Reason: If a customer brings a cheap, warped fender, your technicians will burn 10 unbillable hours making it fit. The customer will blame *you* for the high labor bill. Mandate that your shop sources all parts to guarantee OE-spec fitment. - Method: Deliver a “Birth Certificate” to the Client.
Reason: Hand the client a professional USB drive or leather binder containing all build photos, dyno sheets, and parts lists upon delivery. This creates massive brand loyalty and justifies your premium shop rate. - Method: Partner with Reverse-Engineering Suppliers.
Reason: Don’t waste your lead fabricator’s time scouring eBay for NLA (No Longer Available) trim pieces. Having a supplier that can reverse-engineer and manufacture parts to OE-specs keeps projects moving out the door. - Method: Standardize Intake Evaluations.
Reason: Create a mandatory 50-point inspection checklist for every truck before accepting the job. Discovering a bent frame on day 1 instead of day 60 prevents profit-destroying bottlenecks. - Method: Specialize in High-Value Sub-Niches.
Reason: Instead of being a generic body shop, brand yourself as the “Squarebody LS Swap Authority.” Specialization allows you to create repeatable templates, speeding up labor and massively increasing profit margins per build.
Solving the “No Longer Available” (NLA) Crisis
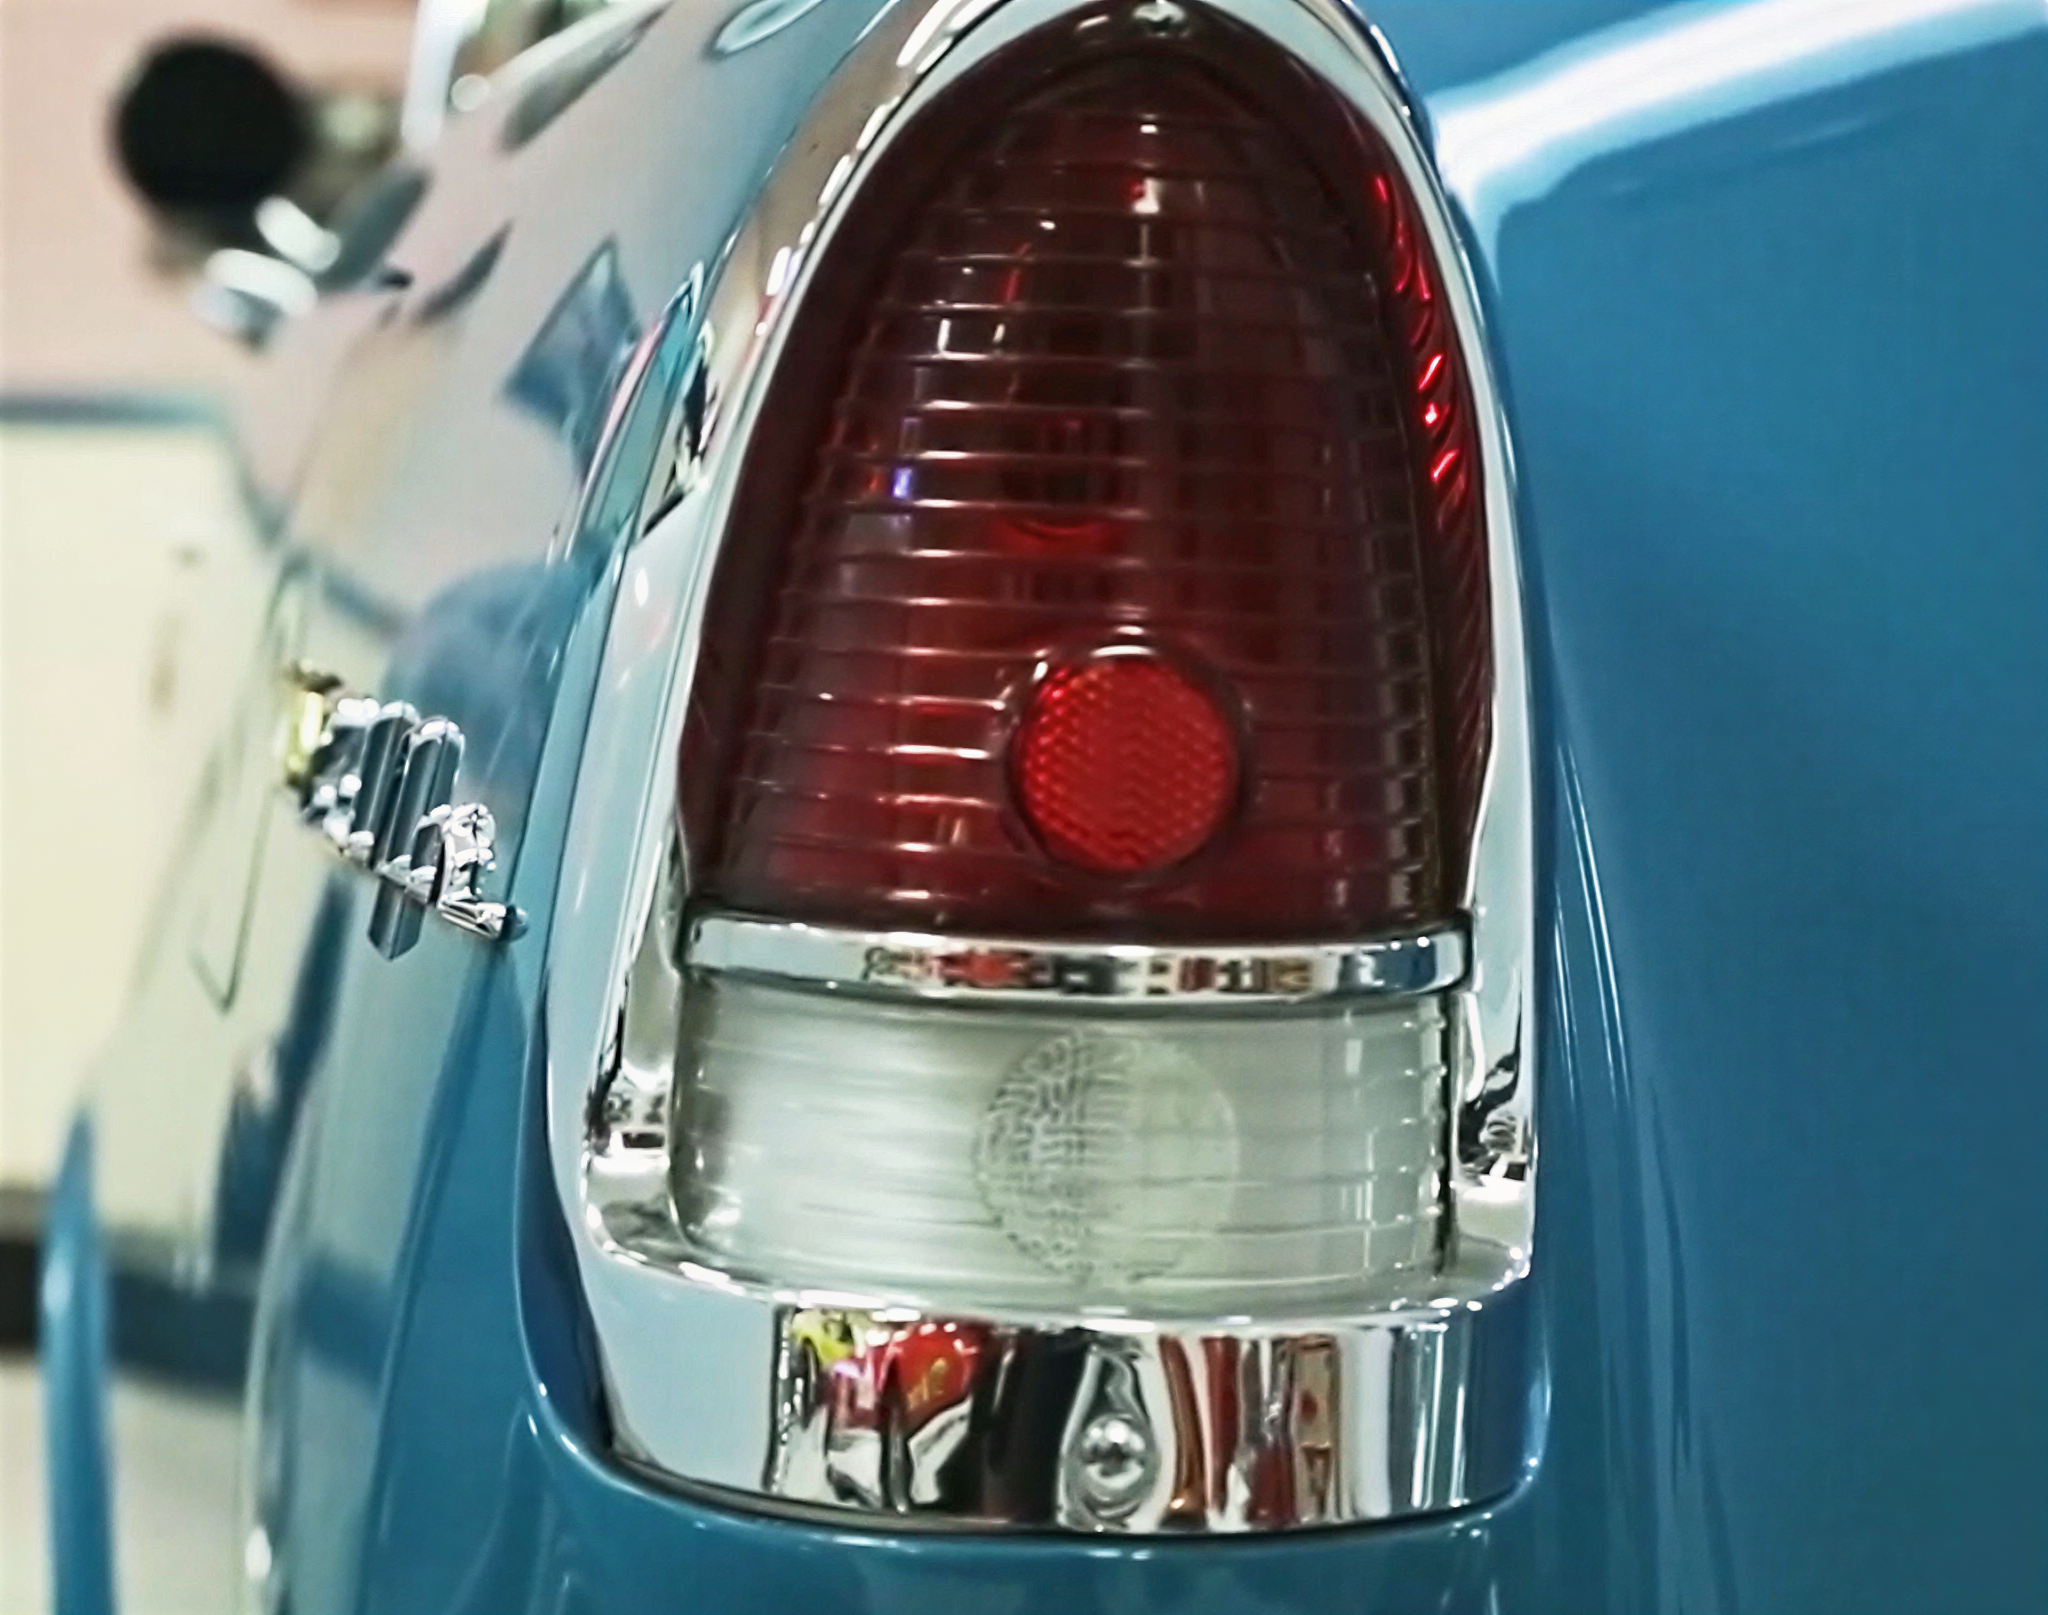
When restoring Advance Design or early C10 models, finding critical discontinued (NLA) parts—like specific trim, brackets, or lenses—is a major roadblock that junkyards cannot reliably solve. The modern solution is OEM-level reverse engineering through 3D laser scanning, ensuring replacement parts match factory dimensional tolerances and material thickness perfectly.
Are discontinued parts stalling your restoration projects or limiting your B2B catalog? Overcome NLA limits with precision reverse engineering.
Partner with Sunway Auto Parts for Custom OE-Spec Manufacturing

 English
  Spanish
  French
  German