Introduction: Turning a Dream into a Drivable Reality
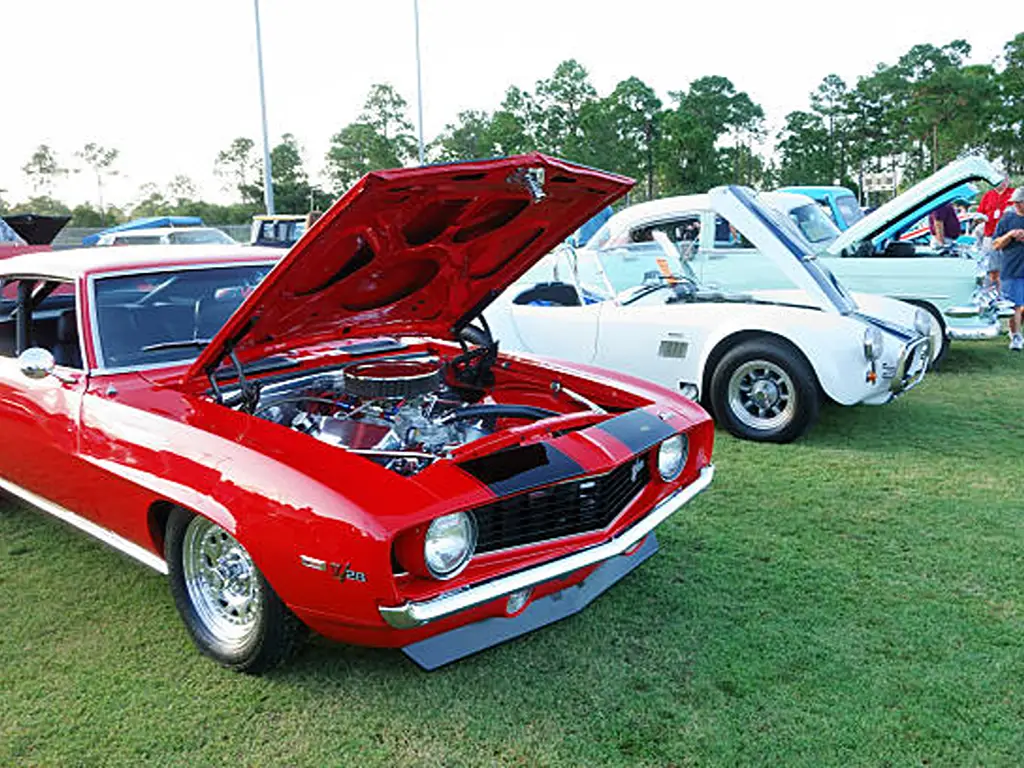
There is something special about an old truck. It is a physical historical object, a representation of rough reliability, and a drifting piece of art. To most, it is not just owning one; it is making one of them back to its feet, turning a lost artifact into a shining, road-running legend. The dream, the adventure of restoring an old truck, is one of the most successful projects an amateur can ever pursue.
But where do you even begin? The prospect can be daunting. A mound of unplanned obstacles, a mountain of parts, and a budget that appears to be a mind of its own.
That’s why we’re here. It is not merely another guide, but rather a strategic roadmap. We have broken down the big and confusing process into a simple 10-step checklist that is specifically made to accommodate the first-time user. We are going to take you through all the stages, and that winning first drive. It is a long process that involves patience, passion, and persistence. A plan is the fourth essential ingredient of this guide.
Step 1: The Blueprint – Planning & Choosing Your Truck
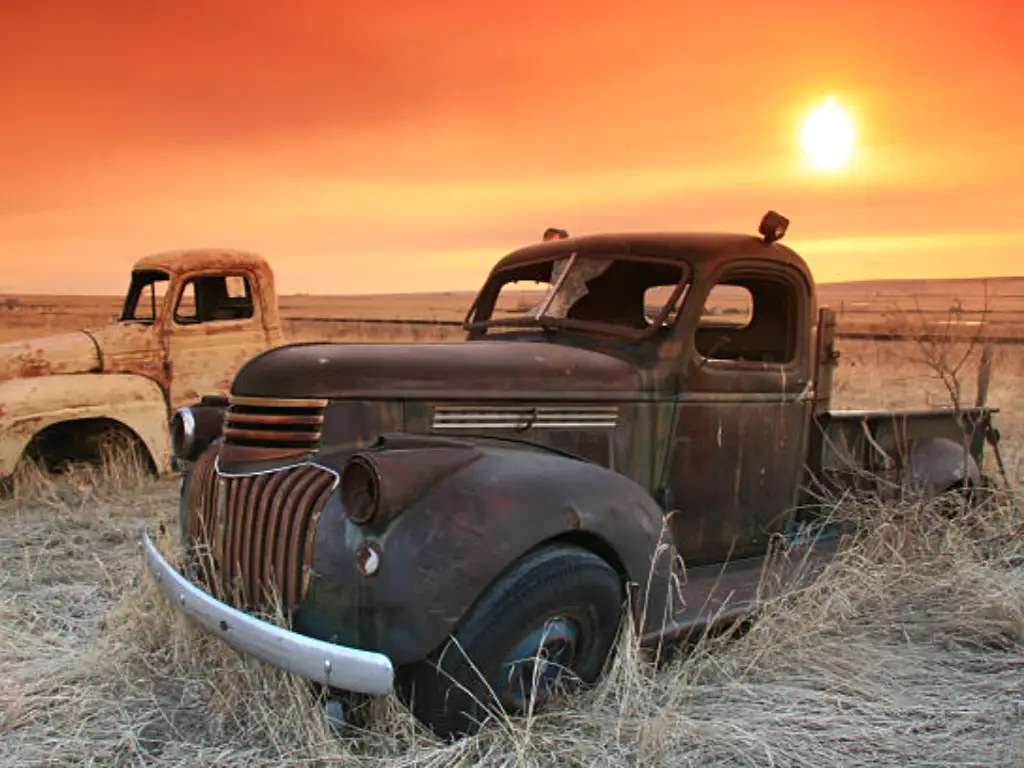
You will have to pick up a pen and a piece of paper before you pick up a single wrench. An effective restoration is established on the premise of intelligent planning. The initial step involves being truthful with your ultimate aim as the choice will determine your budget, timeline line as well as the kind of truck you are expected to seek. Do you have a creation of a “Daily Driver” in which it may matter to be reliable and have modern comforts? A Weekend Cruiser, which should be well-maintained mechanically and appear handsome at a distance of 10 feet? Or a Show Winner when all nuts and bolts should be period-precise and perfect? Be realistic in the use of the truck, the budget, and skills.
When you have a clear goal, you start the search for an appropriate project truck. There is a golden rule to locate a truck with good bones. Such cosmetic problems as a lost paint or tired interiors can be mended with ease, whereas a badly rusted frame or a deformed chassis cannot. Carry a lighting flash and a small magnet when examining a prospective project. Look at the frame rails, cab corners, floor pans, and rocker panels seriously–the magnet will not be attracted to places with body filler (Bondo). The most suitable first project is one that uses a truck that is as complete and un-modified as possible. Even a poorly running engine can save you thousands in the start-up charges. Keep in mind that you are not purchasing a complete product; you are purchasing potential.
Step 2: The Bottom Line – Budgeting & Setting a Realistic Timeline
Your project might be driven by passion, but the budget is the engine that drives your project. Failing to take this step is the first cause of stalling of projects. Restoring an old truck will nearly never be as cheap and quick as you first thought. According to a survey by Hagerty Insurance, the restorers are underestimating the final costs by 30-50 per cent. Be brutally honest with yourself brutally on what you will be able to afford.
Uncovering the Hidden Costs Most Beginners Forget
The first step that you spend is only the entrance fee. The actual expenses are hundreds of parts and processes that ensue. Novices have a budget that is usually based on big things: paint, engine, tires, and neglect small things that cost thousands.
To get a better understanding of missing costs, a table of the frequently missed costs is provided below:
| Category | Hidden Costs | Estimated Cost Range (USD) |
| Consumables | Sandpaper, grinding discs, welding wire/gas, masking tape, body filler, primer, degreasers, cleaning supplies. | $500 – $1,500+ |
| Specialty Tools | Engine hoist, engine stand, welder, media blaster, specialized sockets/wrenches, paint gun. (Rent vs. Buy) | $400 – $2,000+ |
| Fasteners & Hardware | Every nut, bolt, screw, and washer. A complete, high-quality hardware kit for a single truck model. | $300 – $800 |
| Services & Machining | Engine block machining, media blasting for frame/body, powder coating, professional chroming for bumpers/trim. | $1,000 – $5,000+ |
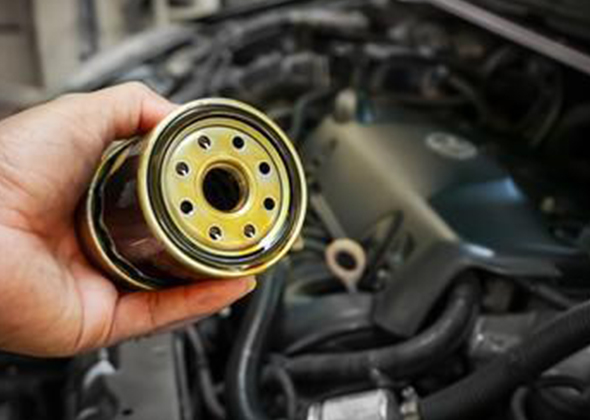
| Fluid & Electrical | All fluids (oil, coolant, brake, transmission), wiring harnesses, battery, bulbs, fuses. | $400 – $1,200 |
| Shipping & Freight | Shipping costs for large parts like fenders, engines, or transmissions ordered online. | $200 – $1,000+ |
Your Budgeting Golden Rule: Where to Save vs. Where to Invest Heavily
Expenses are not all created the same way. The ability to know the places to save and splurge is important in the creation of a safe, reliable, and valuable truck.
- Where to Save:
- Labor: As much of the breaking to pieces, cleaning, and a few body preparations as you can yourself. Your time is “free.”
- Cosmetics: Well, an ideal interior may wait. First, the mechanical soundness of the truck, and later on, the upholstery or the stereo.
- Tools: Borrow equipment of a specialty type with friends or find good used equipment instead of purchasing all new.
- Where to Invest Heavily:
- Safety: Wiring, steering, tires, suspension, and brakes. Such systems cannot be compromised on. Never compromise the quality of the parts that you are buying. They are essential to your life and the lives of other people.
- Foundation: Bodywork/paint repair and frame repair. The value of your truck lies in the solid, rust-free foundation and good paint job.
- Engine & Drivetrain: A working engine and a transmission are the core of the driving experience. You do not require a high-performance racing engine, but when rebuilding, make sure that you use quality parts.
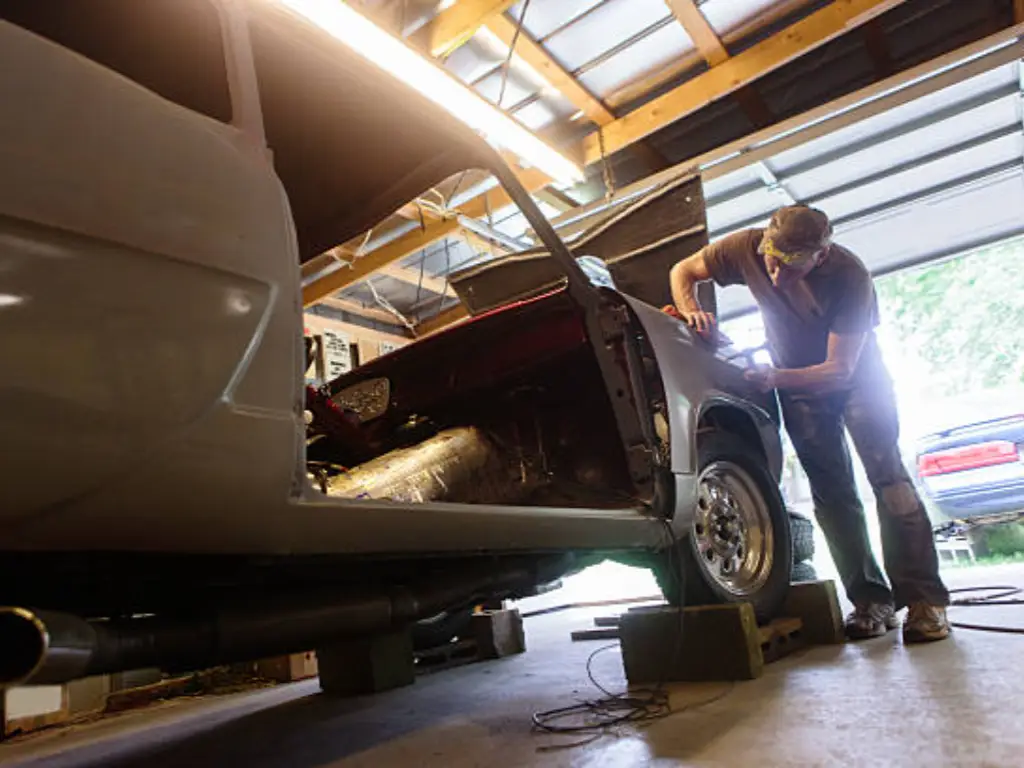
Step 3: The Teardown – Strategic Disassembly & Organization
It is here that the fun really starts. Tear down is not simply about breaking down; it is a strategic exploration and planning. What you want to do is to take the truck apart step-by-step in order to be able to reassemble it in the future without losing your head.
You should make a hundred and one photographs of every angle before you take a single bolt out. Record the methods of bracket mounting, wire running, and positioning of bolts. You can never regret having too many pictures.
Be systematic as you do away with parts. Your friends are Ziploc bags and Sharpie markers. Label each and every part and the hardware. Examples: “Fender bolts, driver side, you know, upper, the carburetor, bolts and washers, mounting nuts and washers, carburetor, bolts and washers, carburetor mounting nuts and washers, etc. In the case of assemblies such as door internals, which are complex to assemble, have all the associated parts in one labeled box. Such painstaking organization will save you up to 50-100 hours of guesswork and frustration regarding the reassembling phase.
Step 4: The Core – Chassis & Bodywork Restoration
The truck is dismantled, and you are now left with its skeleton, the frame, and the body. This is the most time-consuming section of the restoration; however, the most critical.
The Battle Against Rust: Essential Tools and Techniques
Rust is the cancer of classic steel. Eradicating all of it is your major purpose. The main weapons in this struggle will be a 4.5-inch angle grinder with a number of attachments (wire wheels, flap discs), a wire brush, and chemical rust removers.
When completely restoring a frame-off, media blasting (sandblasting, soda blasting, etc.) is the best method to strip the frame and large body panels to bare metal, exposing all the imperfections. This professional service is 800 dollars to 1500 dollars, but gives a flawless, clean type of foundation which cannot be accomplished the hand. After you have bare, clean metal then immediately apply a quality epoxy primer to seal out the air on the metal to prevent flash rust.
Patch Panel or Full Replacement? Making the Right Decision
You will certainly come across rust holes. The question is whether they should be fixed using a small patch panel or the panel (e.g., fender, rocker panel) should be replaced.
Use this as a guide:
- Patch Panel: Best used on localized rust spots (several inches in diameter) on a large, generally solid panel. When the surrounding metal is robust, then welding of a small pre-fabricated patch is efficient and cost-effective.
- Full Replacement: Sometimes a full replacement is the most effective option, should a panel be rusted in several areas, be structurally defective (such as a cab corner or a rocker panel), or heavily dented. Although the initial part cost is more, it can save you 10-20 hours of involved cutting, shaping, and welding than involved intricate patch jobs. Complete panel replacement would nearly always give a more professional and cleaner look.
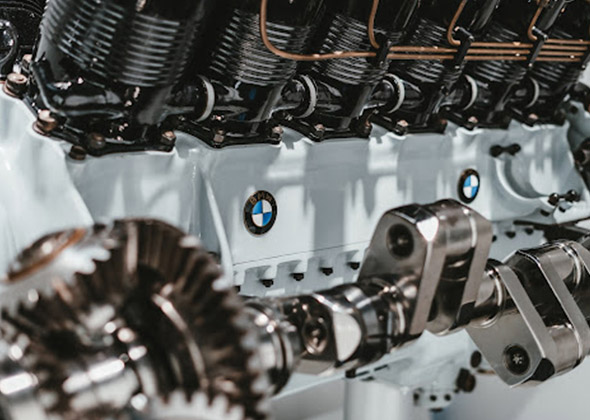
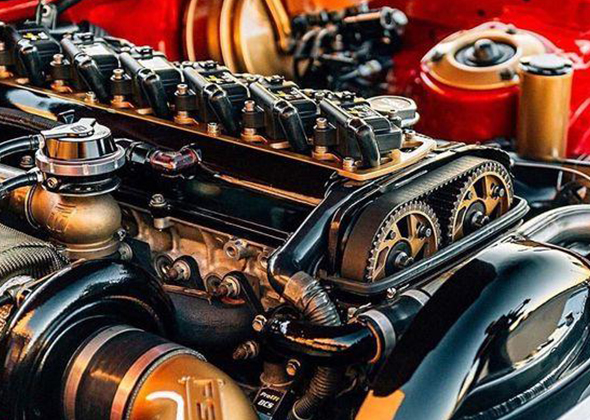
Step 5: The Heartbeat – Engine & Drivetrain Overhaul
As the bodywork is going, the powertrain needs to be dealt with. The initial measure is a candid evaluation. Is the engine in need of a basic overhaul (replacement of gaskets, seals, and a tune-up) or a full overhaul? A compression test can be very informative concerning the overall health of the internals of the engine.
In case of a complete reconstruction, remove the engine block, crankshaft, and cylinder heads, and leave it to a quality machine shop for an automobile. These are able to render such important services as magnafluxing (detecting cracks), boring the cylinders, and grinding the valves, which leaves the core elements of your engine in good condition. It is a reliable, performance machine.
Step 6: The Ride & Stop – Suspension, Steering & Brake Systems
It is all well to have 500 horsepower, but you cannot use it without the capability of controlling it and terminating it. It is a safety issue to restore these systems. Never use used and worn-out parts. Replacement of all wear parts: ball joints, tie rod ends, bushings, shocks, and all brake parts (master cylinder, wheel cylinders, brake lines, shoes/pads). It is a great upgrade situation. The most popular and some of the most useful upgrades to a classic truck are converting from the manual drum brakes to power disc brakes. This has significantly enhanced the power to stop, and also gives the driver confidence in stopping. A full conversion kit of front disc brakes could cost between $500 and $1,200, and it is worth it.
Step 7: The Shine – Prepping for and Applying a Perfect Paint Job
Preparation and application of a paint job are 90 percent and 10 percent, respectively. It is at this point that we can count on patience. All the hours of polishing the body, applying primer, and block-sanding it to a mirror finish will be reflected in the finished job. The glossy clear coat will magnify any imperfection left behind the color coat.
Unless you are an expert in the field of painting, you should consider doing the preparation work by yourself and then paying a professional to come to the House and do the final coating of the color and clear coat. Depending on the quality of the driver, a quality paint job may cost between 5000 dollars and above, and a show-winning finish may cost more than 20,000 dollars. It is the biggest influence on the appearance of your truck and its sale price.
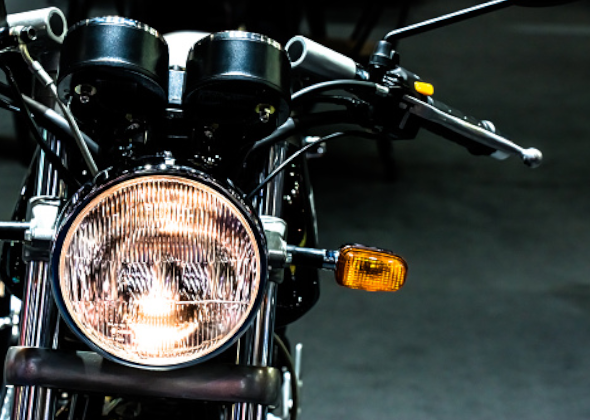
Step 8: The Spark – Tackling the Electrical System & Wiring
Lots of old wiring is a huge burden. Early wiring (1950s-70s) was insulated with material that becomes brittle, cracks, and may cause short circuiting or even fire.
Sometimes it is easier and safer to replace the entire wiring harness than to hunt down decades of electrical gremlins. Whole, model-specific wiring kits cost approximately $500-900, offered by the companies. They are shipped with current blade-type fuses, clearly labeled wires, and facilities of current-day upgrades such as electric fans, new gauges, and high-output alternators.
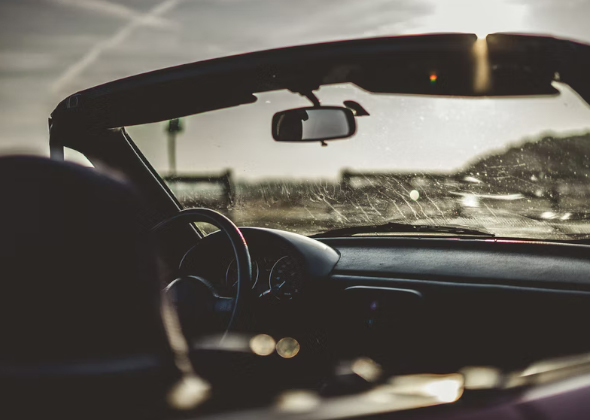
Step 9: The Cabin – Interior Restoration and Final Touches
It is the inside where you are to spend all your time, and make it a nice place to be. The first thing to do is to sound dead and heat the floor and the firewall; it will make the driving experience dramatically better. Installation of new carpet, reupholstering of the seat, and restoration of the dashboard can be done there. You have the option of purchasing ready-made seat covers, door panels, and headliners, or you can be brave and attempt automotive upholstery. This is the point where the personality of the truck is realized.
Step 10: The Victory Lap – Final Assembly and Your First Shakedown Drive
This is what you have been striving to reach. The reassembly of the puzzle is a tedious and painstaking process of reassembling it, with reference to the hundreds of photos you took during the teardown. Go slowly and methodically. Assemble the glass, attach the new body parts that have been painted, install the new wiring harness, and fit in the refurbished interior.
Before you start the engine for the first time, prime the oil system. When it is on, ensure that it is not leaking fluids or that there is no electricity problem. Your initial run is the shakedown, and it must be a short run around the neighborhood. Check for any unusual sounds and touch on any unusual vibrations.
Changes will have to be made, but there will be nothing like the first time you take that truck around the block in the truck you made yourself with your own two hands.
The Foundation of a Lasting Restoration: Why Quality Parts Matter
You have just drawn a line on a trip that will take up hundreds, possibly thousands, of your hours in life, and a huge outlay. You are the workhorse that has gone into every single step of the bodywork to the engine rebuild. Imagine now that all that work, all that fire, may be destroyed in a single resolution–the nature of the parts you take.
The Hidden Costs of “Good Enough” Parts: Wasted Time, Poor Fit, and Early Failure
There is always a temptation to save a couple of dollars on a cheaper, no-name part. This is nearly always a counterfeit economy. These good enough parts bring an unsuspected price to your pocket: your resources (time) and your morale. Badly stamped body parts take hours to be cut and re-shaped. Brackets whose holes are missing an alignment must be re-drilled. Poor-quality chrome begins to flake and develop holes after just one season. This is what leads to project stalling. You then waste weekends adjusting components that should have been installed with the correct fitting out of the box, not to mention jeopardizing the long-term reliability and safety of your build.
The Sunway Autoparts Advantage: Build it Right, Build it Once
This is where we come in. Being experts in vintage automobile parts since 2007, Sunway Autoparts was established on a straightforward concept: to deliver parts that match their promise. We realize that our success is your success.
We promise to manufacture our parts to a high degree of accuracy so that they come out to meet or even surpass OE (Original Equipment) standards. What does this imply for your project? None of the grinding, none of the drilling, none of the time spent trying to get a cheap part to fit. Our components are designed to fit, so that you do not have to work hard and get frustrated. Our commitment to quality corresponds to this accuracy. With modern materials and production processes, our parts are not only durable but can be durable than the originals.
It is not only that you are repairing your truck at Sunway Autoparts, but you are investing in the future of your truck. Bringing back an old Ford, Chevy, or Volkswagen, we can manufacture and distribute high-quality parts you require, even on models the company stopped making years ago, due to its long distribution network. It is this consistency that has earned us the confidence of serious restoration stores as their manufacturing partner. They rely on us since they are sure that their parts are good, have longevity, and that they are good to their names. You cannot do less than that for your own project. Thy passion loveliest marks should render. Construct it properly so that you do not need to construct it again.
Conclusion
Embarking on your first classic truck restoration is more than a mechanical project; it’s a journey of learning, problem-solving, and immense personal satisfaction. This 10-step checklist provides the framework, but the heart of the project will be your own. There will be challenging days and moments of doubt, but they will be overshadowed by the pride of mastering a new skill and the thrill of seeing your vision come to life. Take it one step at a time, stay organized, and never be afraid to ask for help. The road ahead is long, but the destination—a classic truck reborn by your own hands—is worth every moment. Welcome to the club.